
Let’s get started 🚀
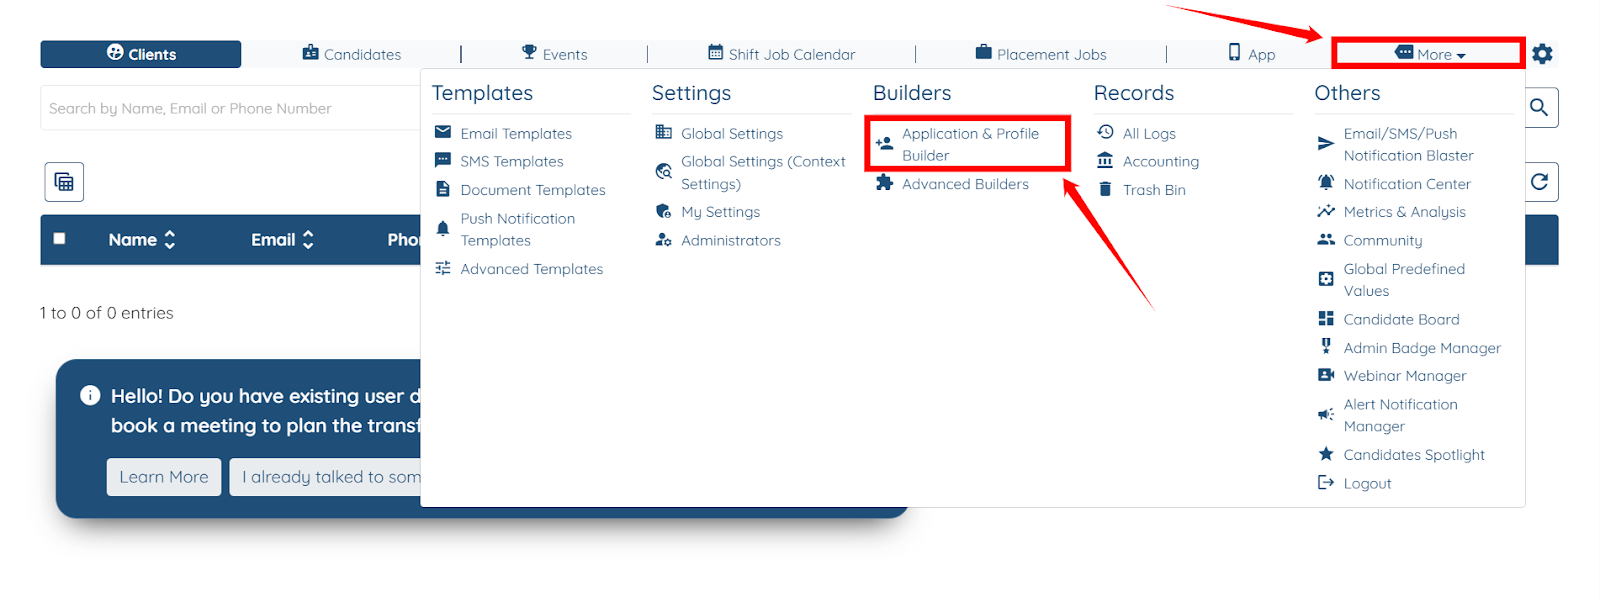
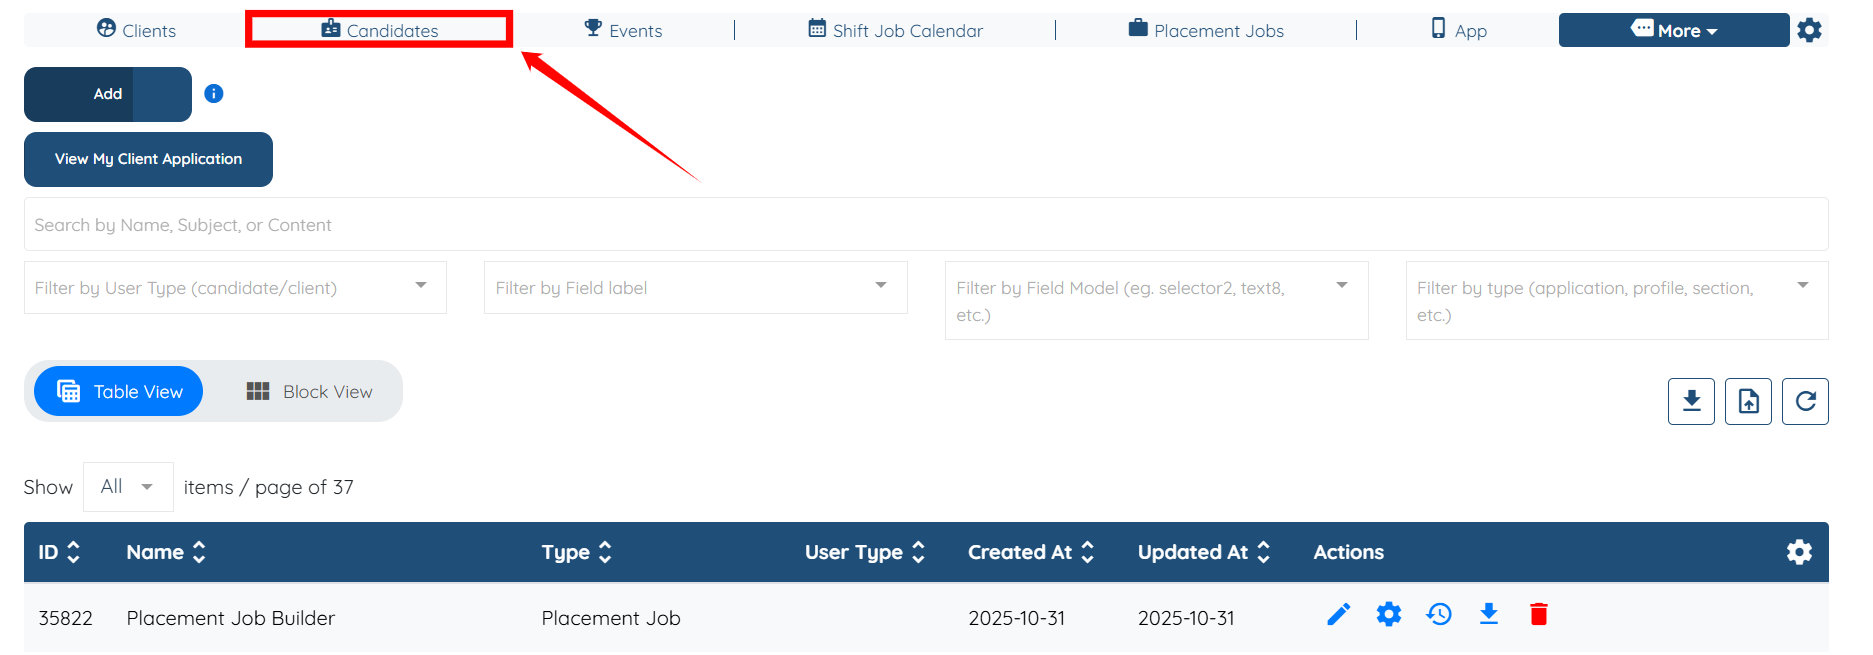
Step 1: Log in to your agent dashboard, then navigate to More > Application & Profile Builder, as shown in the screenshot below.
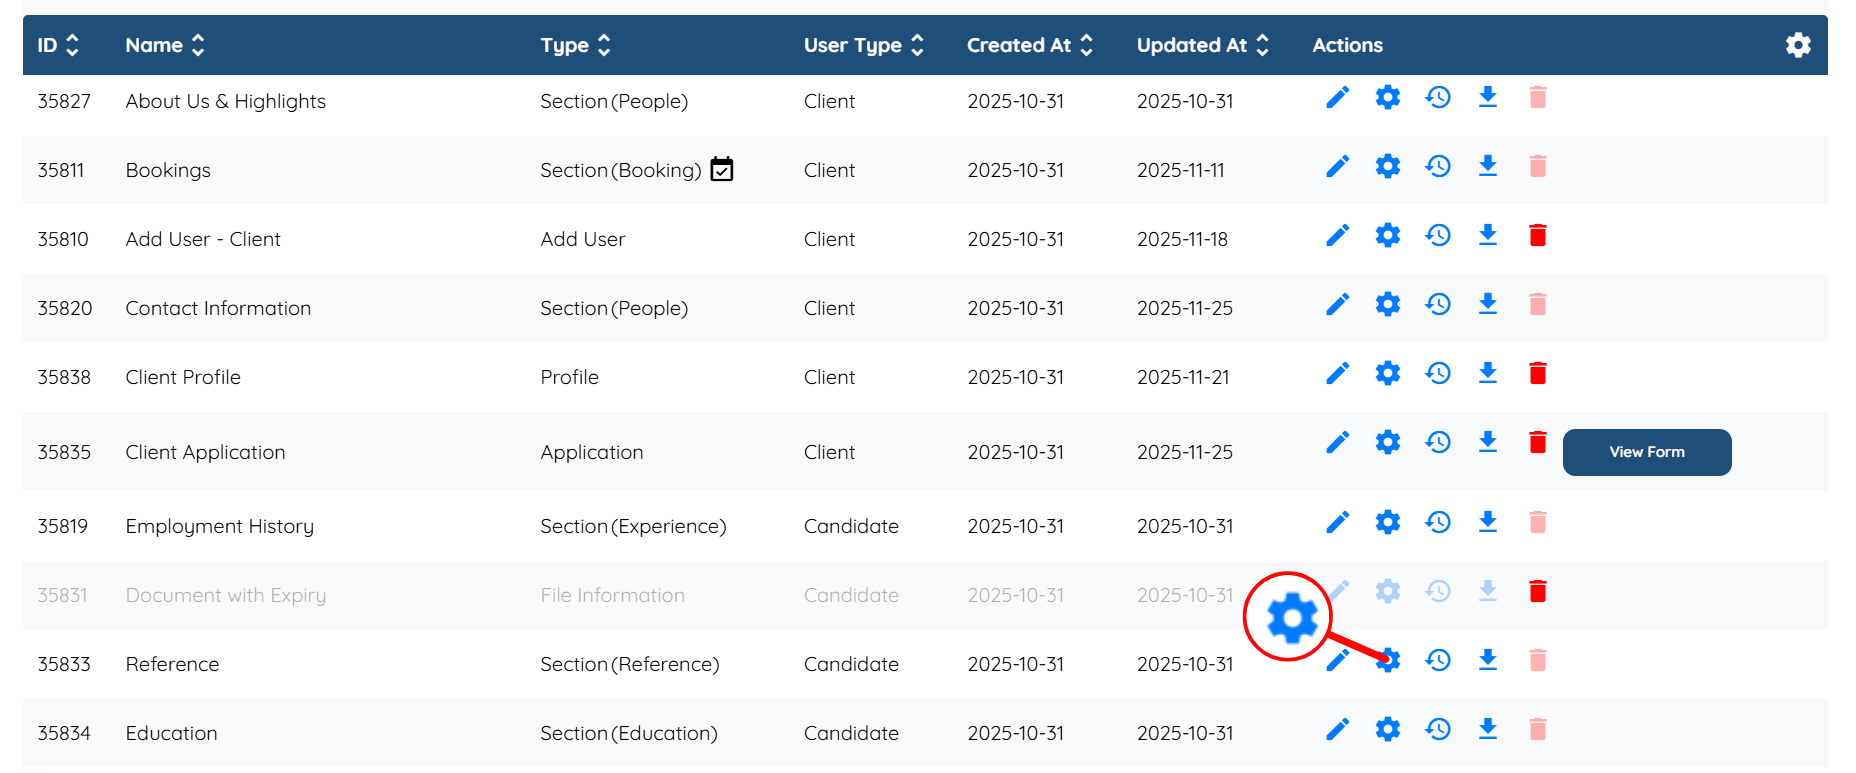
Step 2: Locate the section for which you want to set the minimum required items, and click the Gear icon associated with that section in the Actions column.
For demonstration purposes, we selected the Reference section.
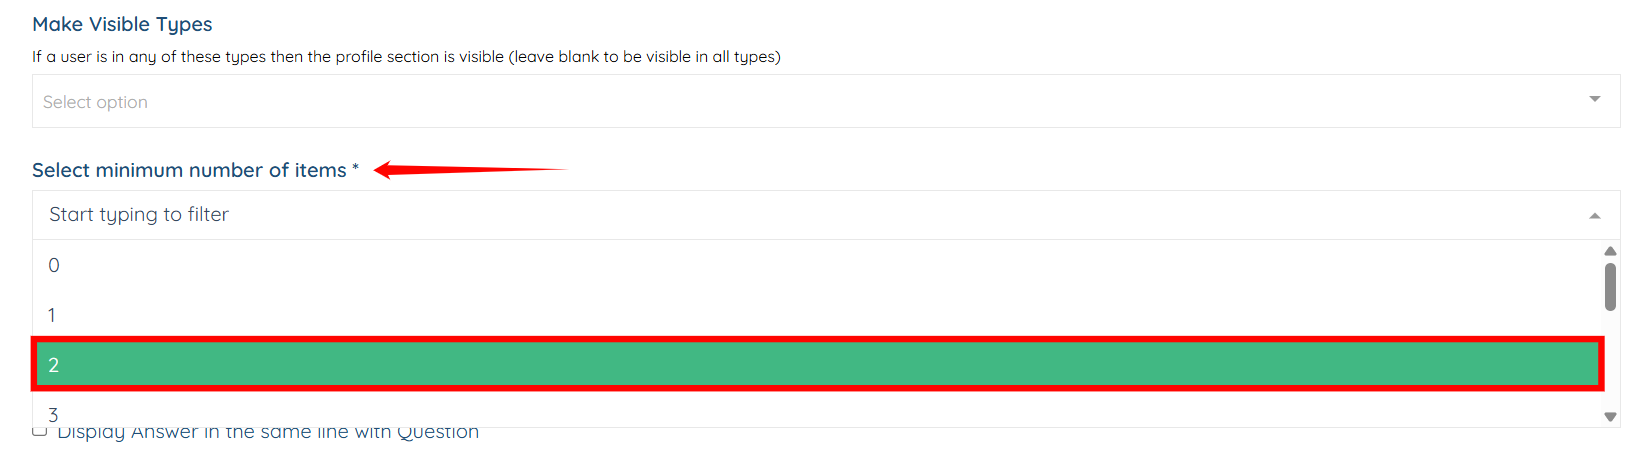
Step 3: Scroll down to the Select minimum number of items field, and select the minimum number of items you require for the Reference section from the dropdown.
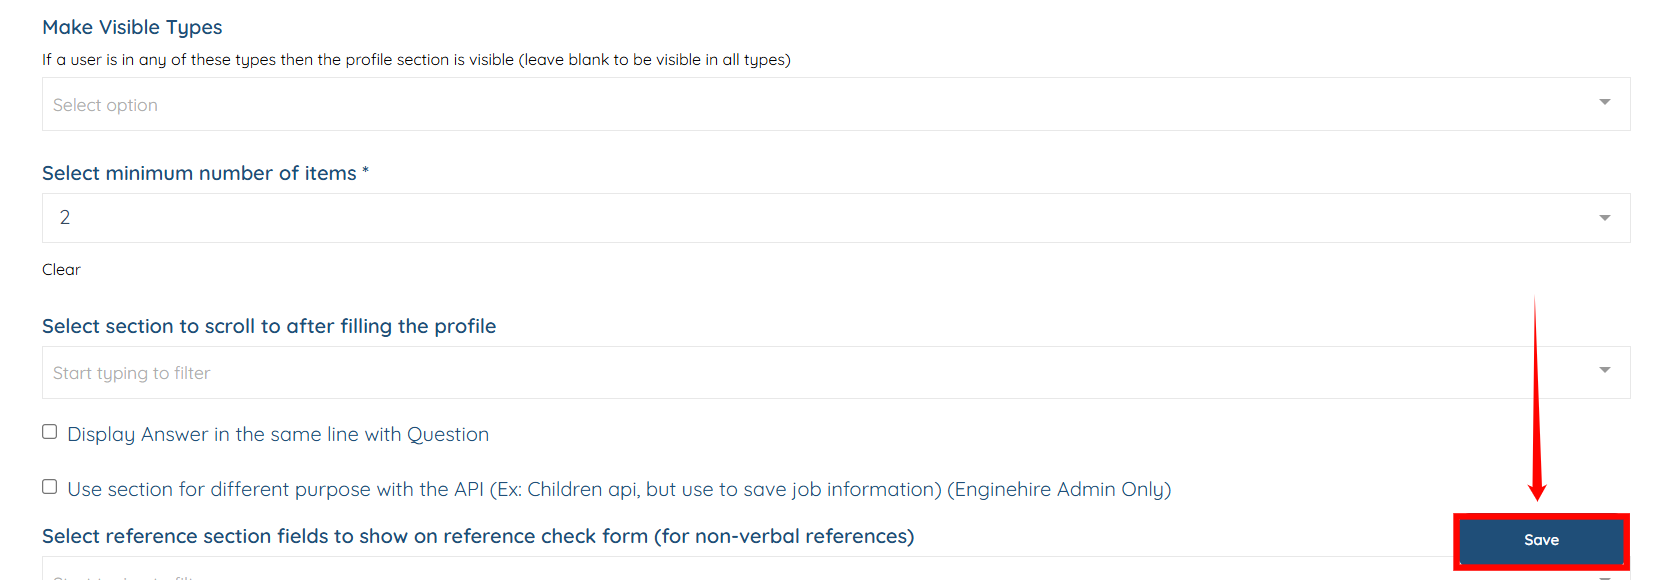
Step 4: Click the Save button to confirm the changes.
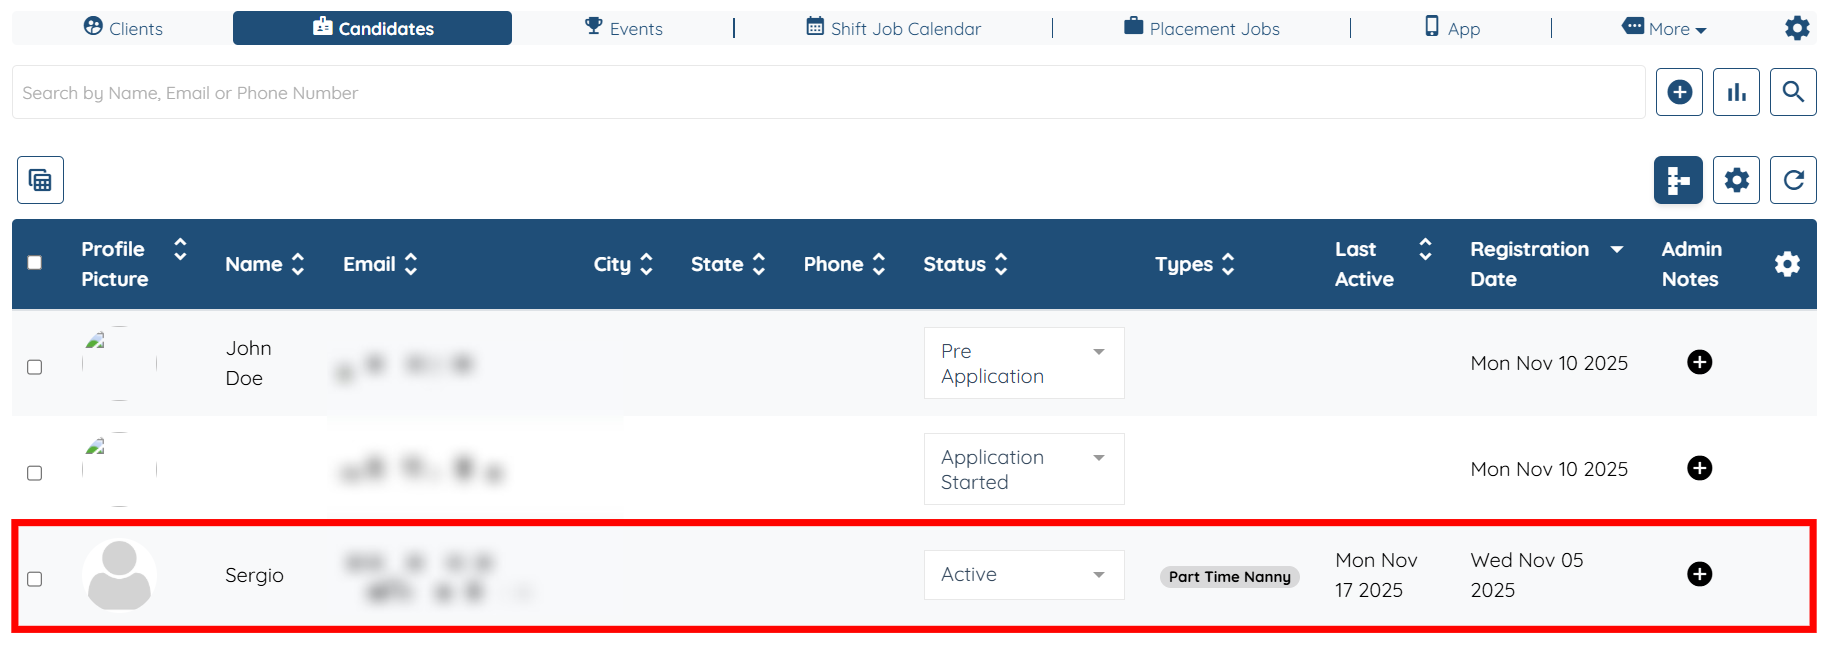
Step 5: Navigate to Candidates from the top navigation bar.
Step 6: Select any candidate from the list to view their details.
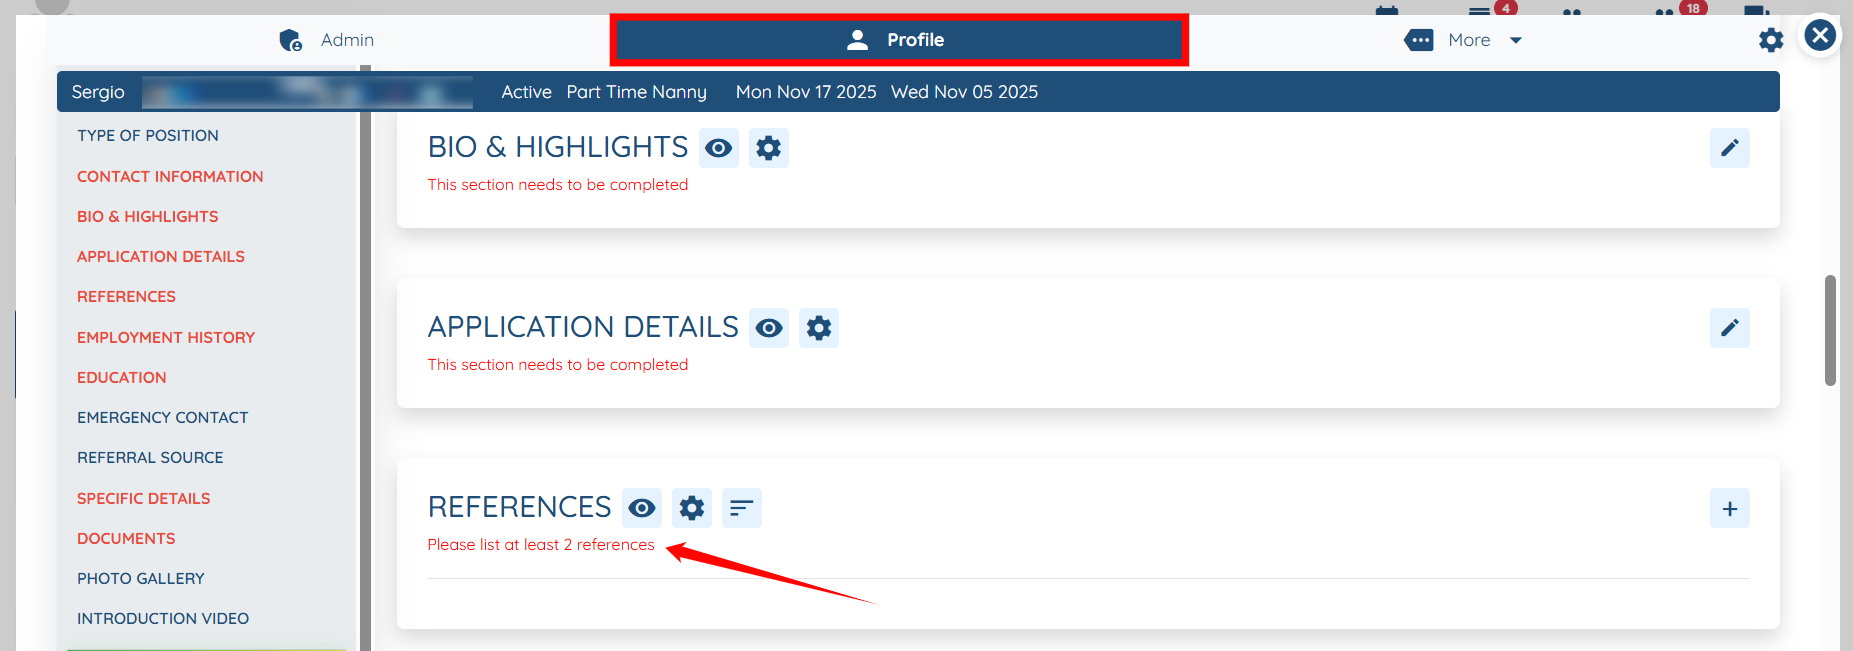
Step 7: Within the Profile tab, access the References section, where the minimum required items you configured are displayed.
The following video is from a previous interface but the information is still accurate.
If this video doesn't answer your questions you can always contact us by clicking here.
