Let’s get started 🚀
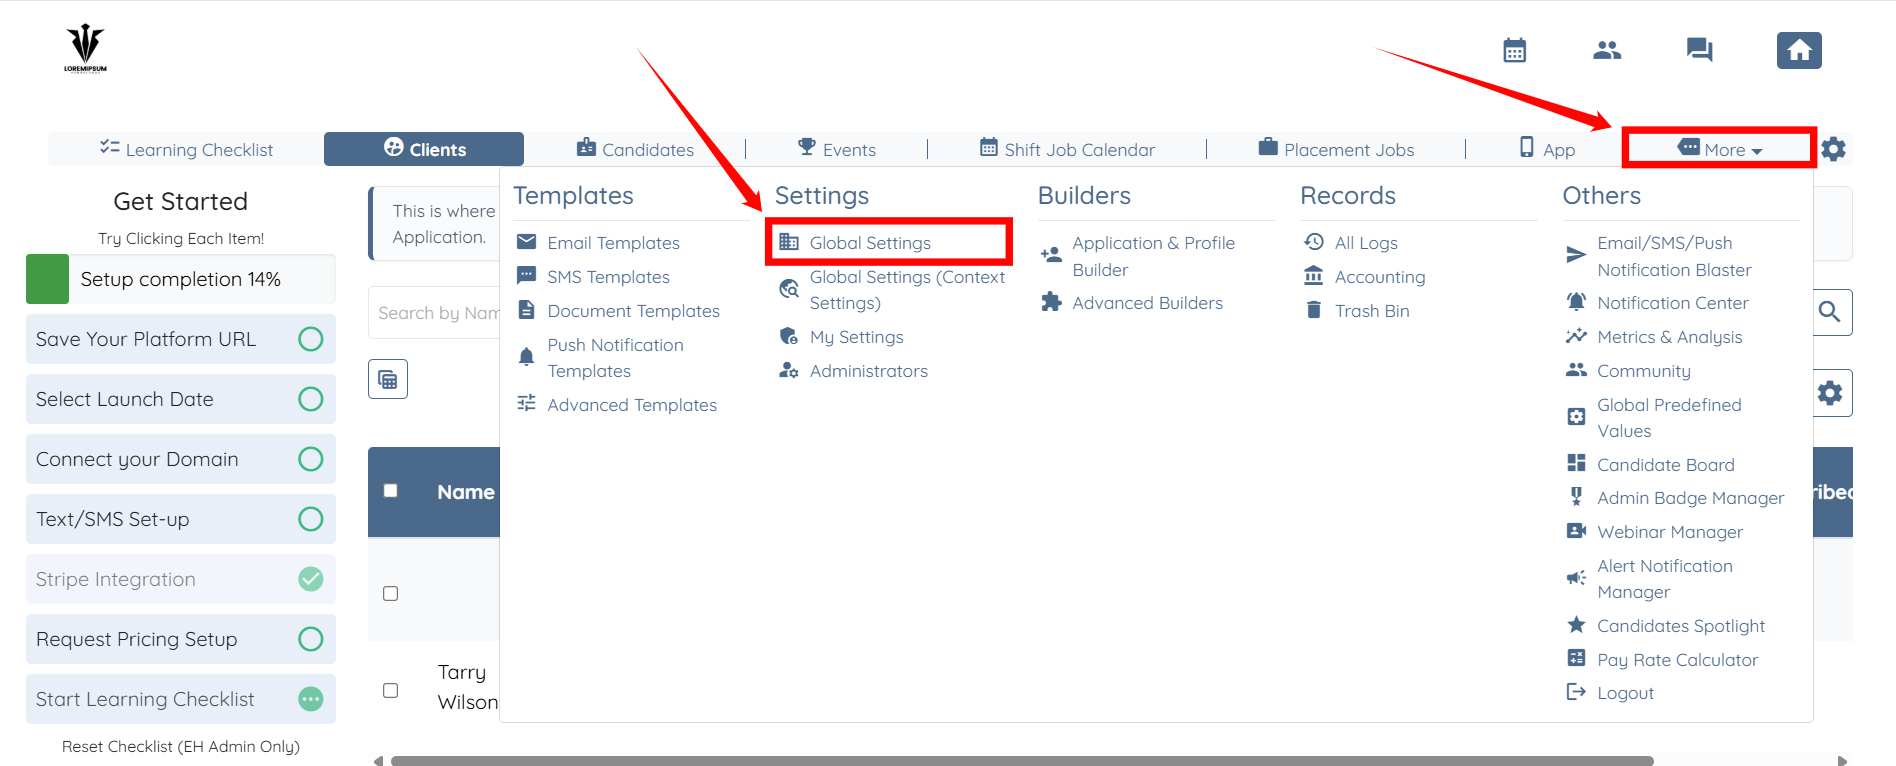
Step 1: Log in to your agent dashboard and click More > Global Settings, as shown in the screenshot below.
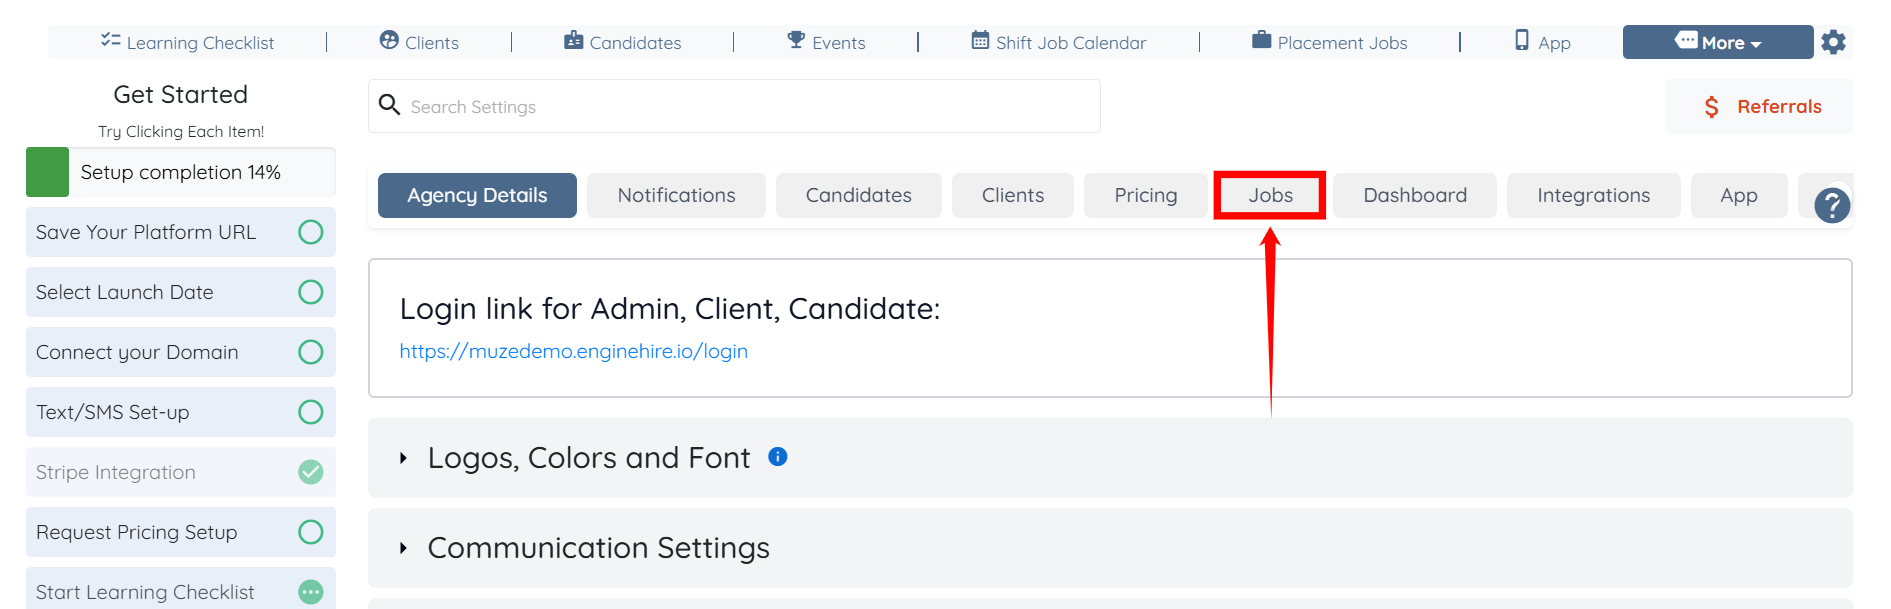
Step 2: Click the Jobs tab from the list of available tabs.
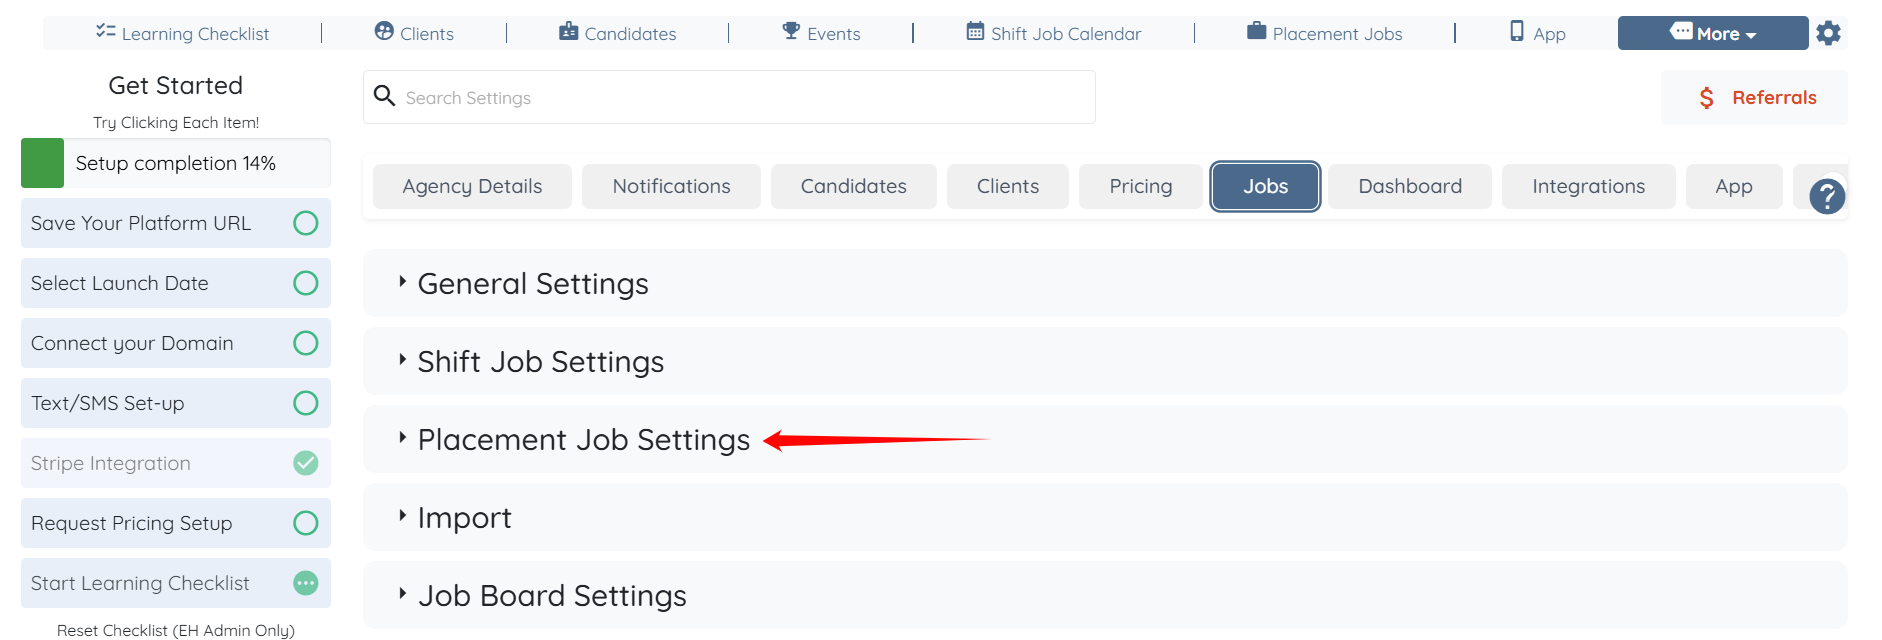
Step 3: Click the Placement Job Settings option to expand its details.
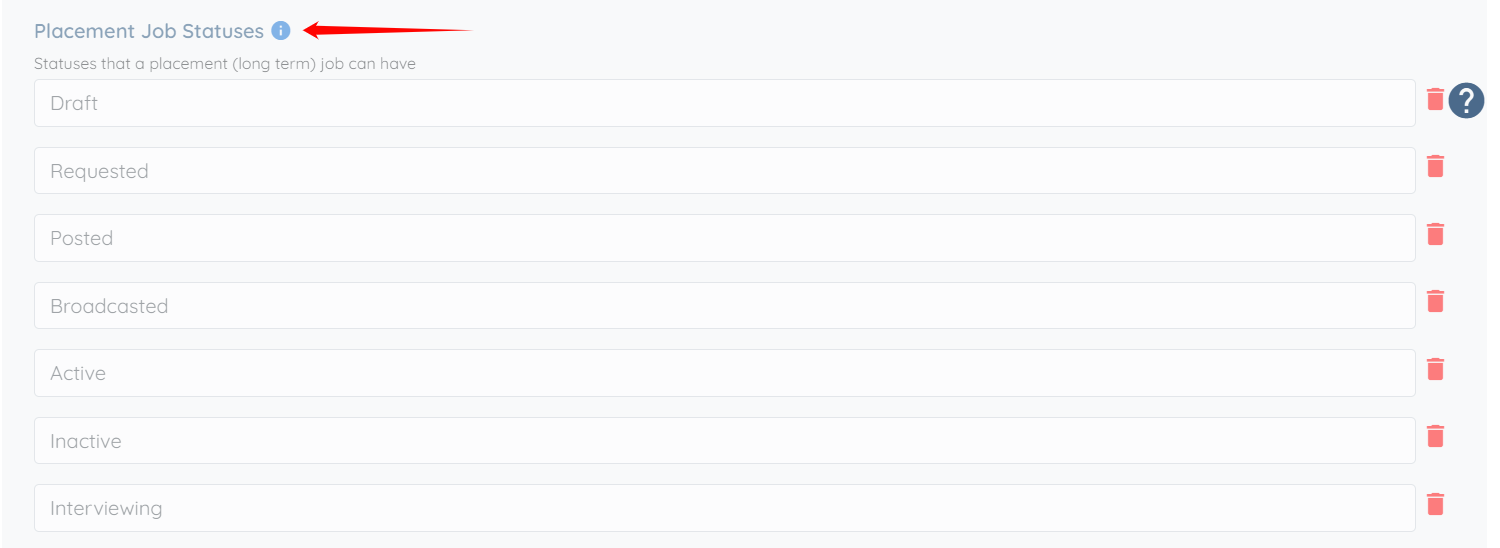
Step 4: Scroll down and locate the Placement Job Statuses option.
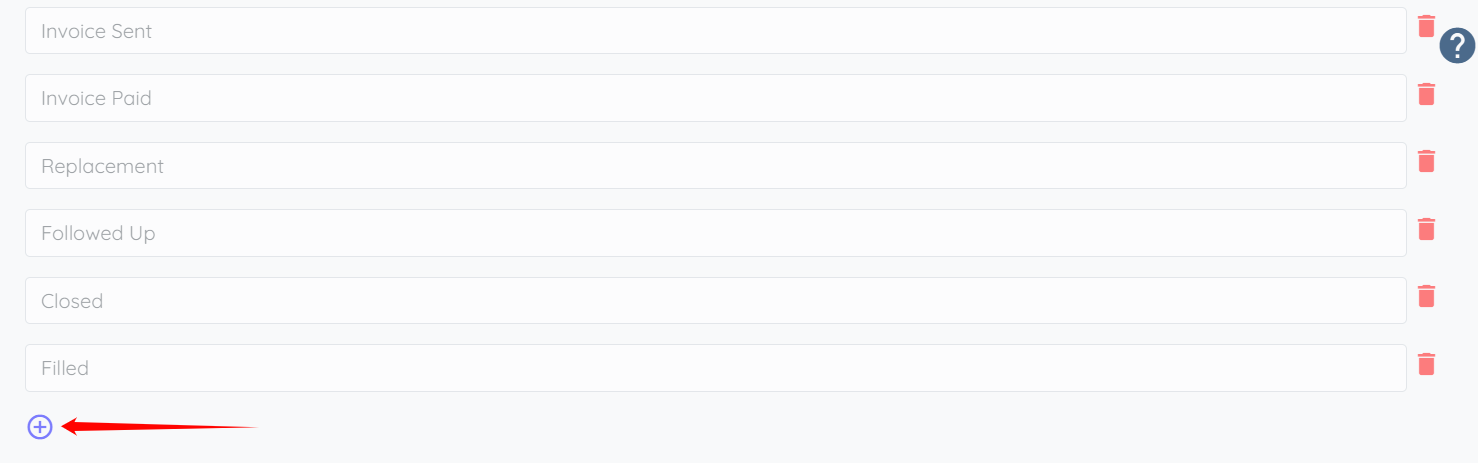
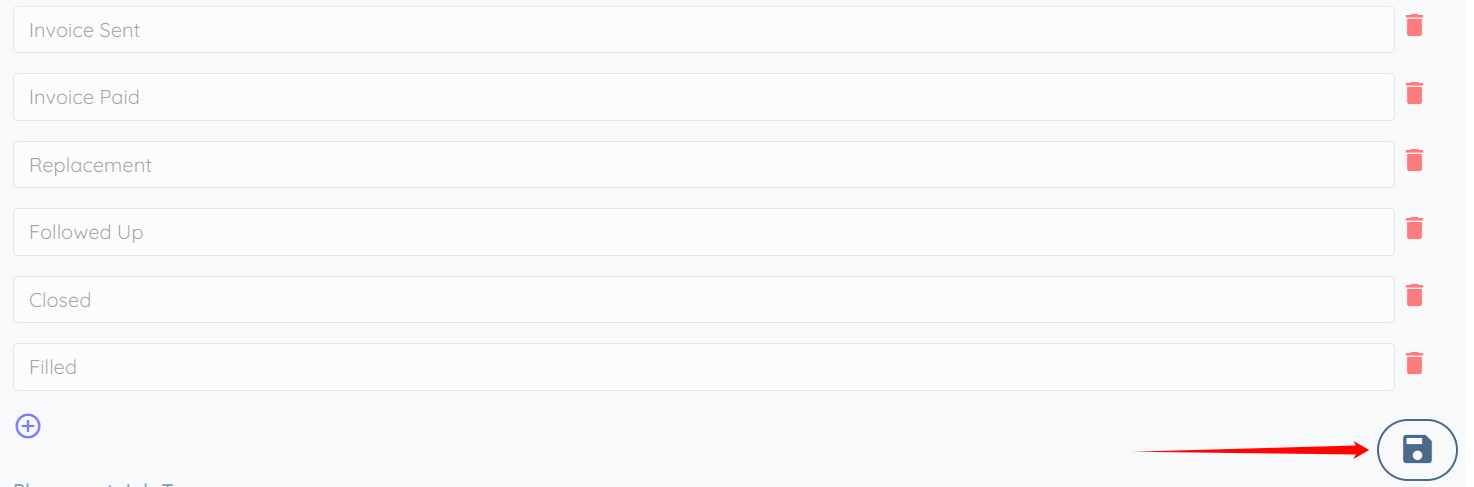
Step 5: Scroll down slightly and click the + icon to add a new placement job status.
Step 6: Enter the new placement job status as required, and then click the Save icon to confirm the changes.
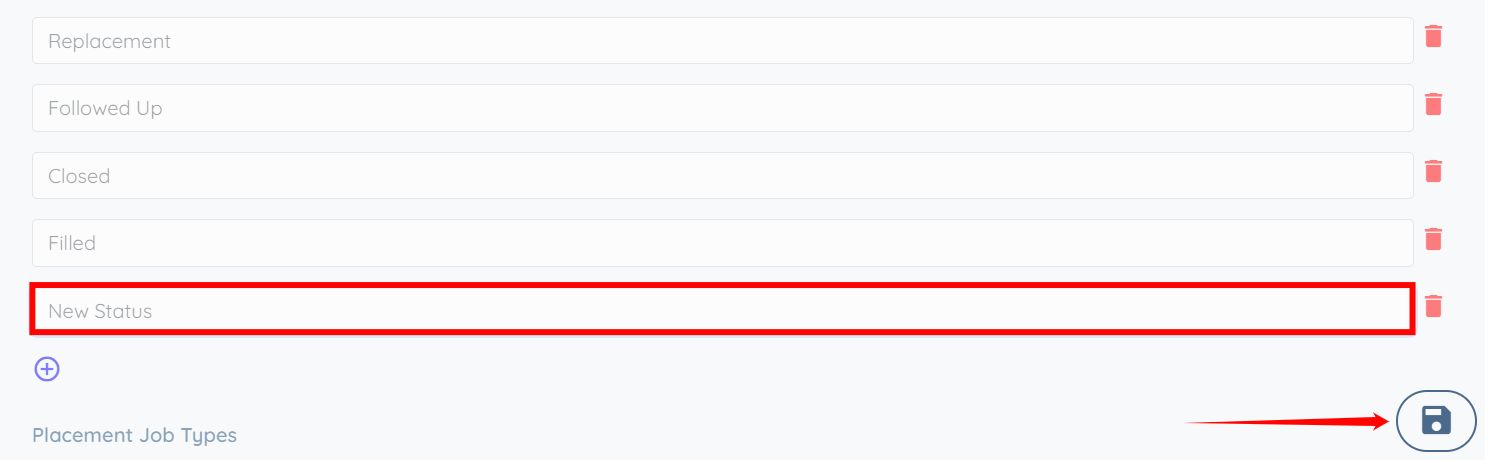
The new placement job status will be added successfully.

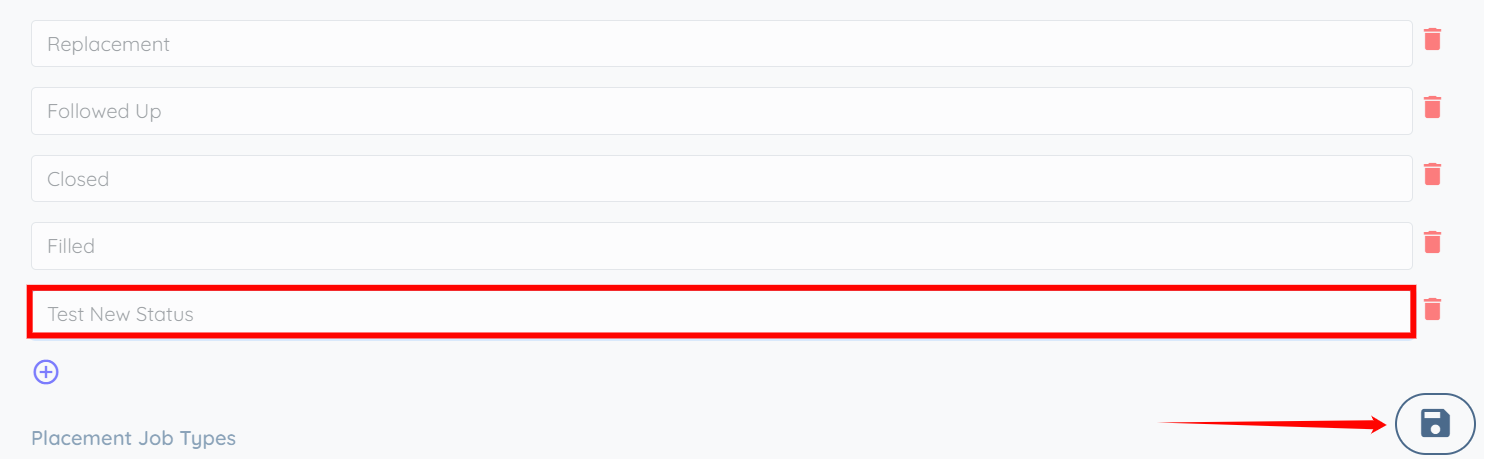
Step 7: You can also edit any placement job status as needed by clicking on it and renaming it accordingly.
Once you have made the required changes, click on the Save icon to confirm and apply the updates.
Step 8: You can remove any placement job status that is no longer needed. To do this, click the corresponding Trash icon next to the placement job status you want to remove.
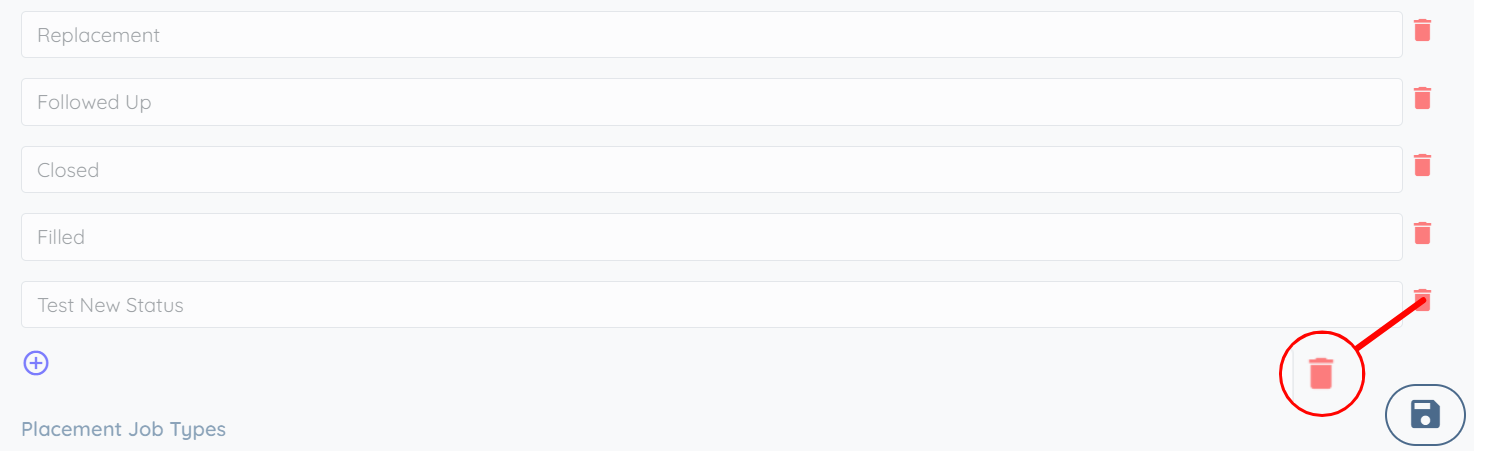
Step 9: Click the Save icon to confirm the changes.
A Placement Job status appears in your dashboard, search filters, reports, or records, but you cannot find it in your configured Placement Job Status list.
This can occur if:
A default status is configured but has not been added to your Placement Job Status list.
A status is referenced by another feature or configuration but has not been added to your Placement Job Status list.
A previously used status was renamed or removed, but existing records still reference it.
Identify the name of the missing status.
Add the status to your Placement Job Status list by following the steps described earlier in this article.
Save your changes.
Refresh the dashboard or reopen the search filters to verify that the status now appears.
If applicable, update any filters, reports, or other settings that use the status.

