Let’s get started 🚀
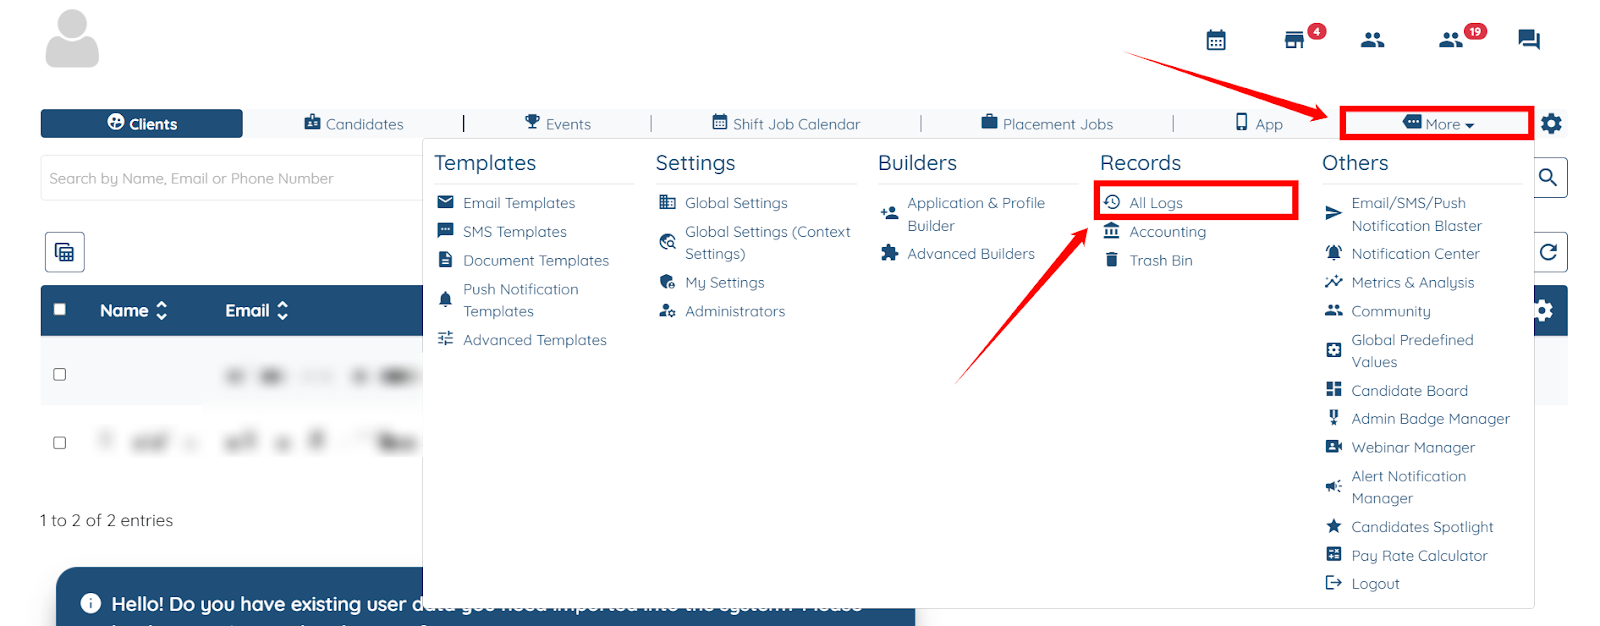
Step 1: Log in to your agent dashboard, click More > All Logs as shown in the screenshot below.
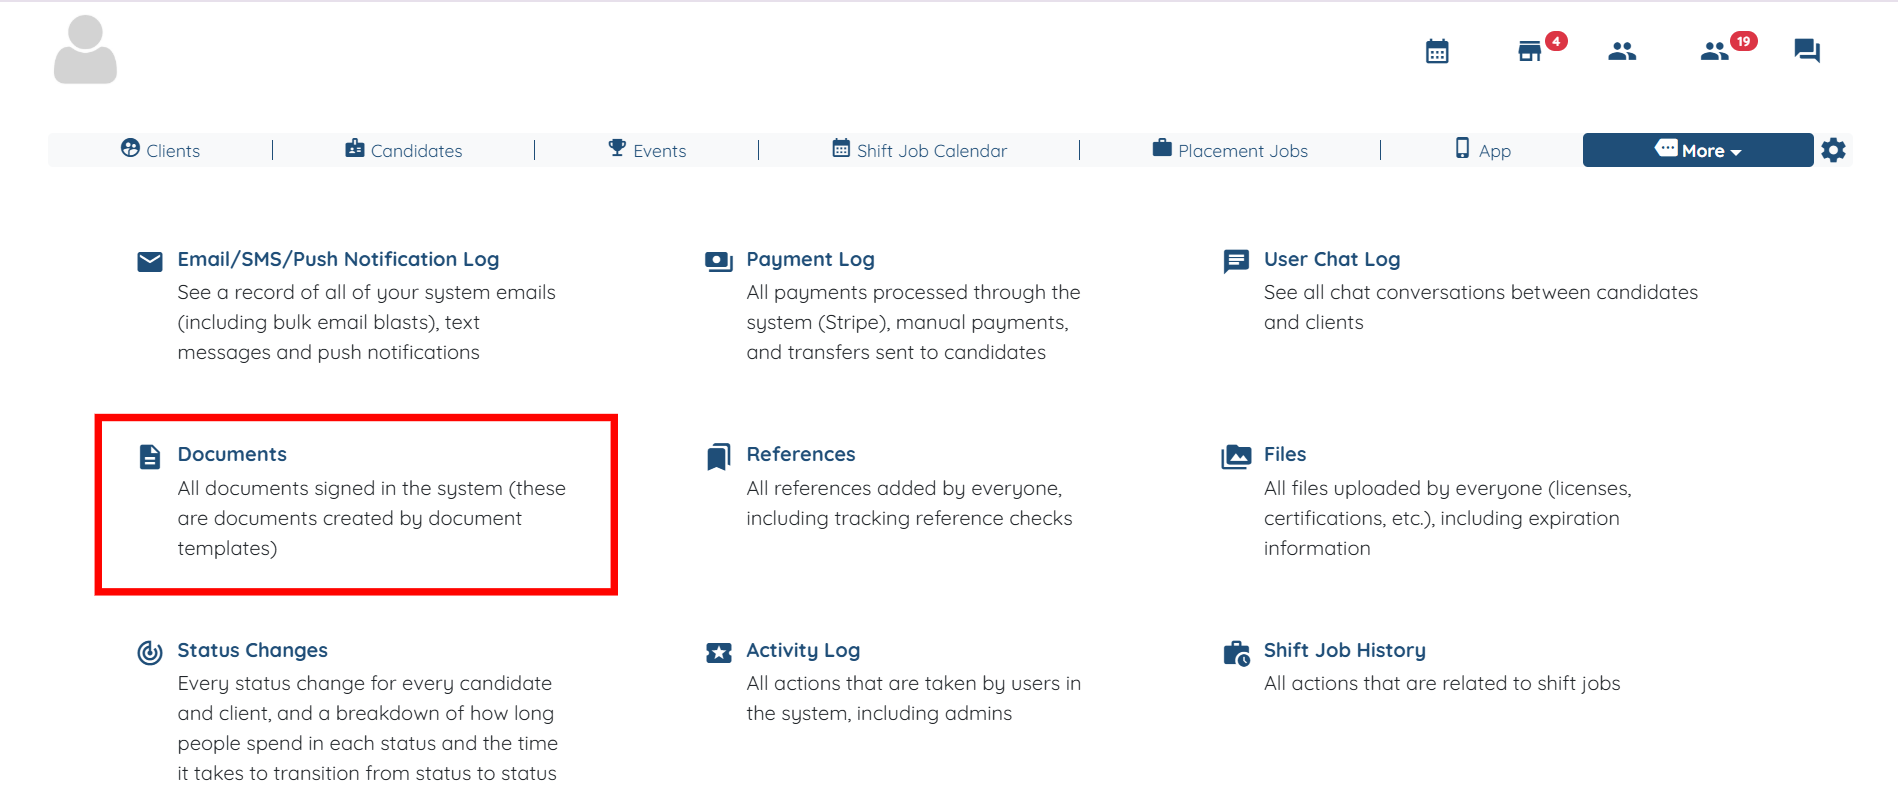
Step 2: From all the available options, click the Documents option.
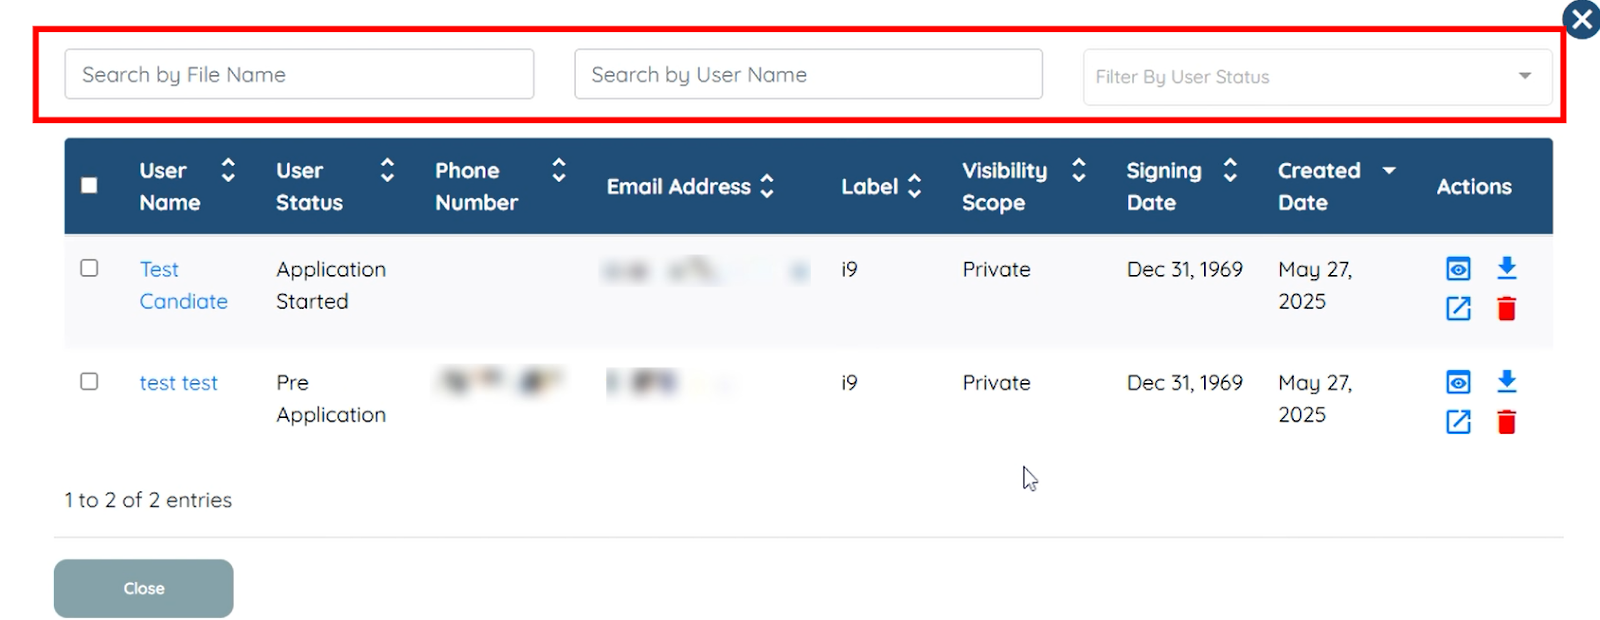
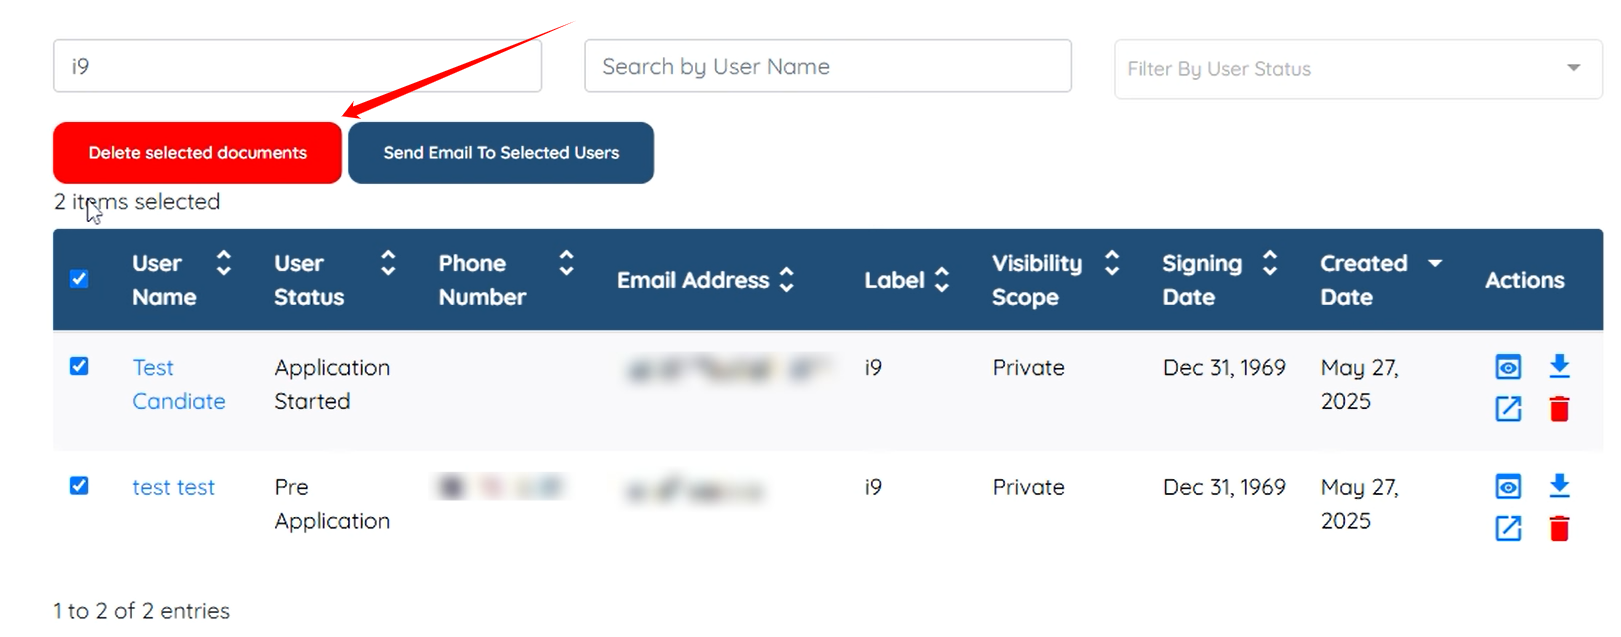
Step 3: You can search and select the documents you want to unassign by File Name or User Name, and you can also filter the documents by User Status.
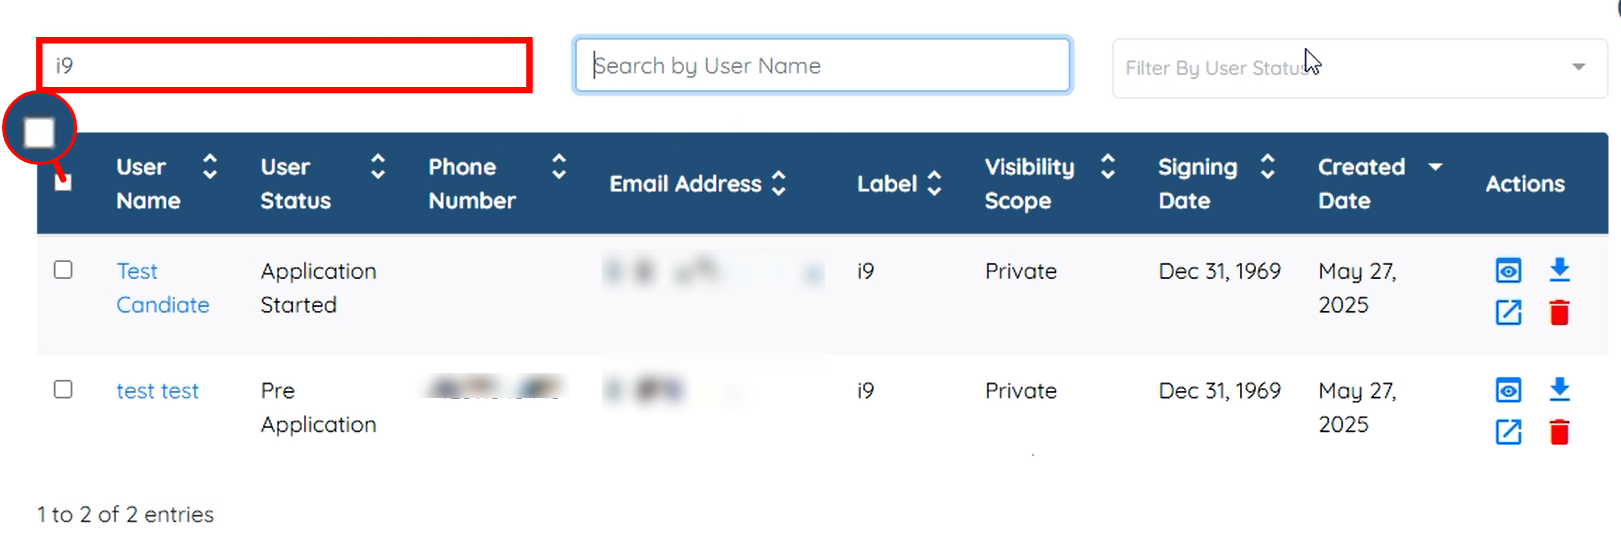
For demonstration purposes, we will unassign the documents labeled i9. To do this, click the checkbox as shown in the screenshot below:
Step 4: Click the Delete selected documents button.
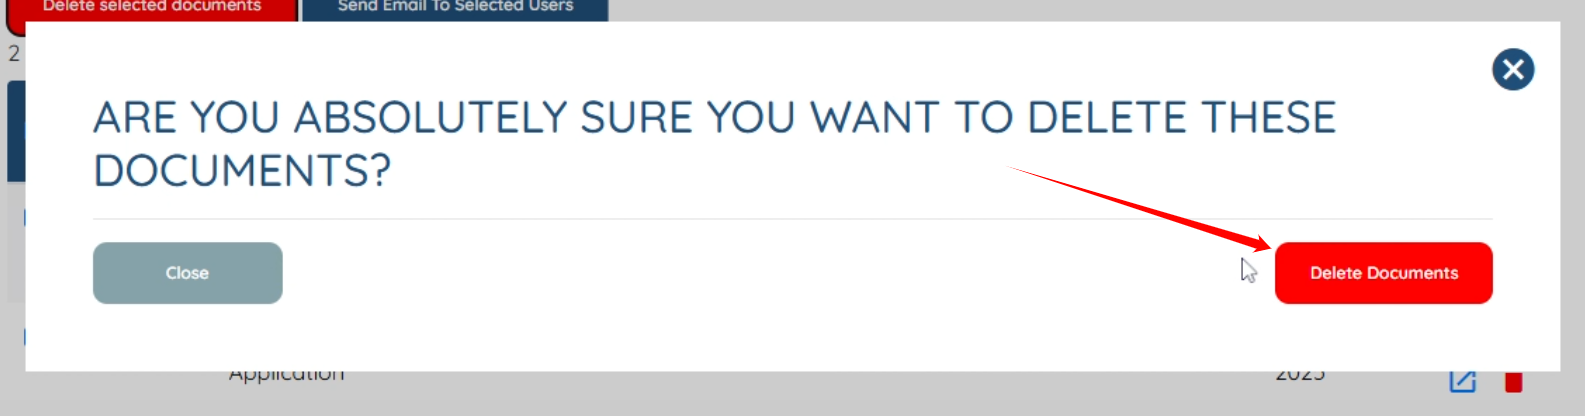
Step 5: Click the Delete Documents button to proceed.
You will successfully delete (unassign) the documents from the profile, and then you can simply re-add them.

