Medication administration
Wound care and bandage changes
Doctor-recommended activities (e.g., physical therapy exercises)
Nutrition and meals
Fluid intake and output
Feeding schedules and amounts
Sleep tracking
Diaper changes
Routine activity tracking
Feeding times and portions
Medication tracking
Walk duration and distance
Let’s get started 🚀
Create a Client Activity Log by defining the required fields and structure based on the type of activities you want to track.
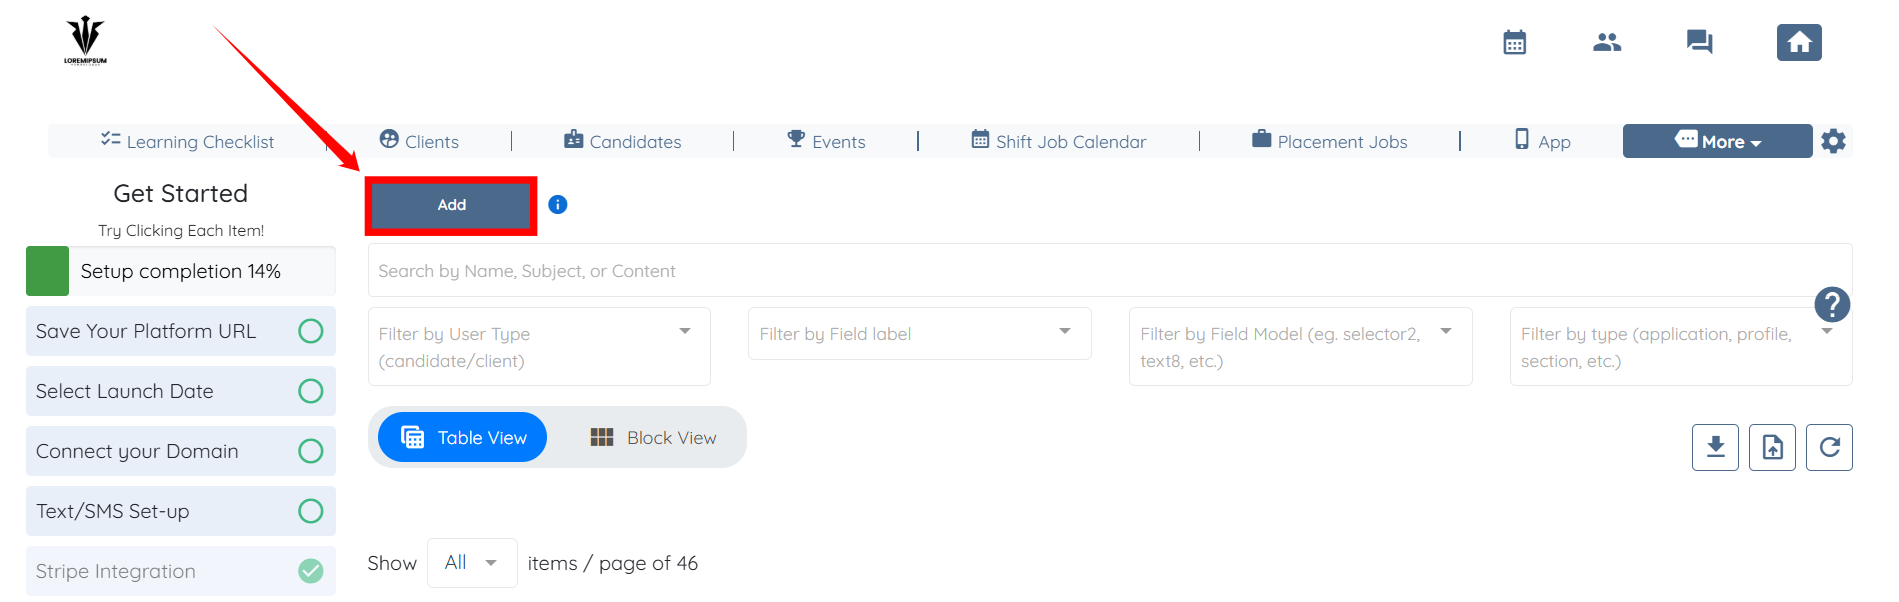
Step 1: Log in to your agent dashboard and click More > Application & Profile Builder as shown in the screenshot below.

Step 2: Click the Add button.
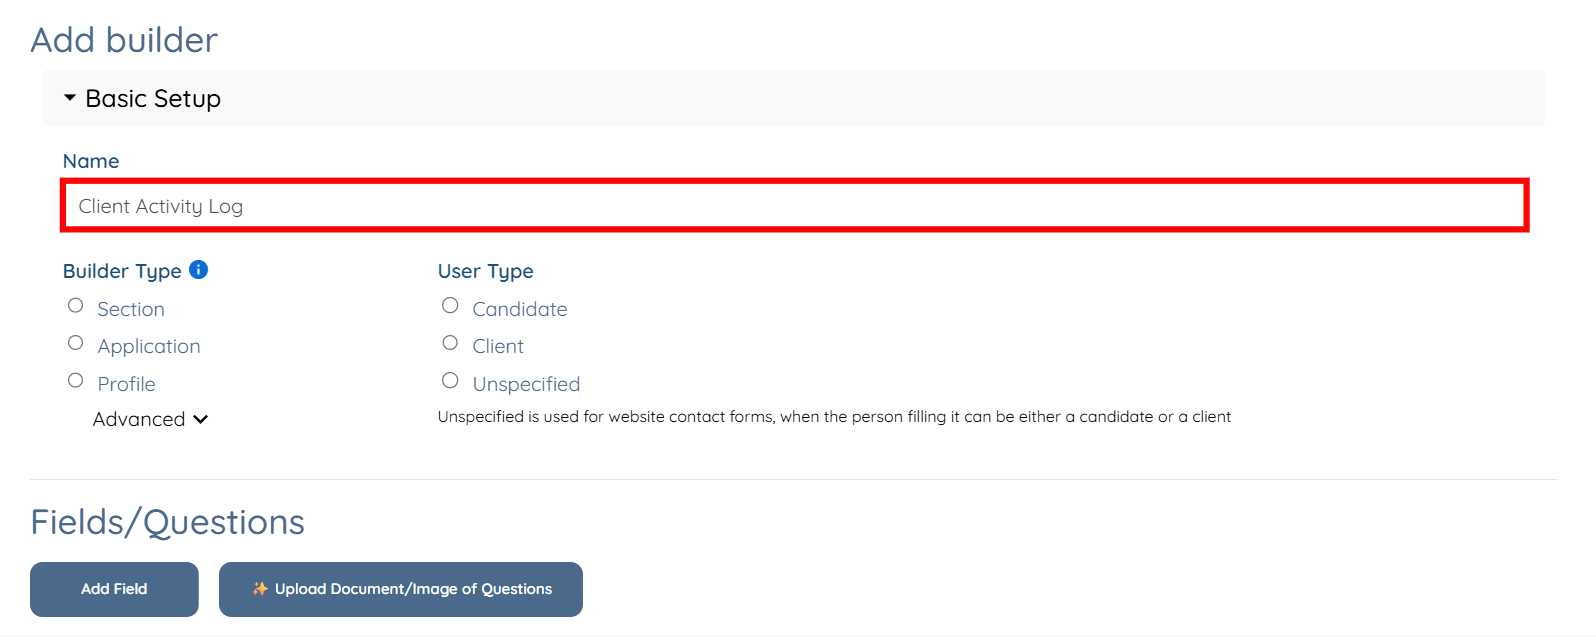
Step 3: Enter name for your builder.
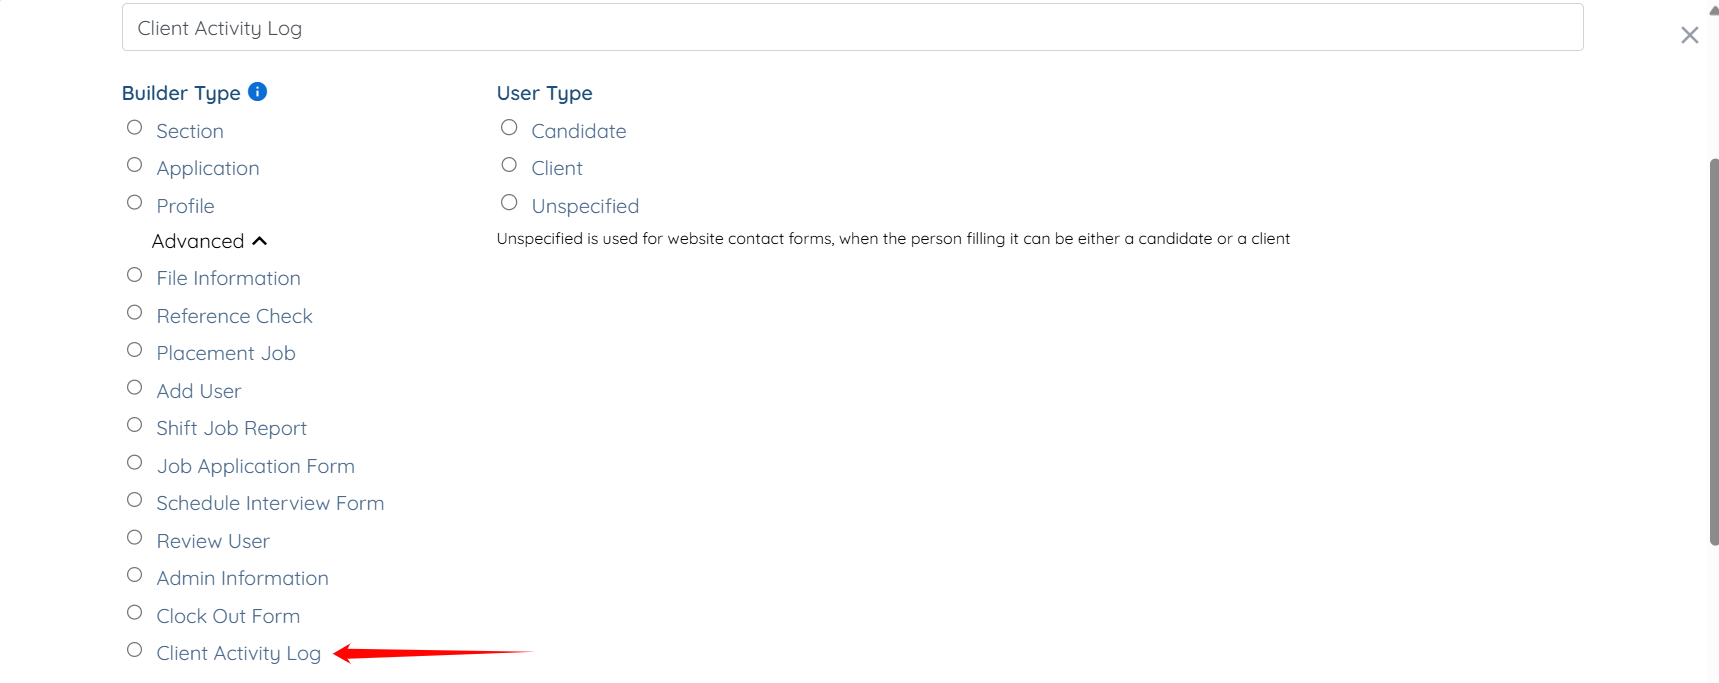
Step 4: Click the Advanced option to expand the builder types.
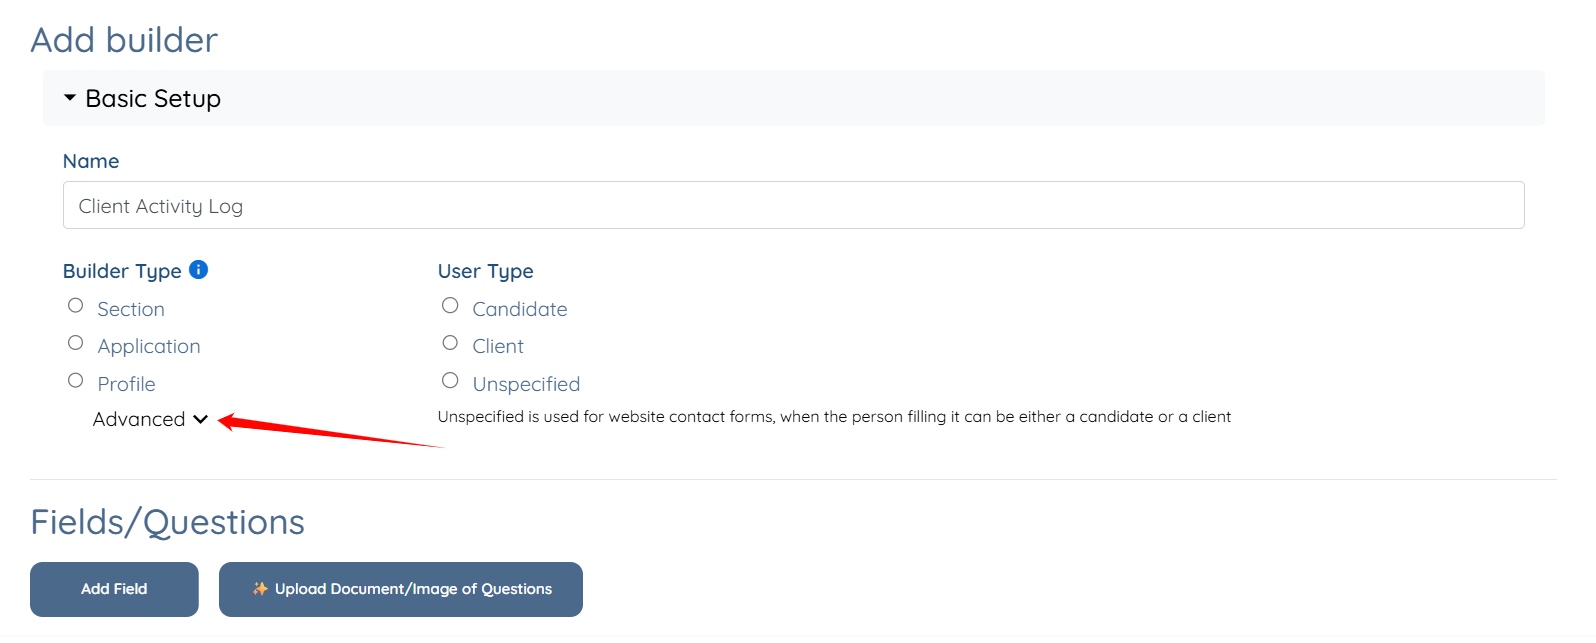
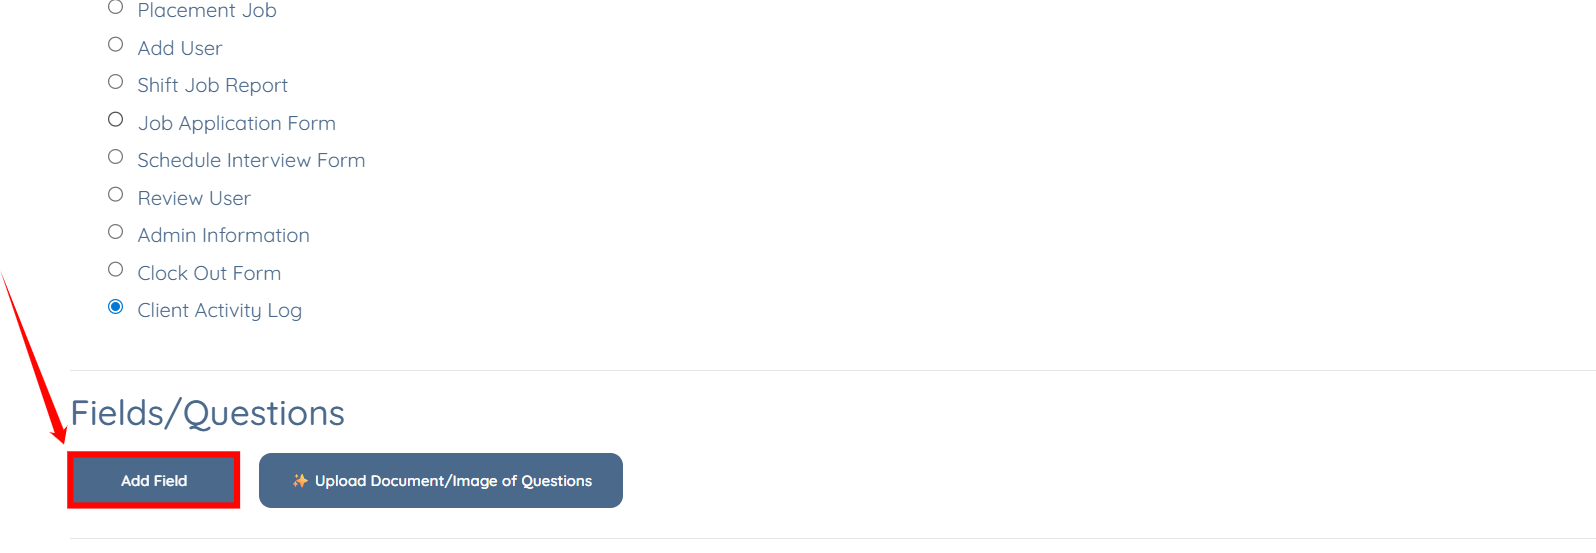
Step 5: Select the Client Activity Log radio button.
Step 6: Click the Add Field button.

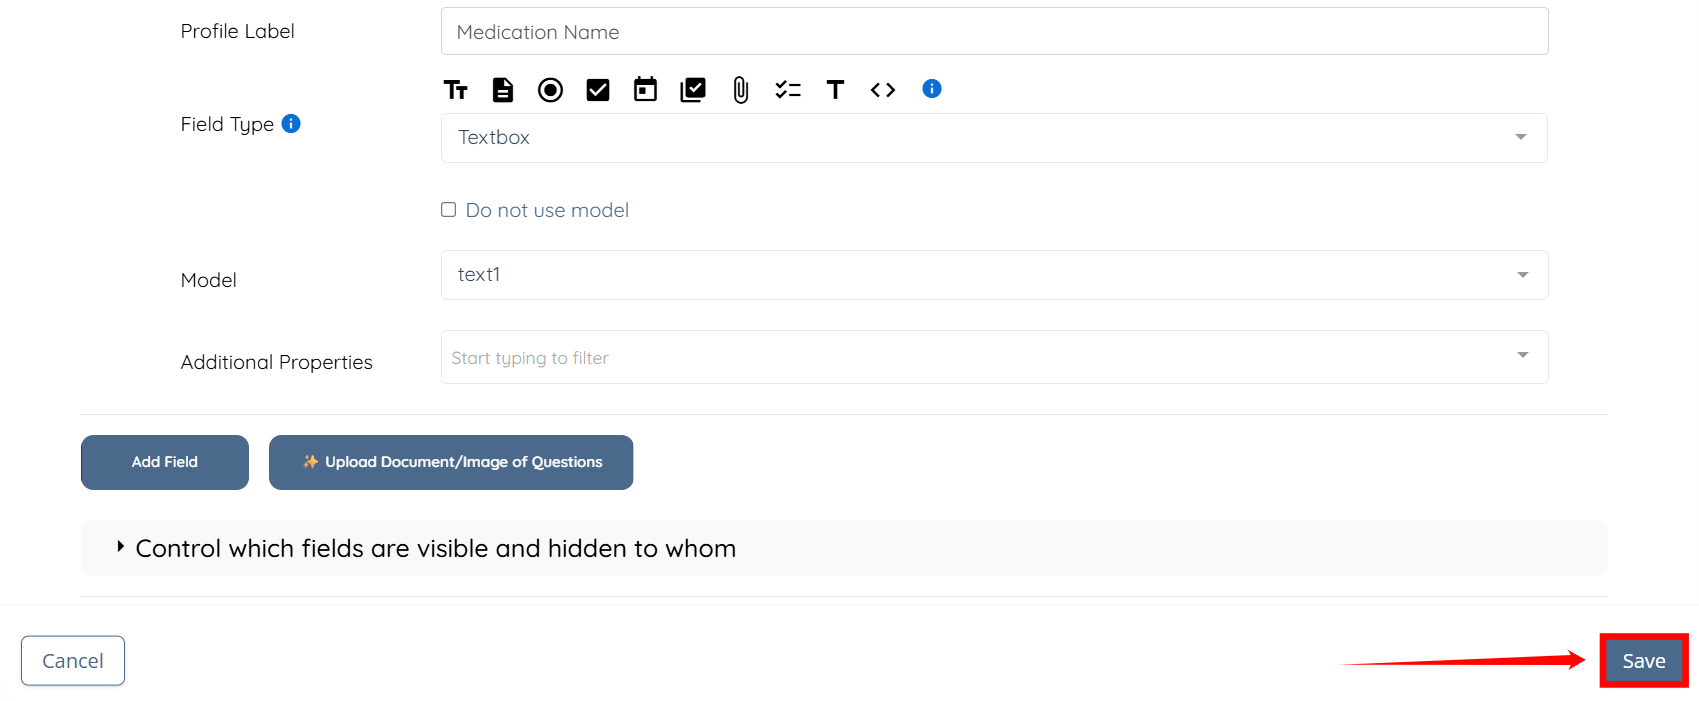
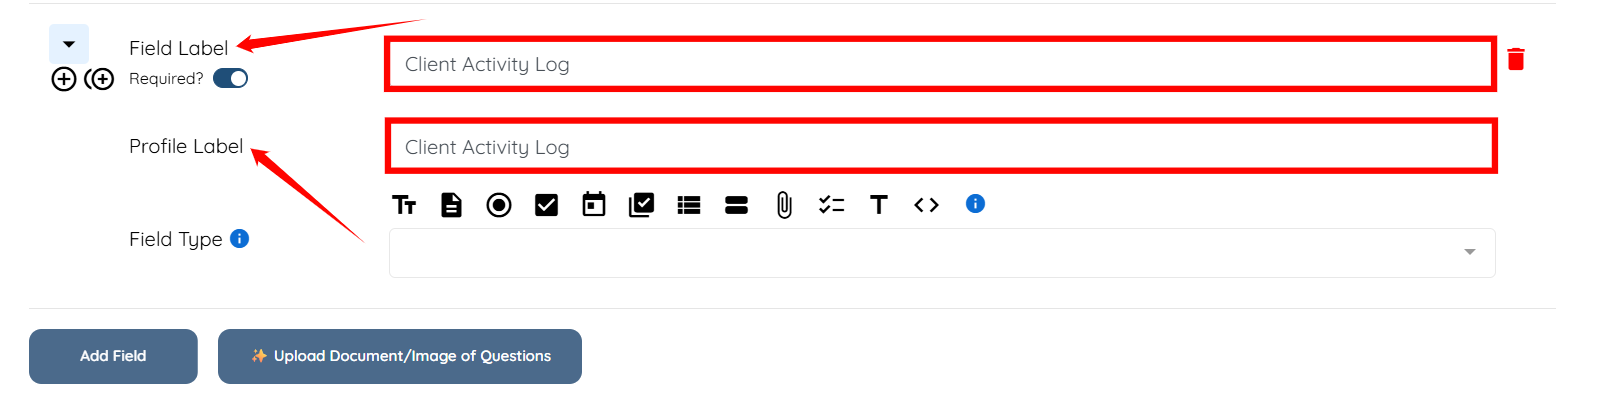
Step 7: Enter the Field Label and Profile Label for the field.
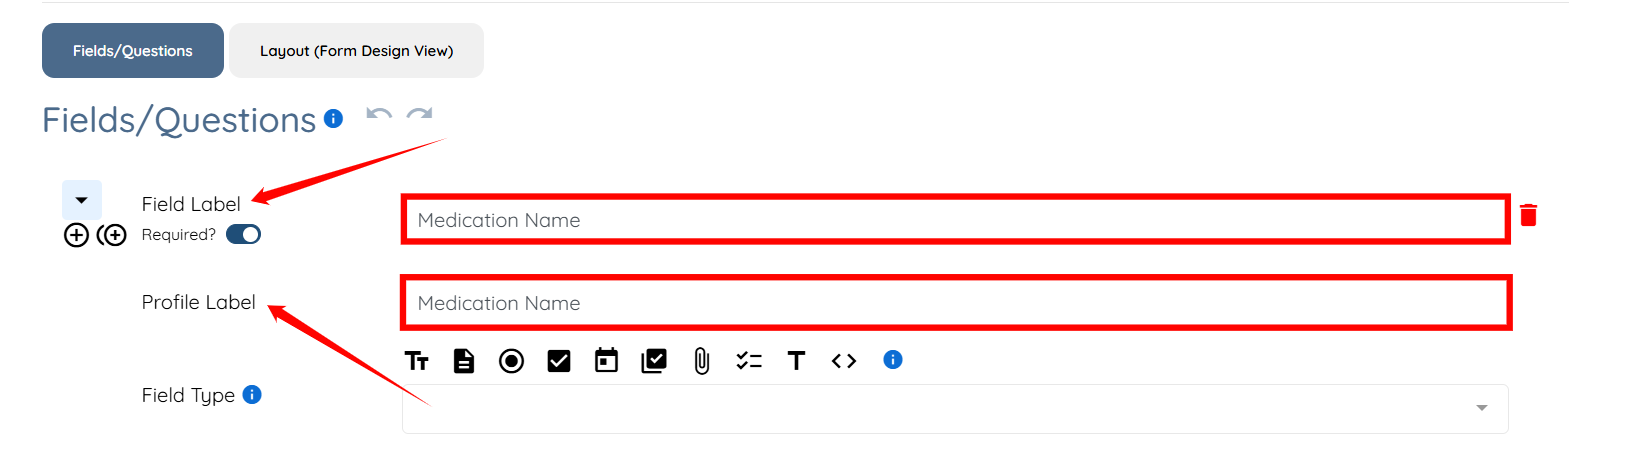
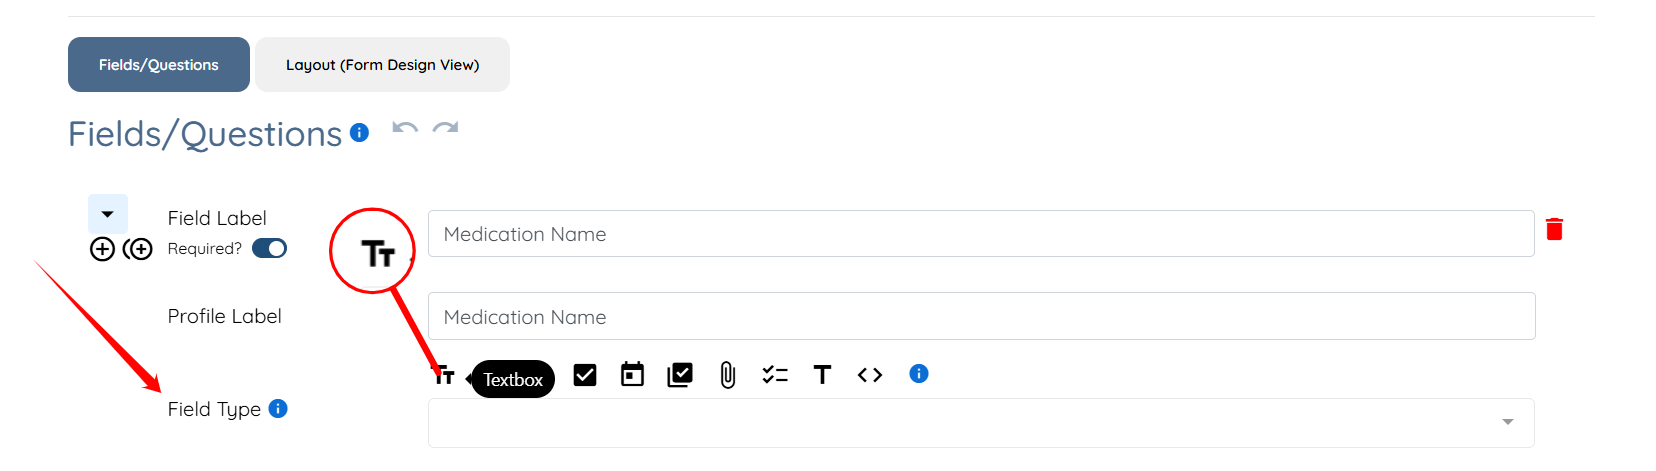
Step 8: Select Textbox as the Field Type.
Step 9: Click the Save button to proceed.
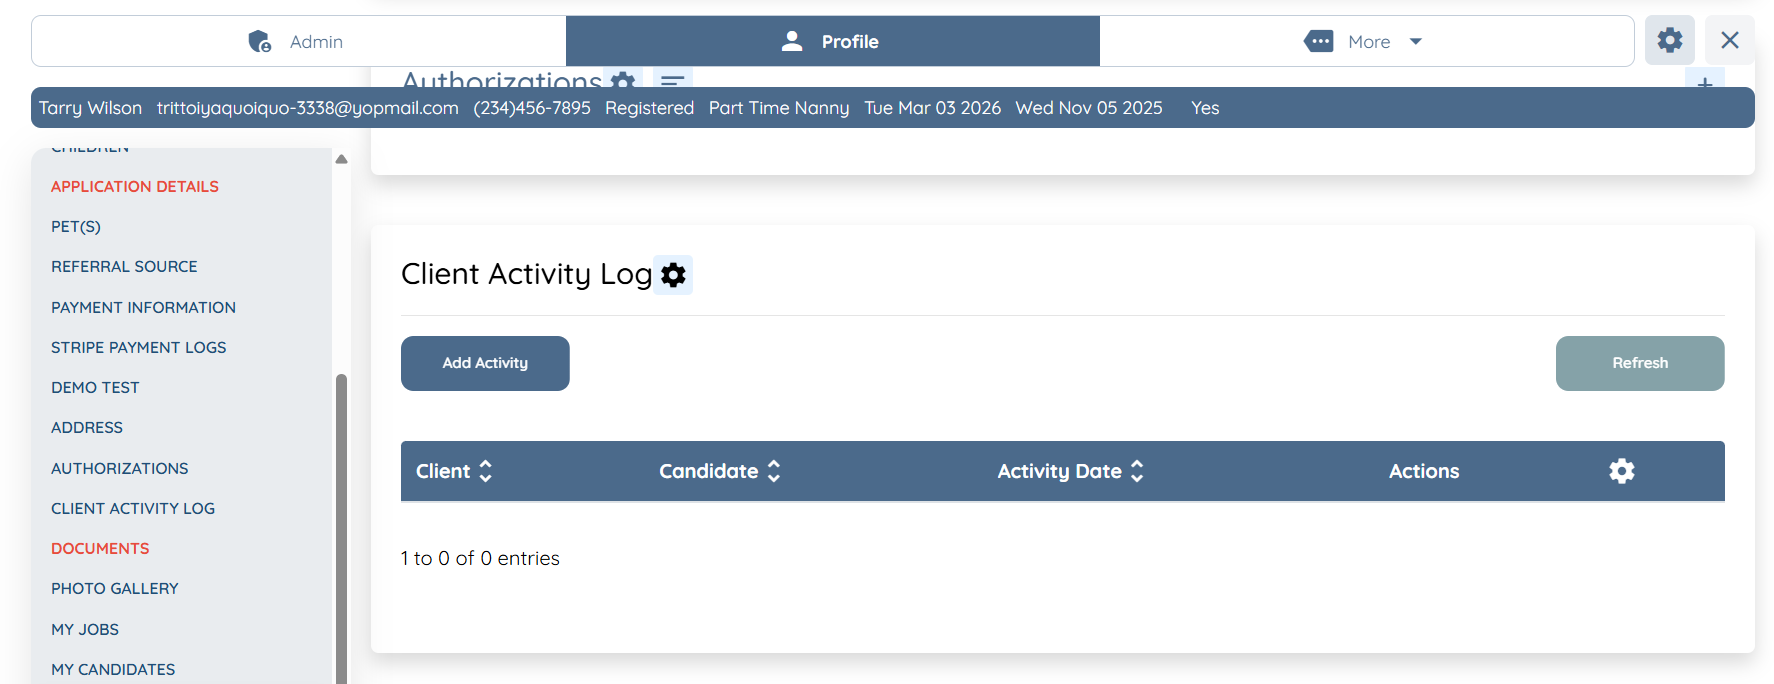
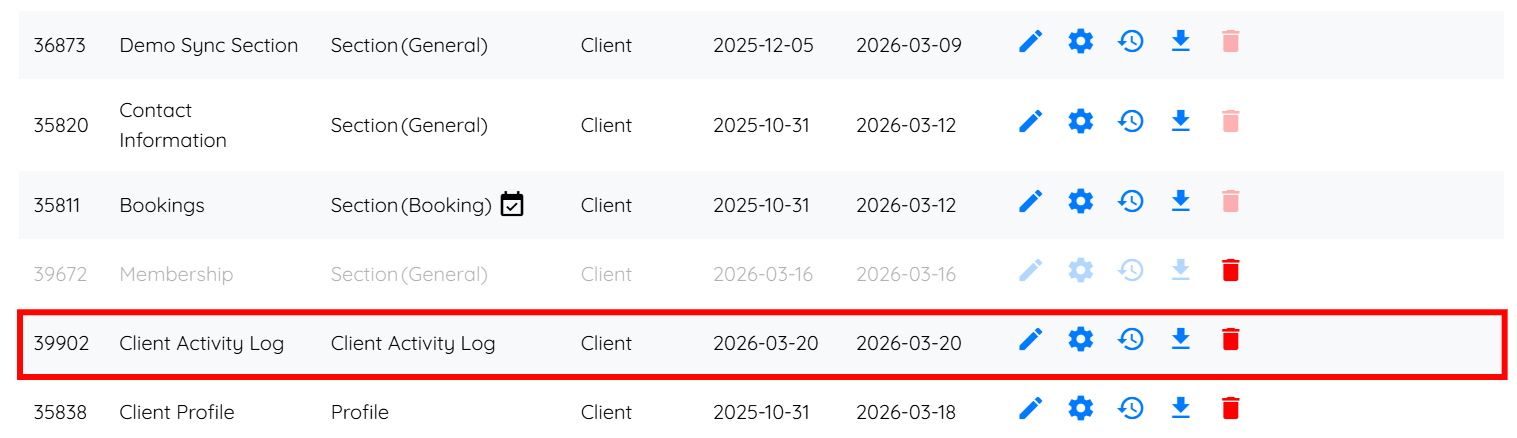
The Client Activity Log will be created successfully.
Once the Client Activity Log is created, add it to the client profile to start recording and managing activity entries.
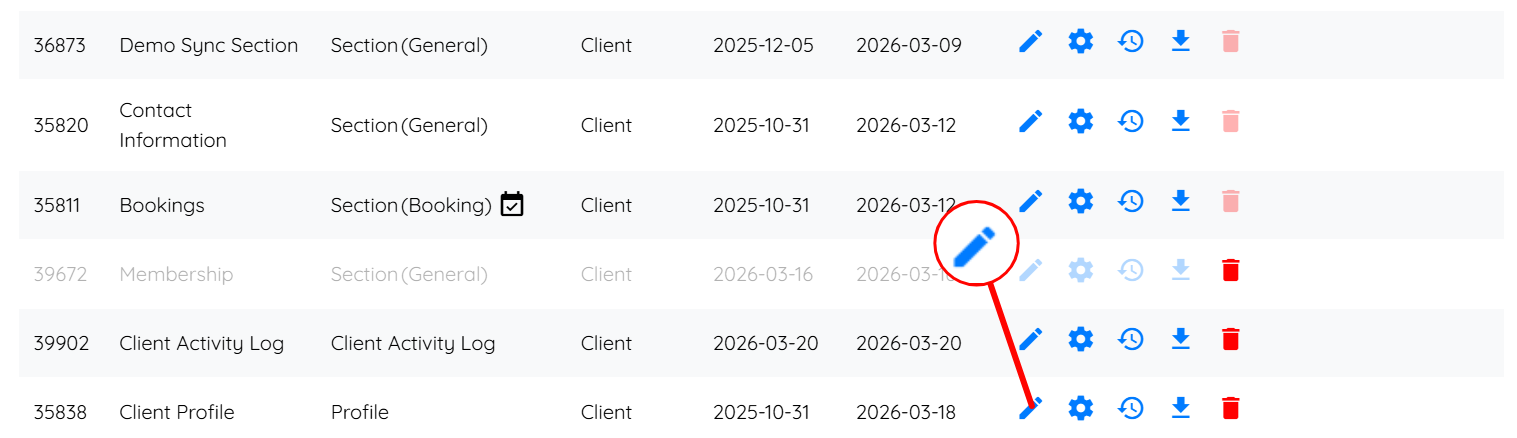
Step 1: Locate the Client Profile builder and click the corresponding pencil icon.
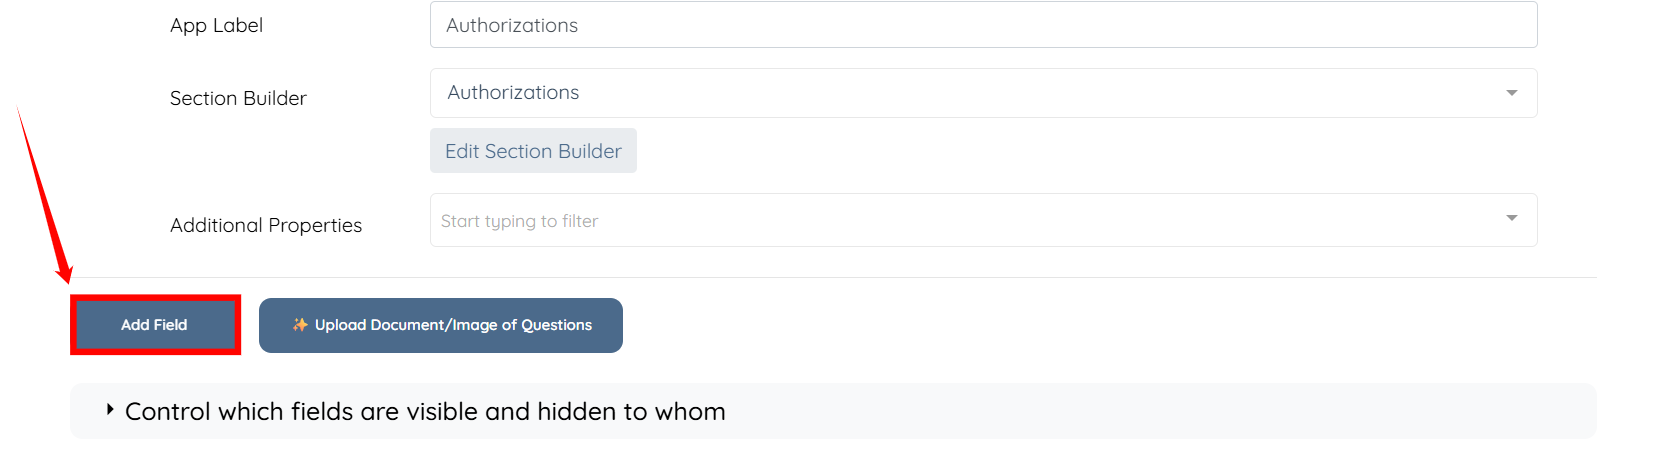
Step 2: Scroll to the bottom and click the Add Field button.
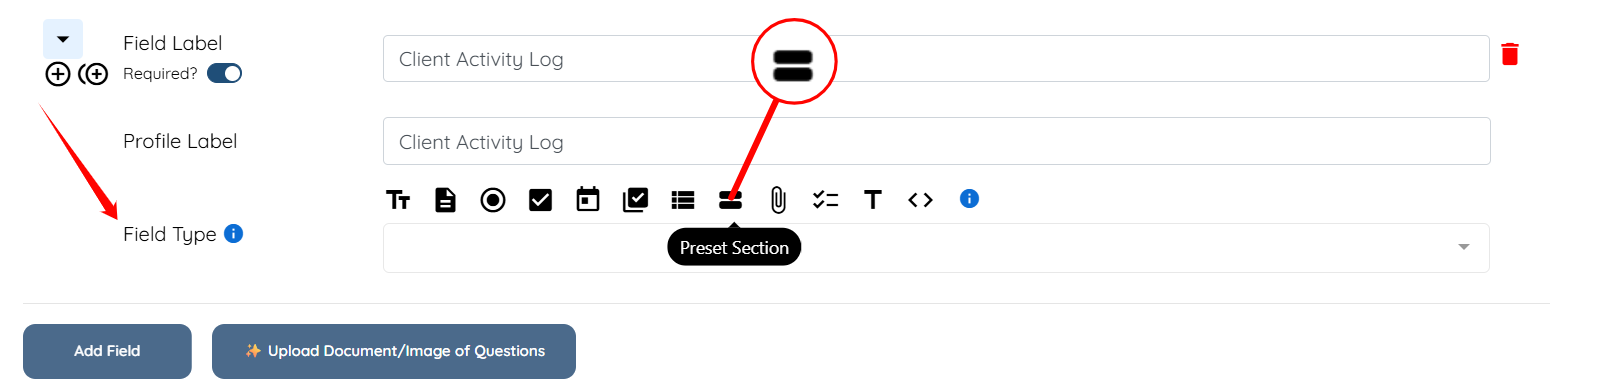
Step 3: Enter the Field Label and Profile Label.
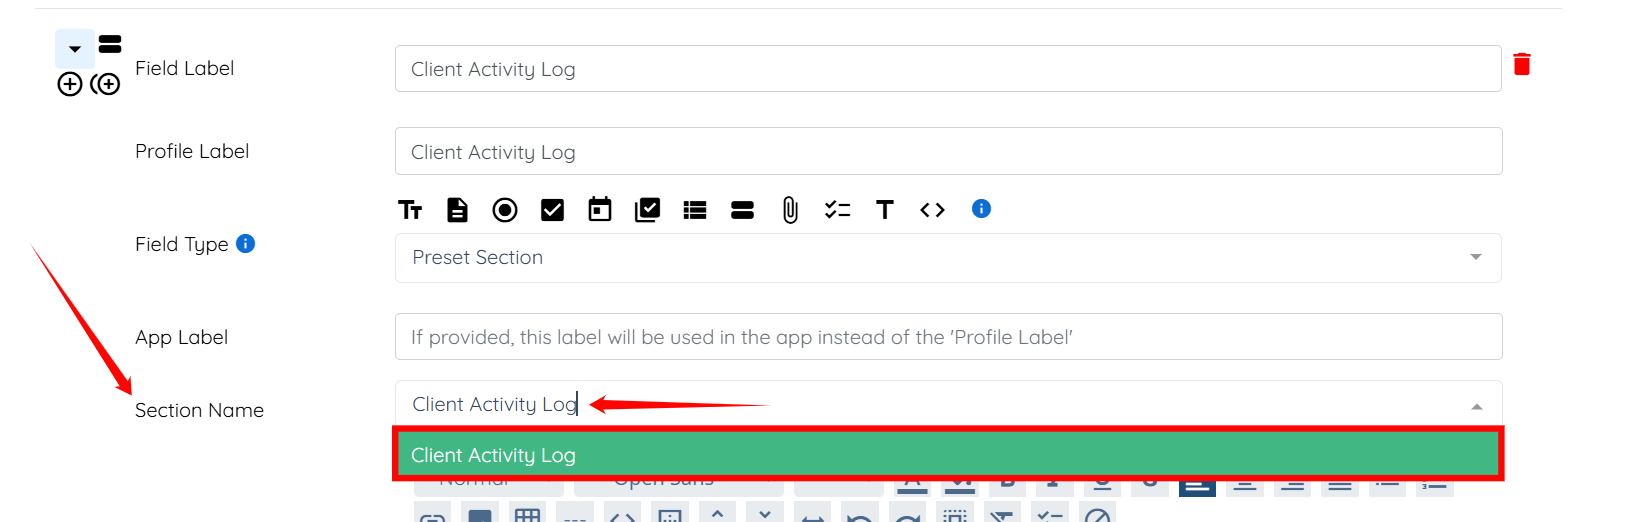
Step 4: Select Preset Section as the Field Type.
Step 5: Type and select the Client Activity Log from the list in the Section Name field.
Step 6: Click the Save button to proceed.

Candidates will now be able to add entries directly to the Client Activity Log by clicking on the Client Profile if they've been assigned or previously worked a shift job for that specific client.
All candidates will be able to see the entire Client Activity Log entries within the Client Profile.