
Let’s get started 🚀
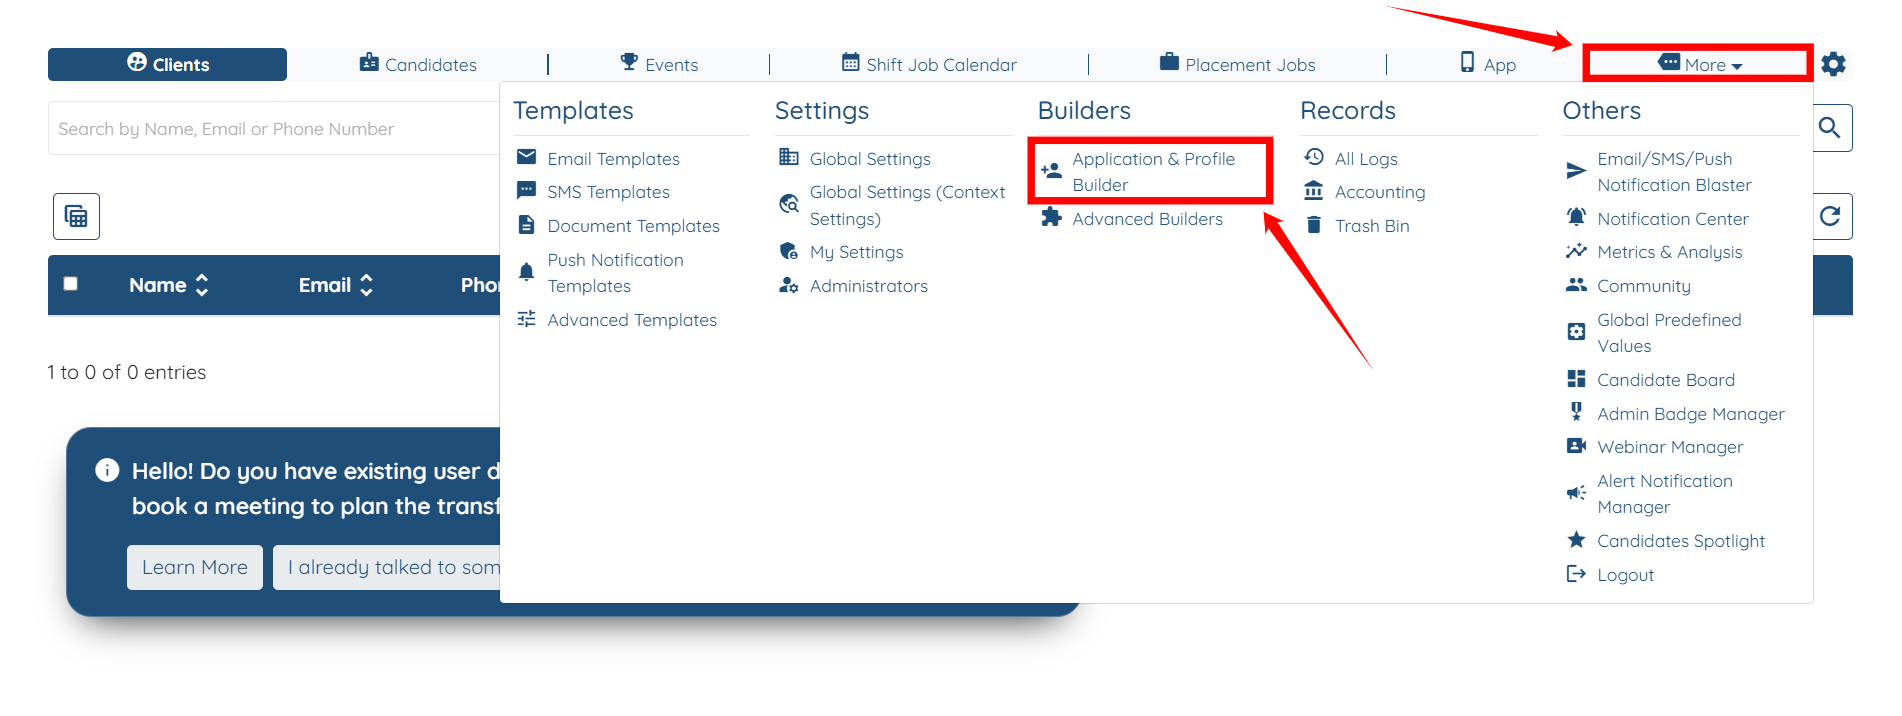
Step 1: Log in to your agent dashboard, then navigate to More > Application & Profile Builder, as shown in the screenshot below.
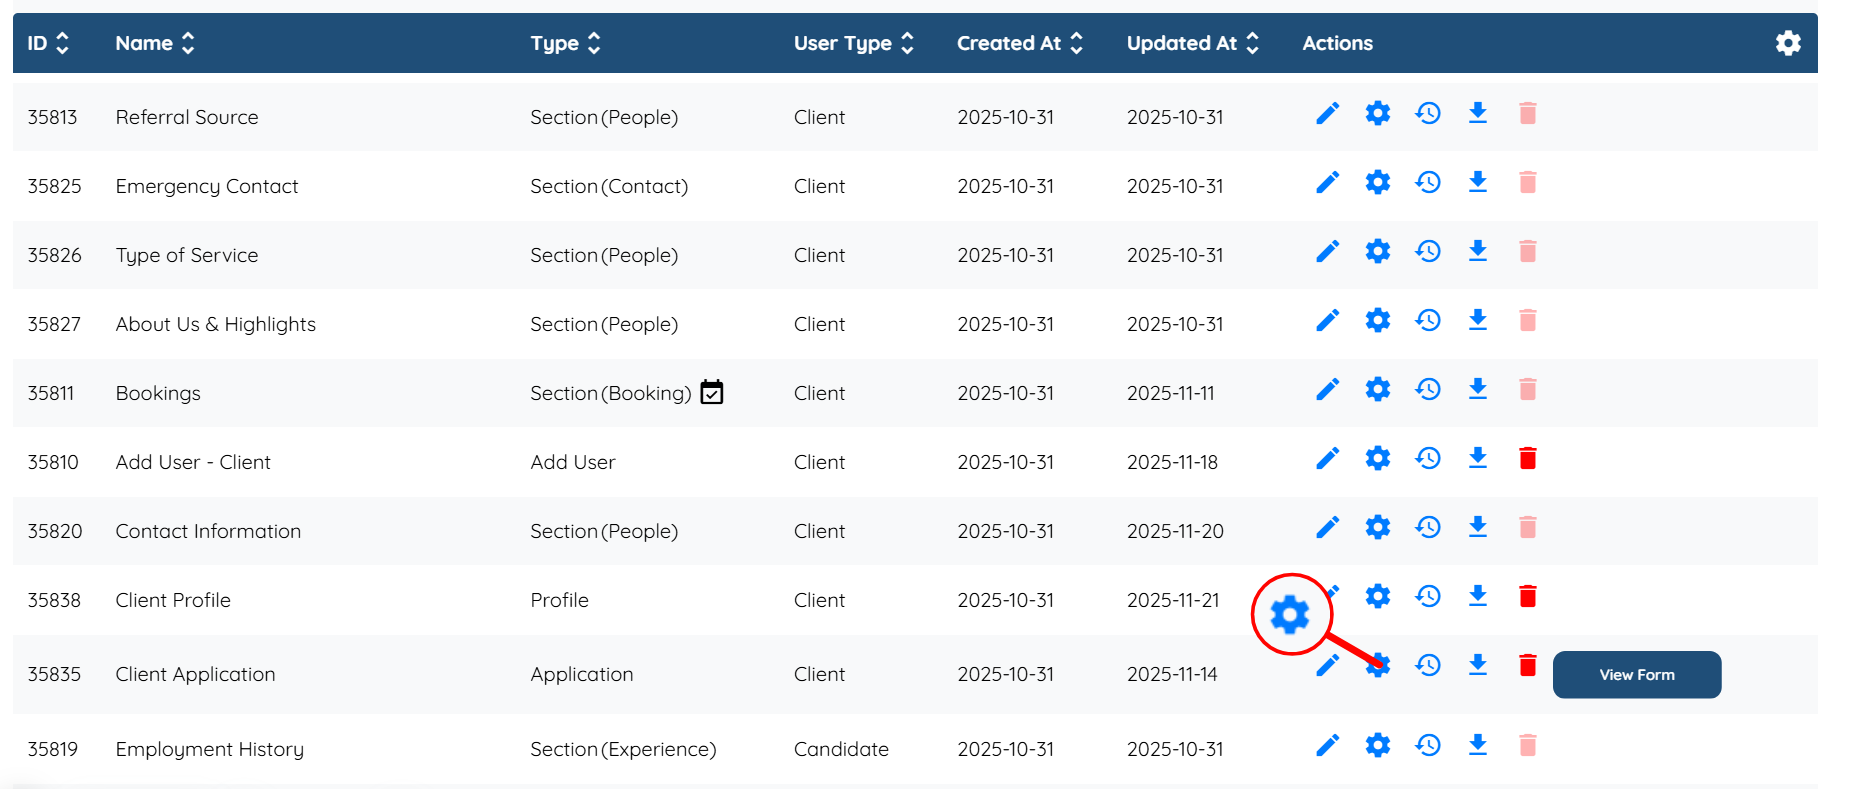
Step 2: Locate the client application form, and then click the Gear icon associated with that form in the Actions column.
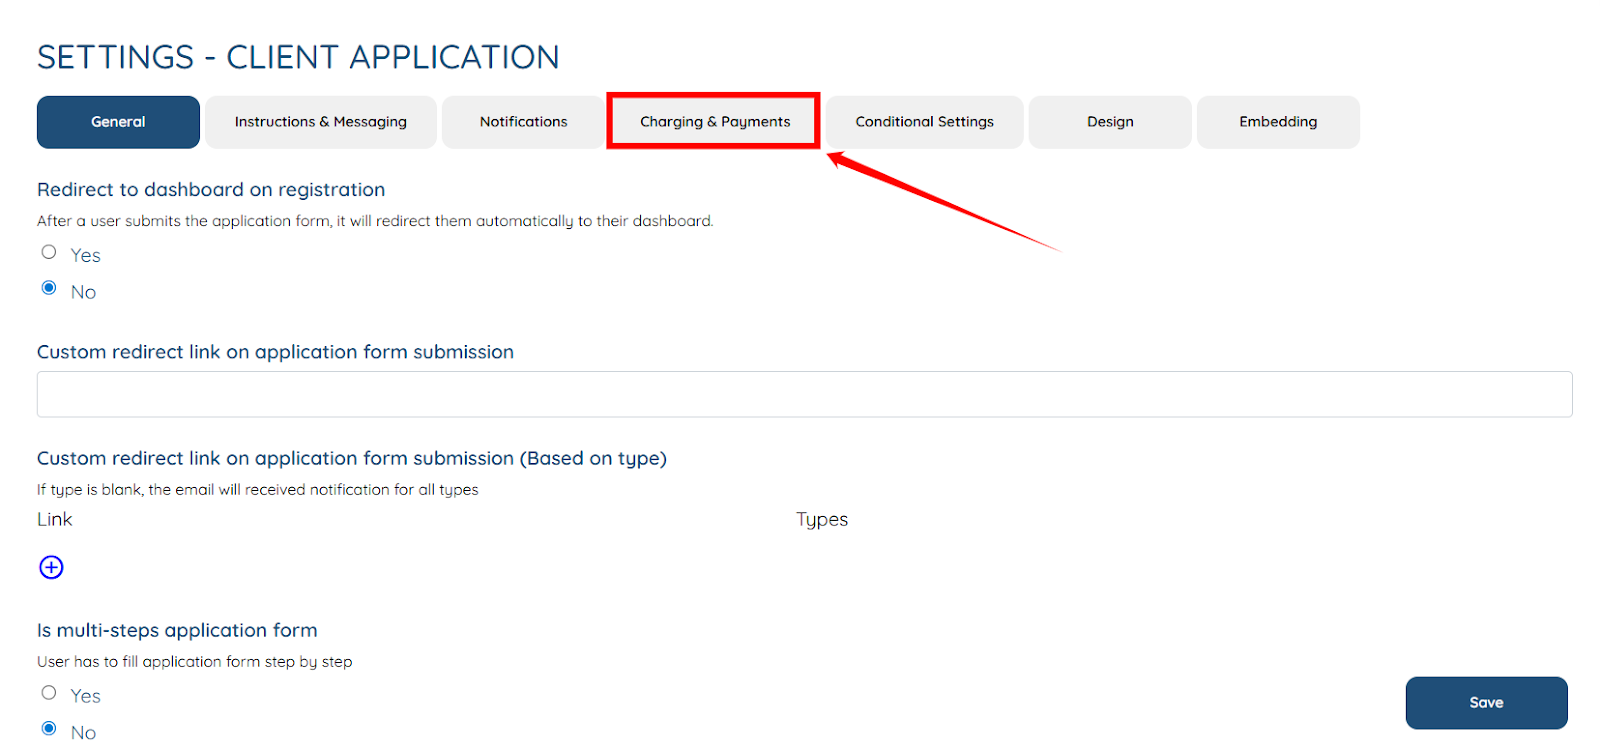
Step 3: Click on the Charging & Payments tab from the list of all the tabs available.
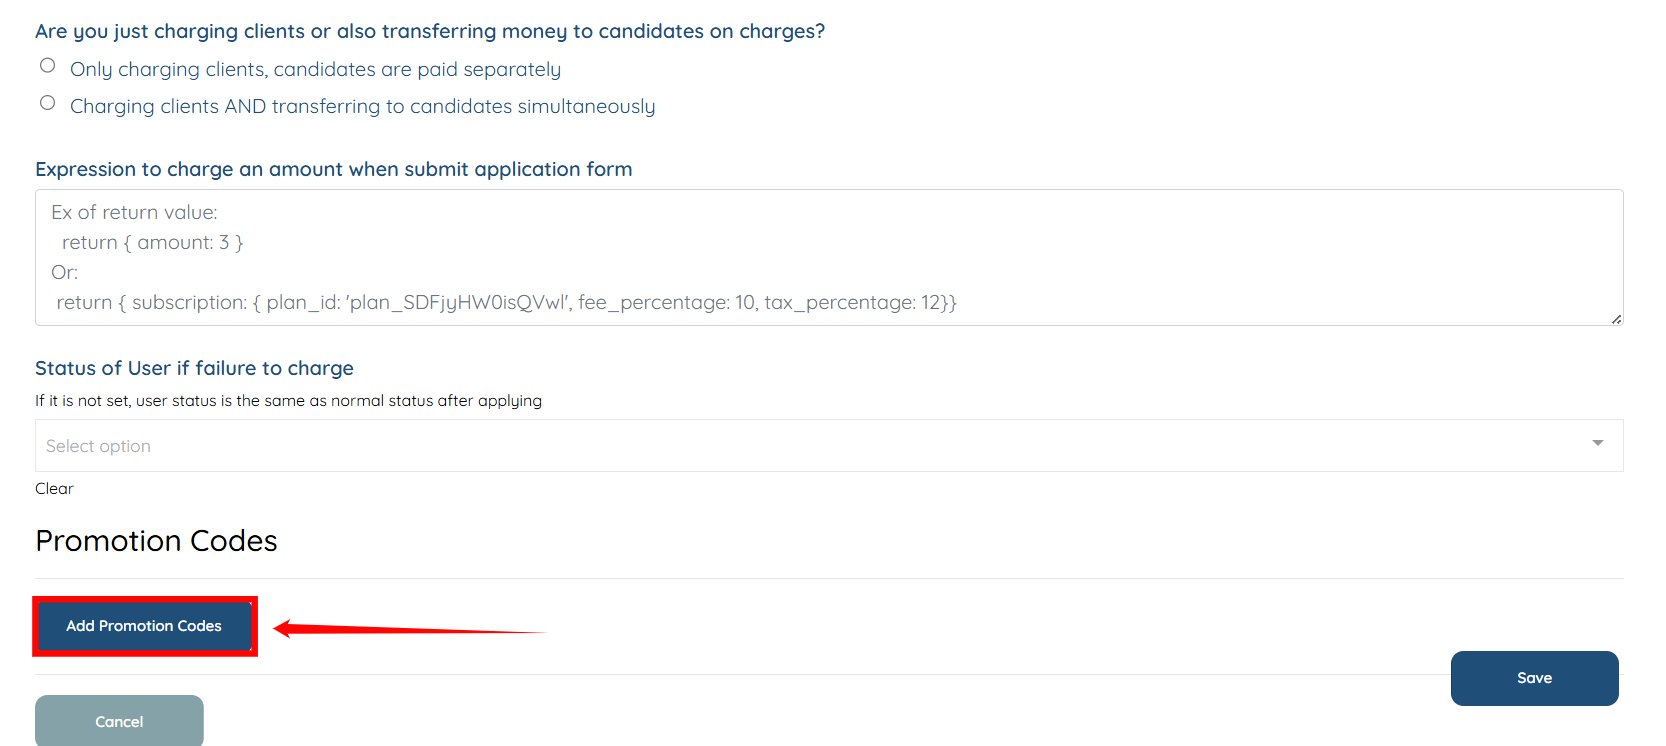
Step 4: Click the Add Promotion Codes button to begin setting up a promo code.
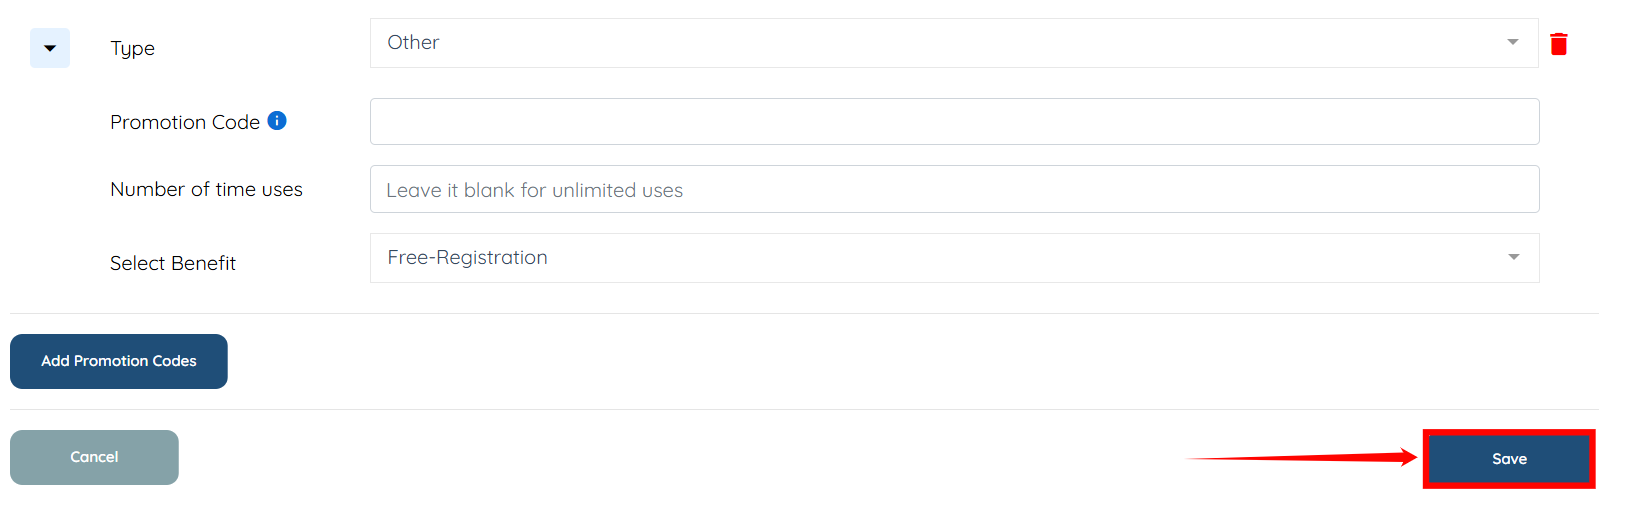
Step 5: Enter the necessary information as in the table below:
S.no | Field | Description |
1 | Type | Select the type of promo you want to add. Choose between Stripe Coupon, Stripe Promotion Code, or Other based on how you want the discount to be applied. |
2 | Promotion Code | This is the code clients will enter during filling the application. |
3 | Number of time uses | Enter the total number of times this promo code can be used. Leave it blank if you want it to be used unlimited times. |
4 | Select Benefit | Choose the benefit or discount that will be applied when this promo code is used (e.g., fee waived, percentage off, fixed amount off). |

Step 6: Click the Save button to proceed.
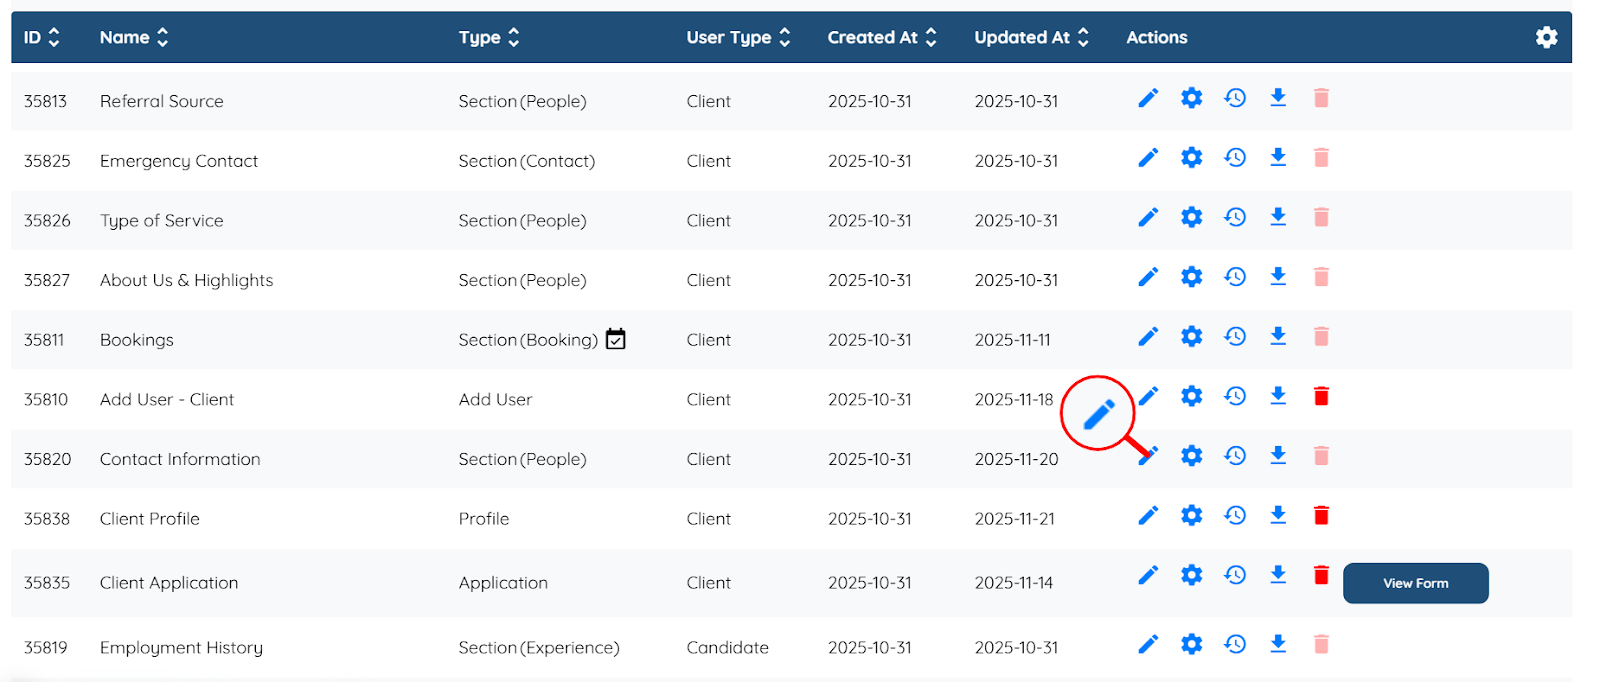
Step 7: Locate the section where you apply the promo code, and then click the Pencil icon associated with that section in the Actions column.
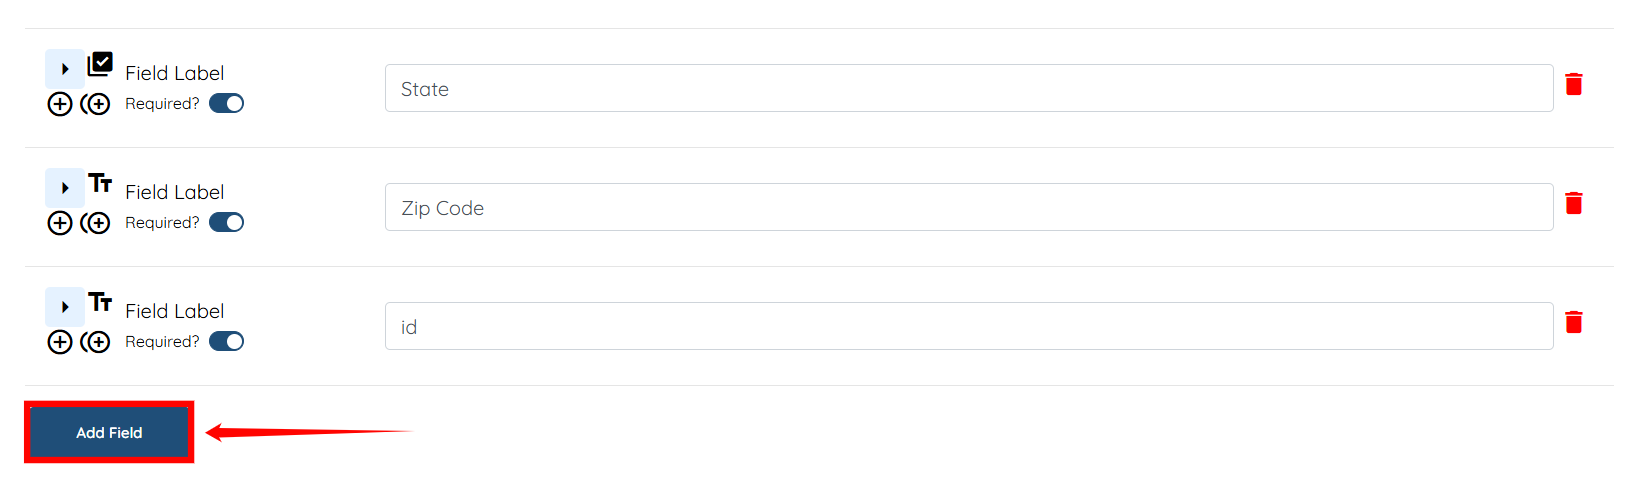
Step 8: Click the Add Field button to start adding the promo code.
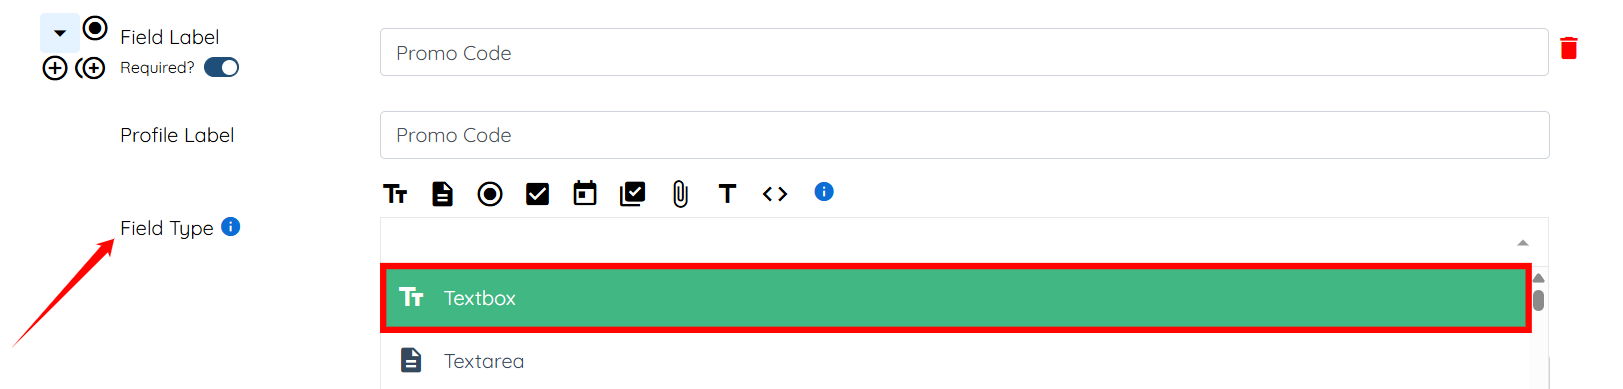
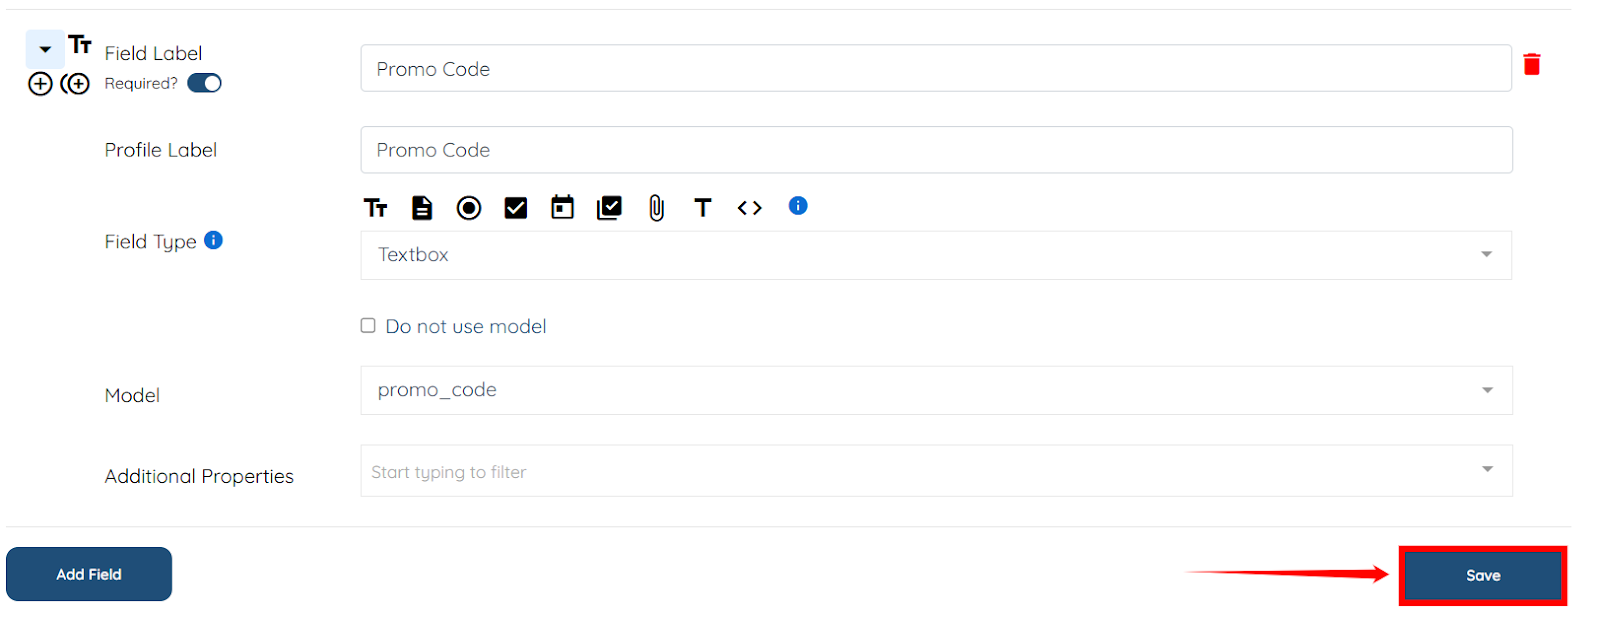
Step 9: Enter the Field Label and the Profile Label as “Promo Code”.

Step 10: Select “Textbox” as the Field Type from the dropdown menu.
Step 11: Select promo_code option from the Model dropdown.

Step 12: Click the Save button to proceed.
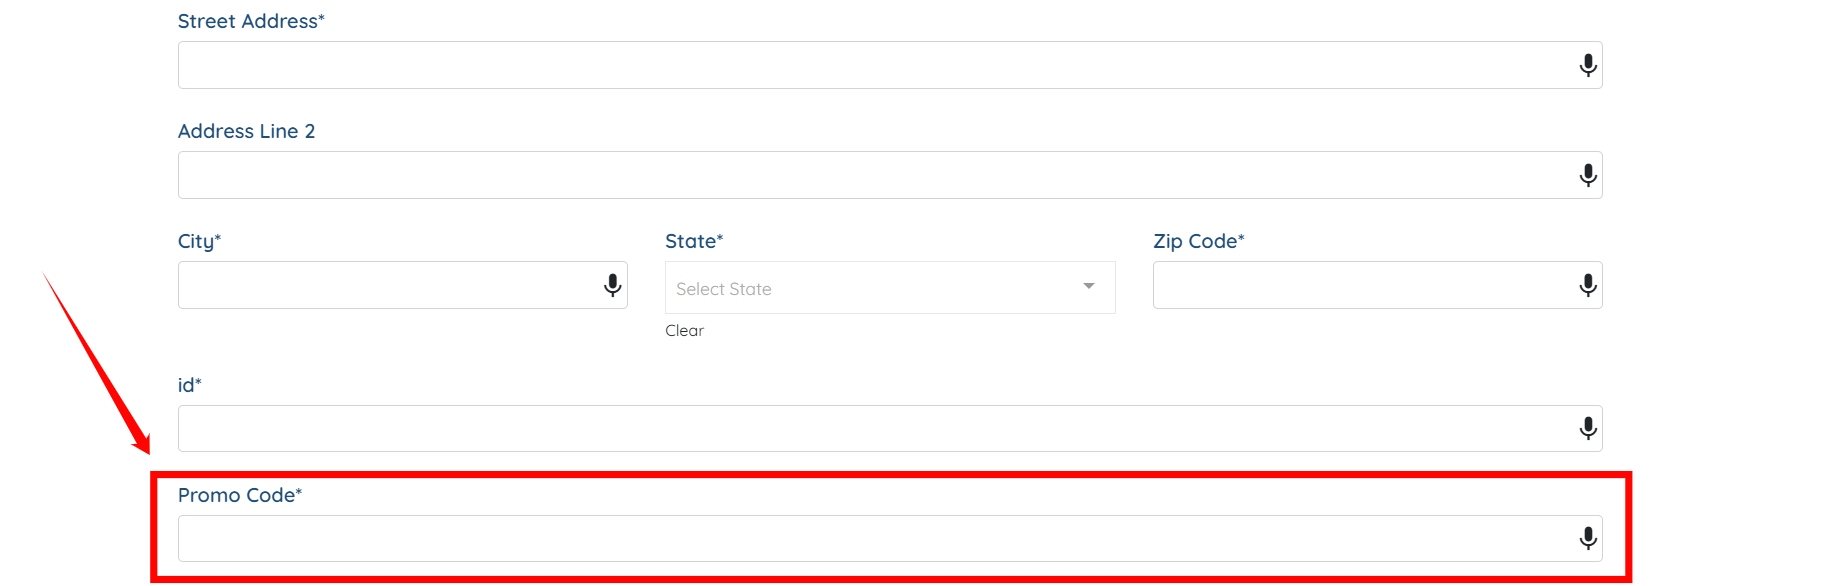
The Promo Code will be successfully added on the client application form.
This video is from a former Enginehire dashboard. Please follow the video with the informational steps below.
