Let’s get started 🚀
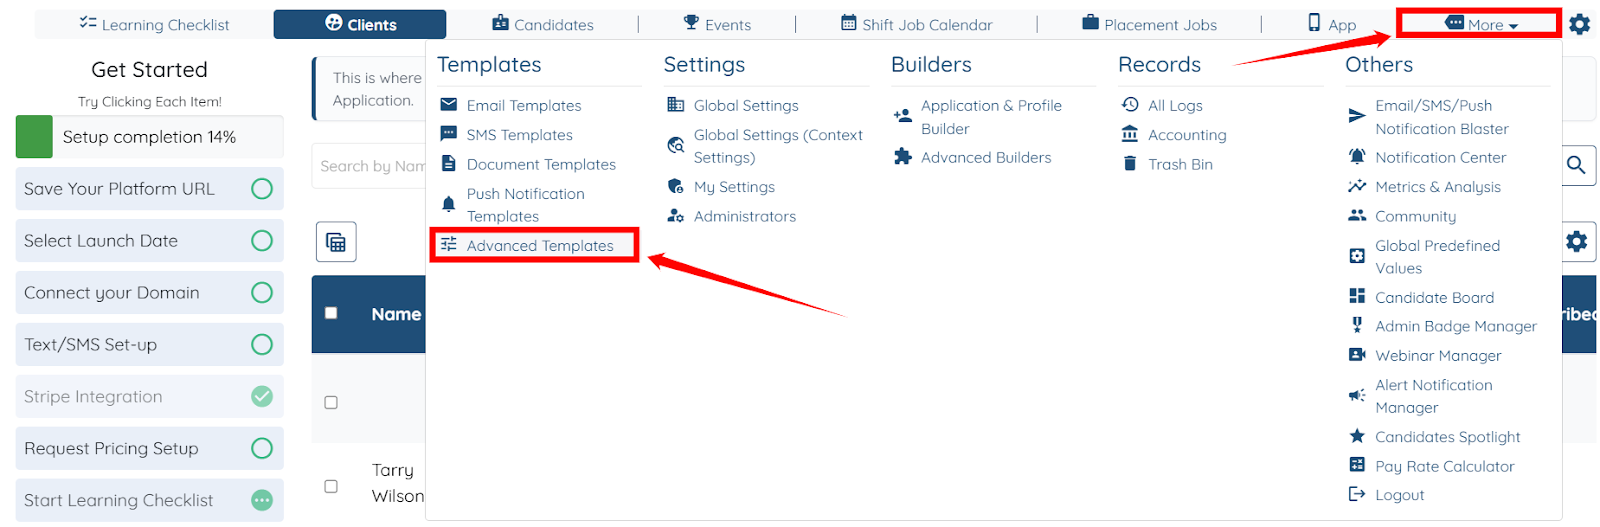
Step 1: Log in to your agent dashboard and click More > Advanced Templates as shown in the screenshot below.
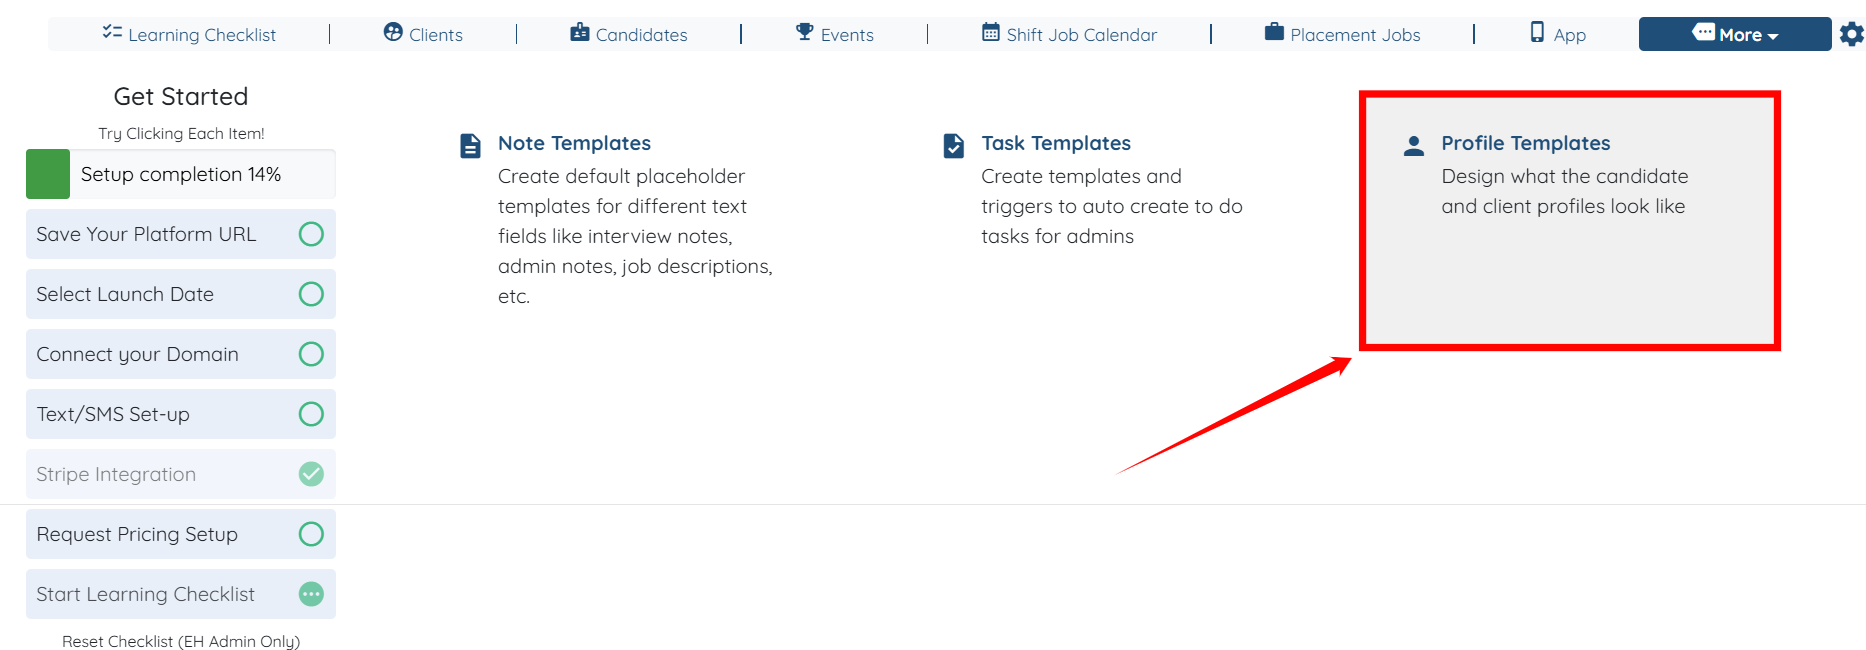
Step 2: Click Profile Templates to start setting up a new profile template.
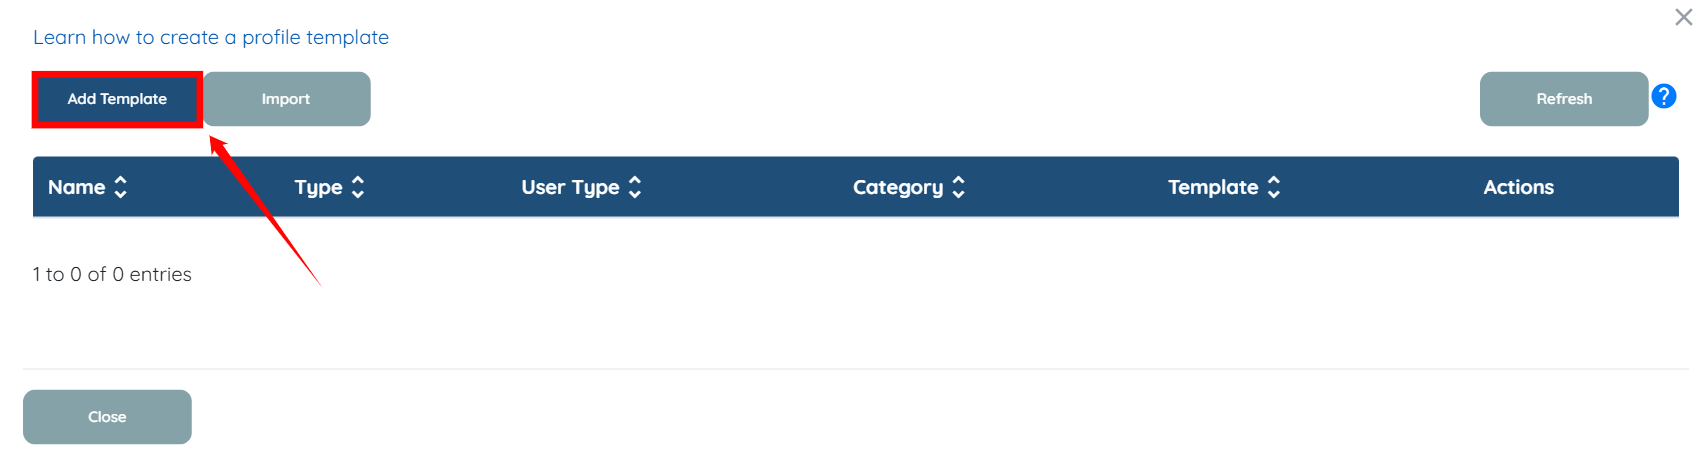
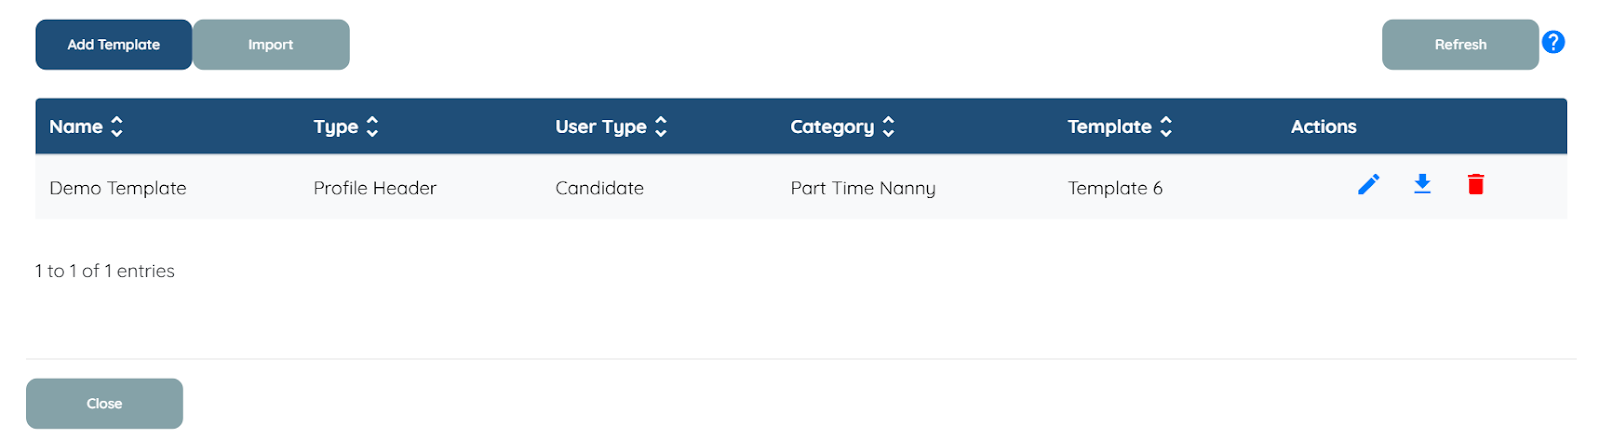
Step 3: Click the Add Template button.
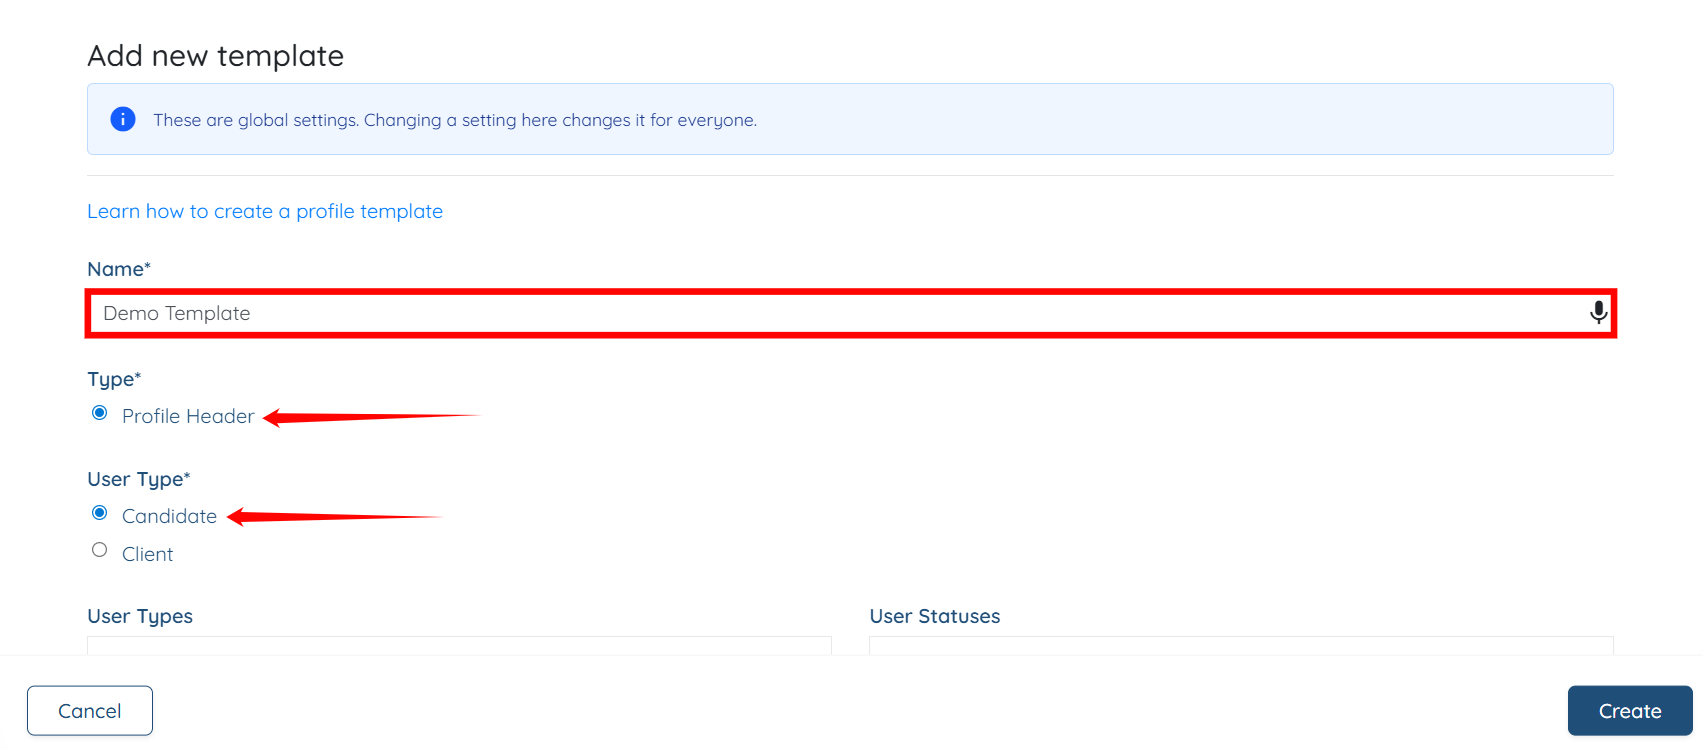
Step 4: Enter a name for your template, set the Type to Profile Header, and set the User Type to Candidate.
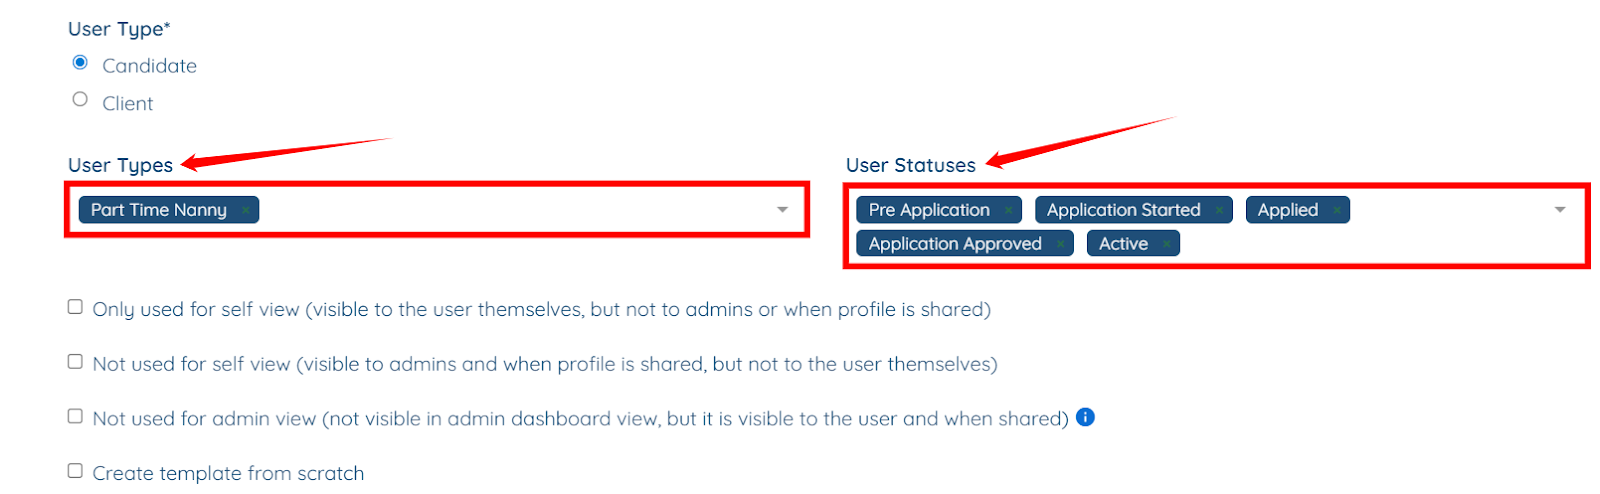
Step 5: Select the User Types and User Statuses for which you want to set up the profile template.
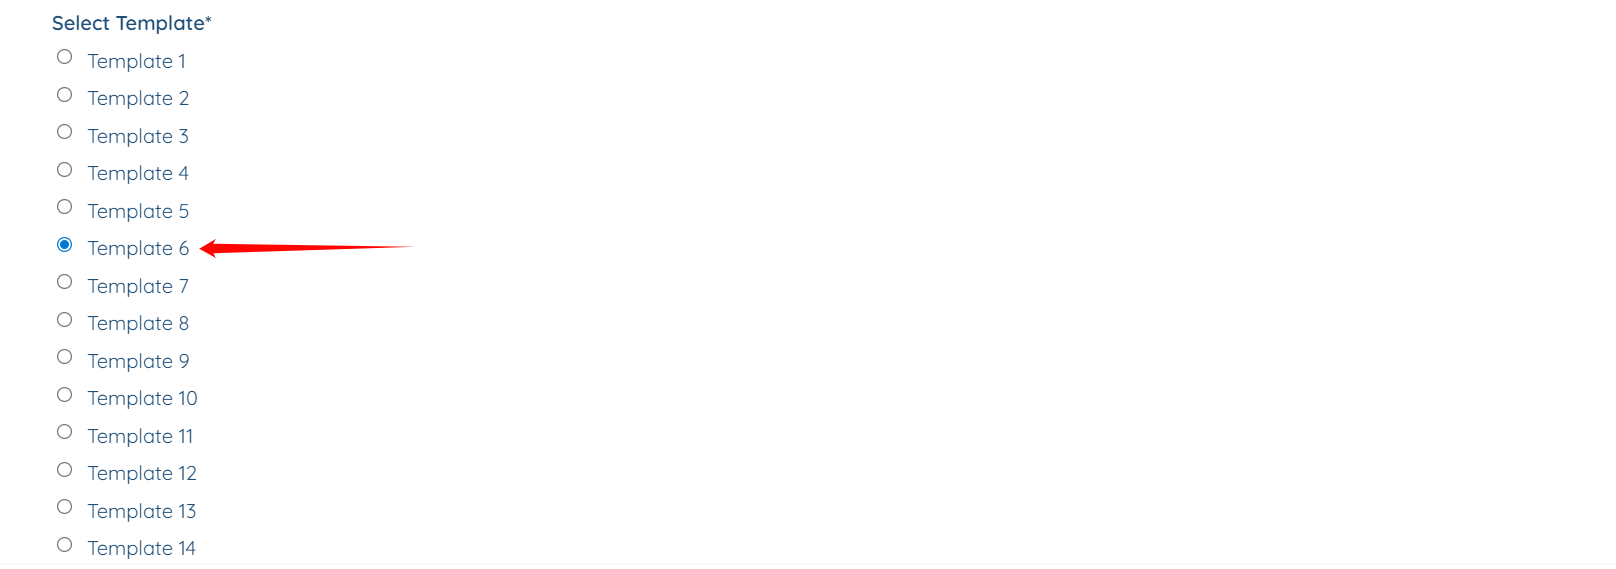
Step 6: Select the predefined template from the template list.
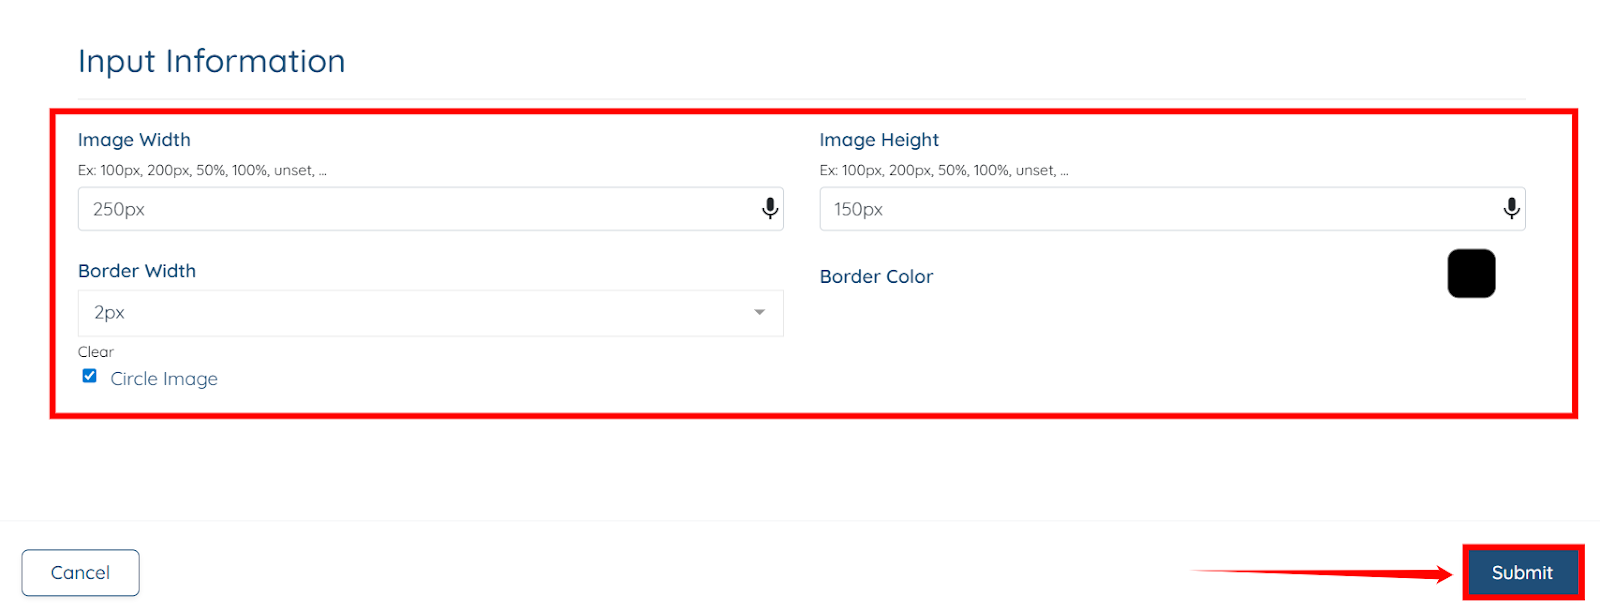
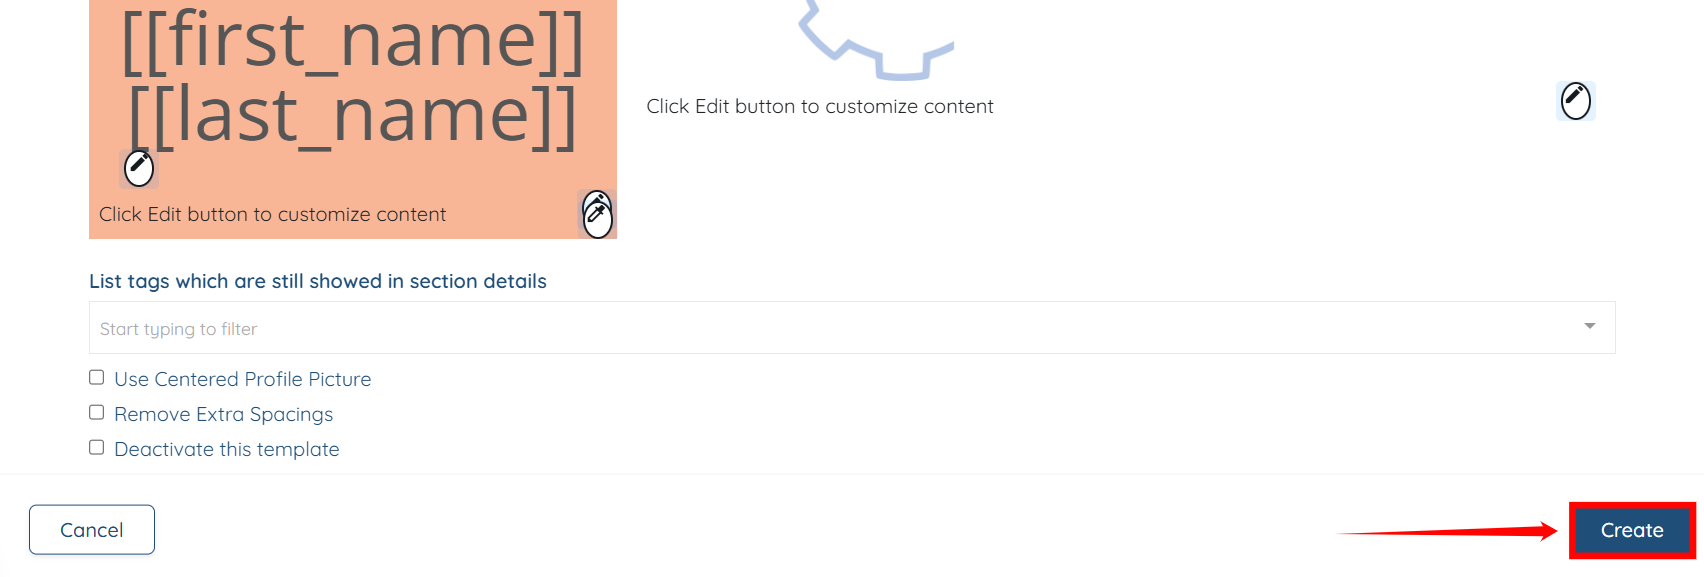
Step 7: You can also edit the settings for different parts of the template. For demonstration purposes, we will edit the image settings by clicking the pencil icon on the image.

Step 8: Adjust the image settings as needed, then click the Submit button to save the changes.
Step 9: Click the Create button to proceed.
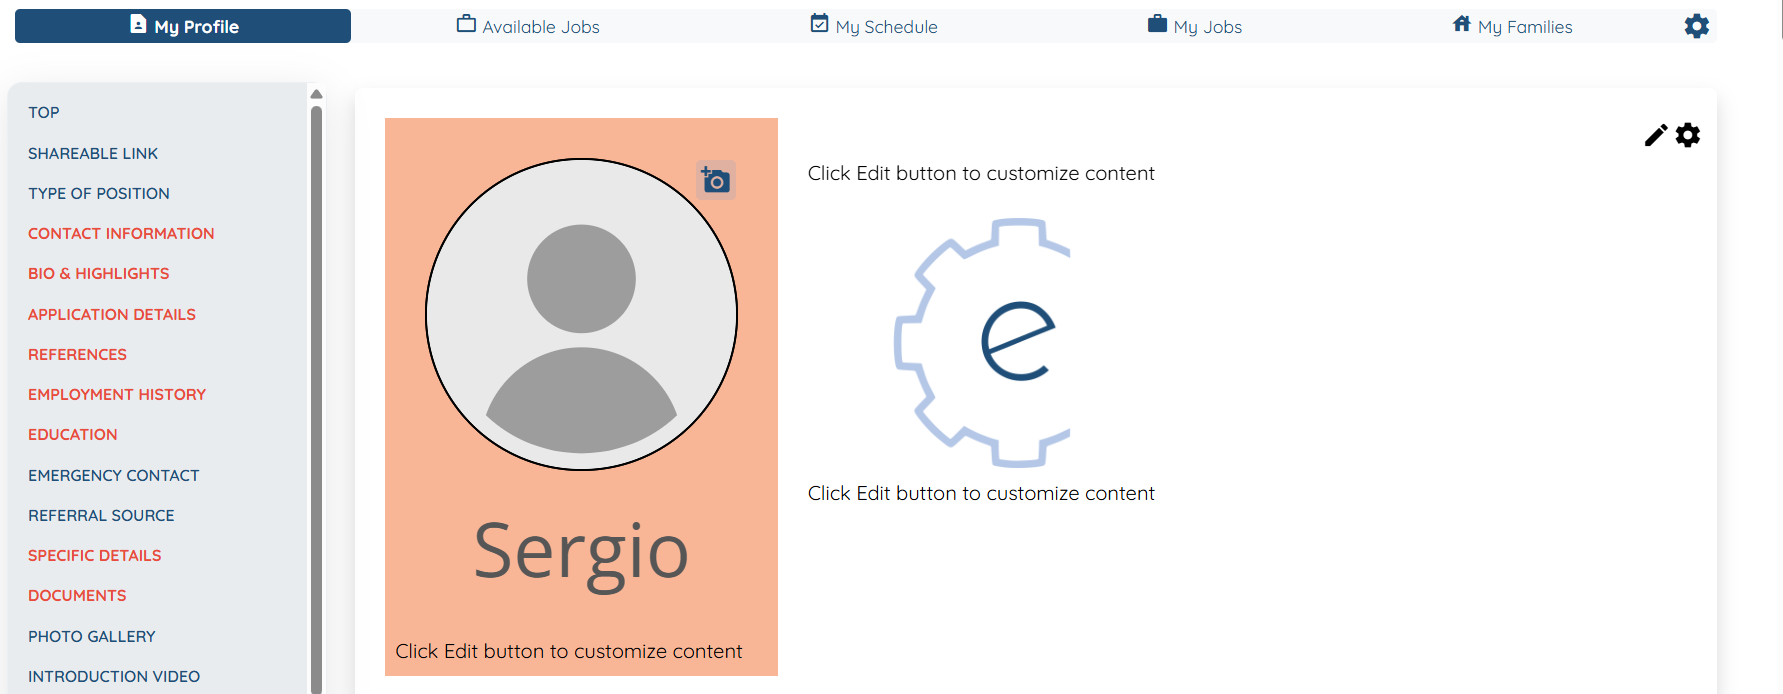
Your profile template will be created successfully.
And the created template also automatically applies to the candidate’s profile as per the configured user type and user status.