
Let’s get started 🚀
Step 1: Log in to your agent dashboard and click More > Application & Profile Builder as shown in the screenshot below.

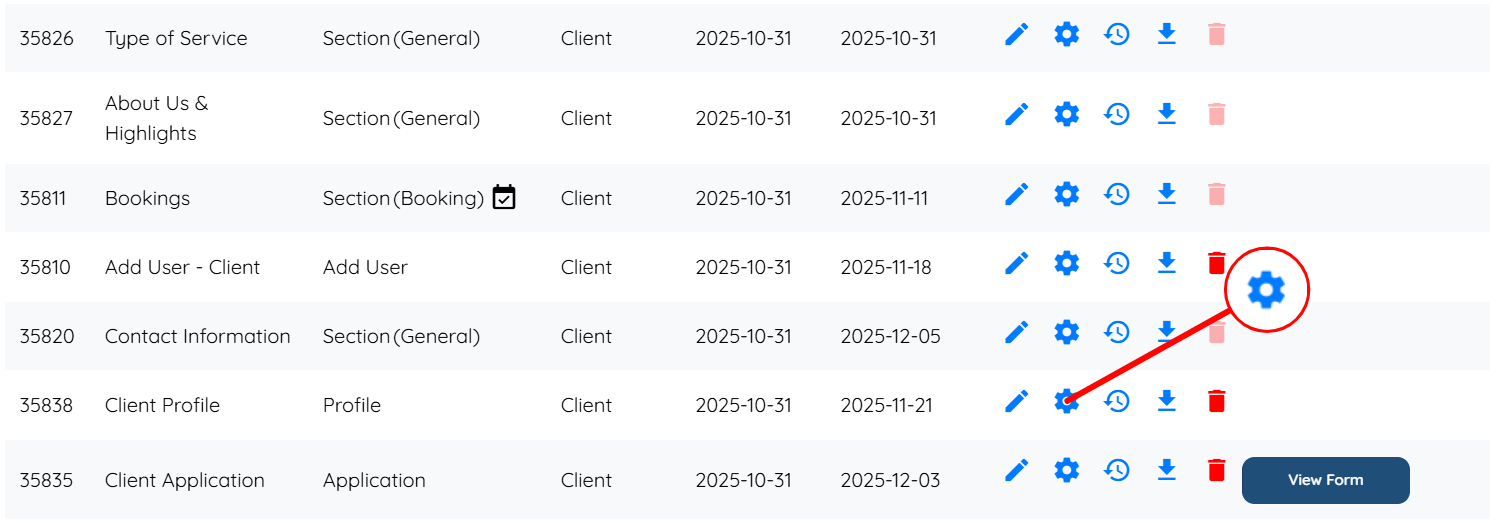
Step 2: Locate the Client Profile and click the Gear icon as shown in the screenshot.
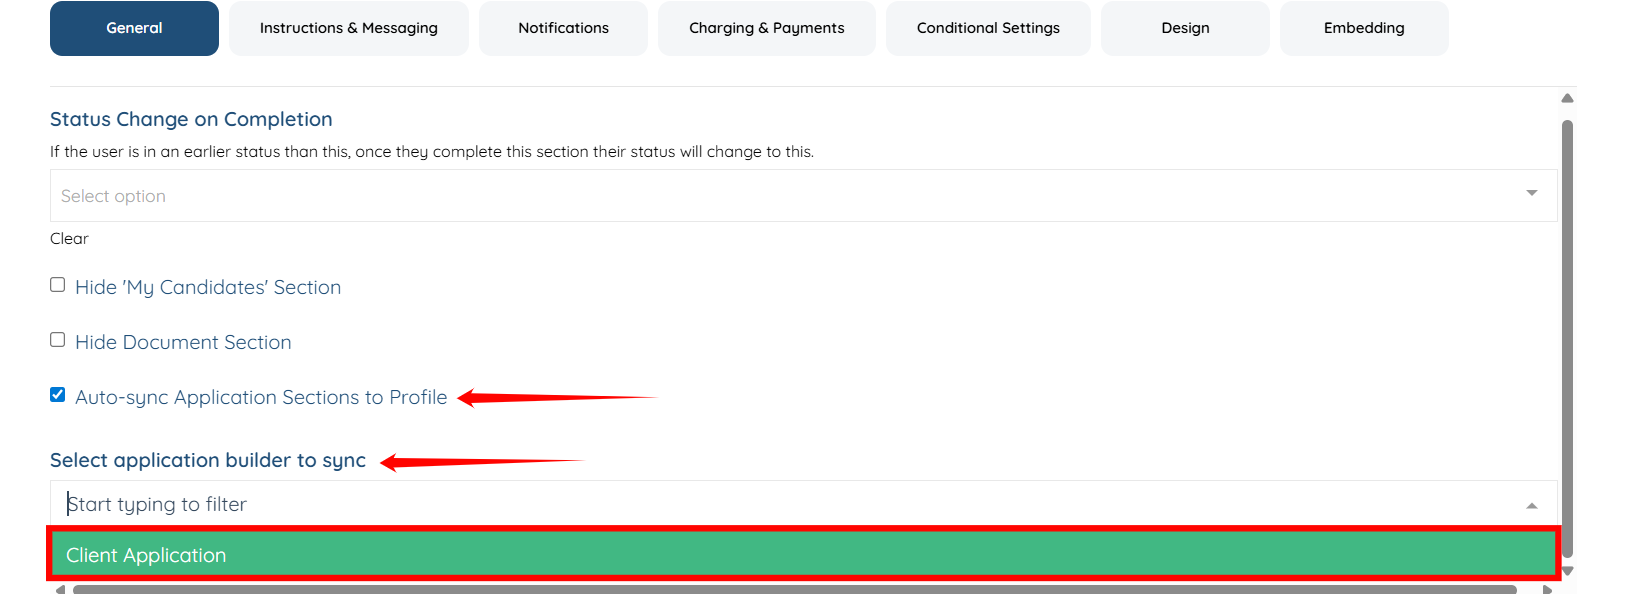
Step 3: Check the Auto-sync Application Sections to Profile checkbox, and select Client Application from the Select application builder to sync dropdown.
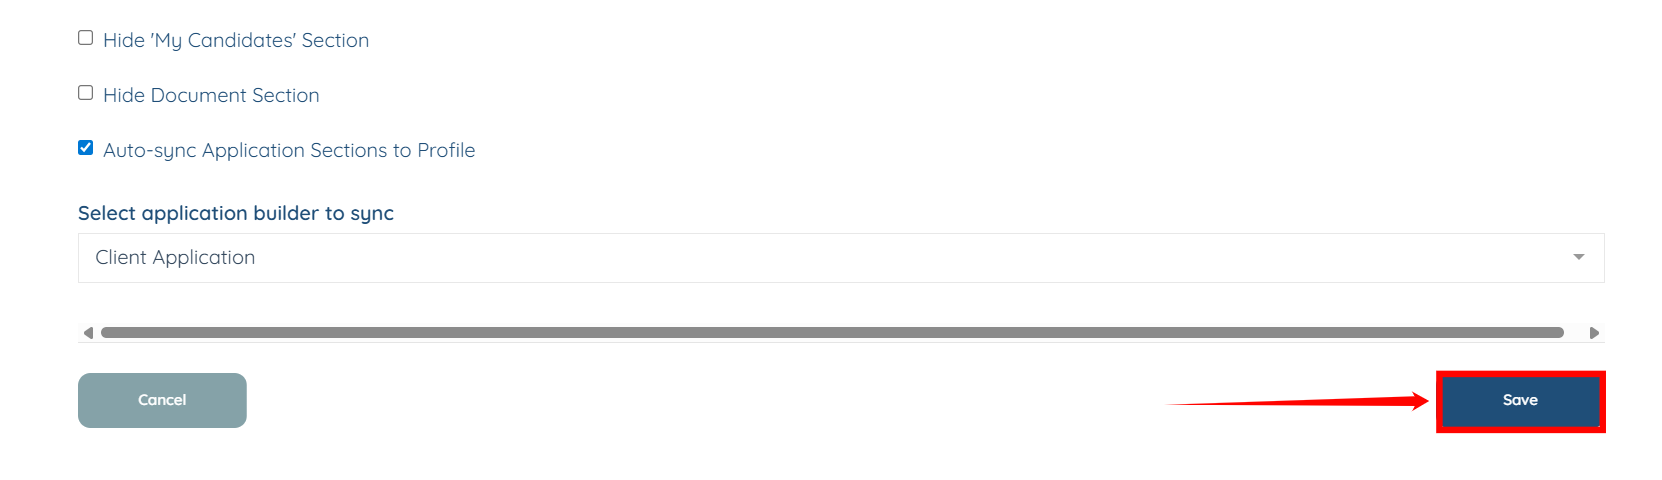
Step 4: Click the Save button to confirm the changes.
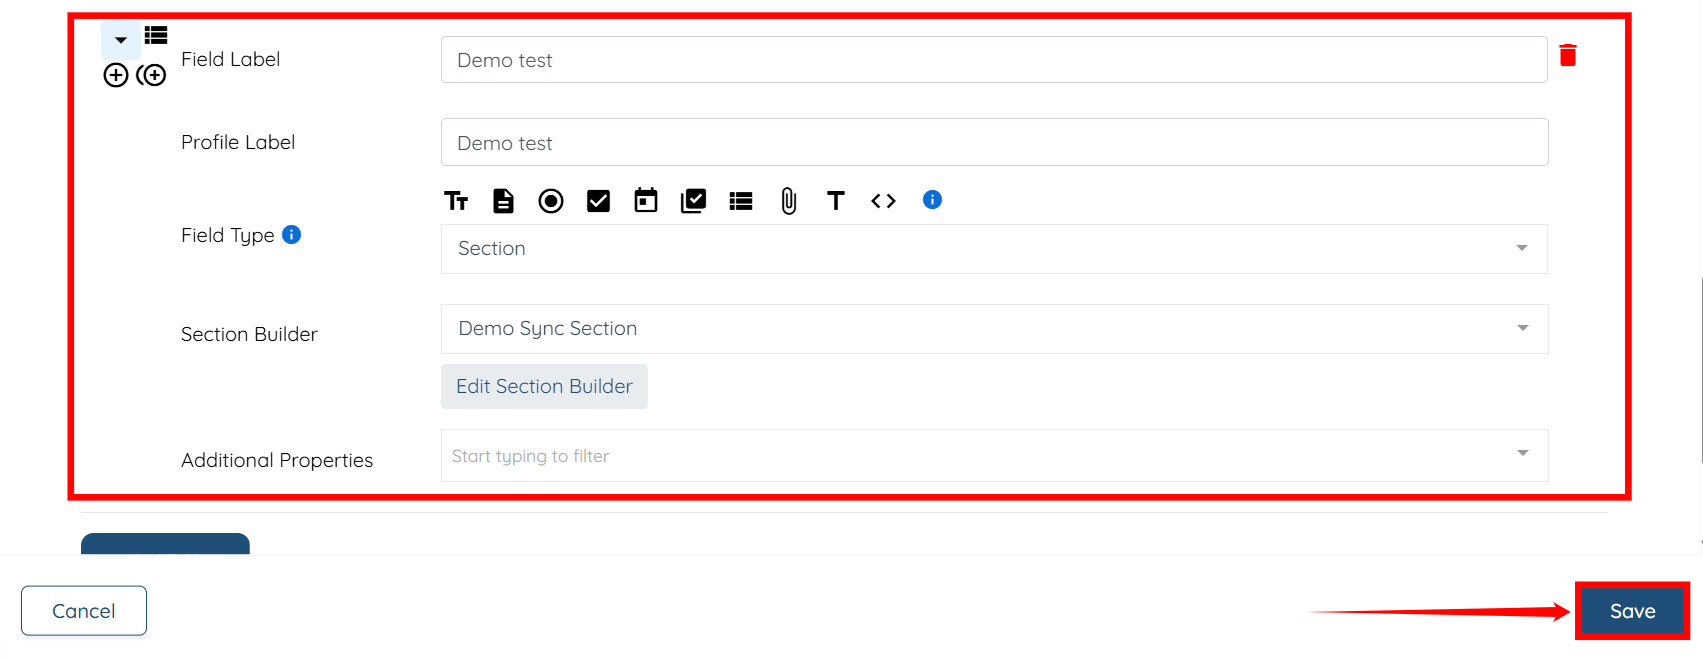
Step 5: Click the pencil icon corresponding to the Client Application to add a new section to it.

Step 6: Add a new section in the application. For demonstration purposes, we have created a section named Demo test. After you add the section, click the Save button to proceed.
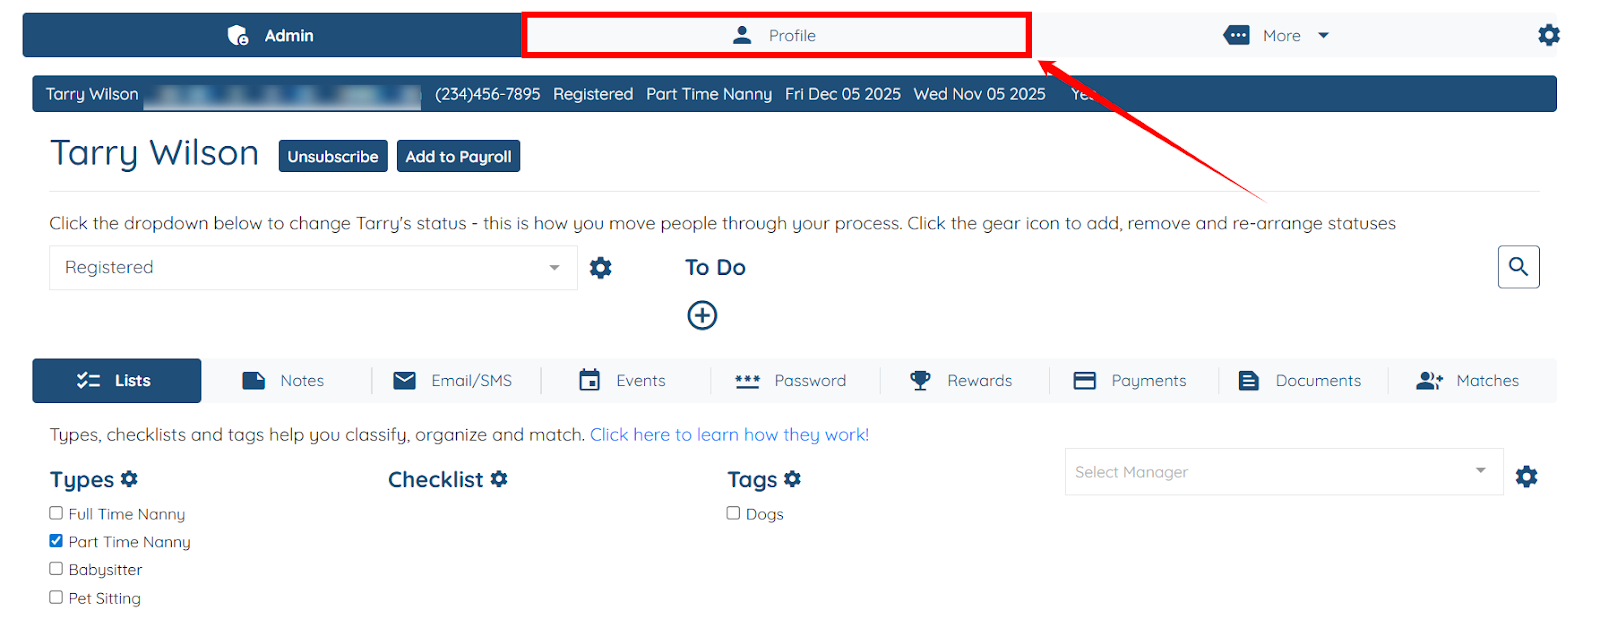
Step 7: From your agent dashboard, click any client listed in the client list.

Step 8: Click the Profile tab.
The newly added section will be automatically synced to the profile from the application.

