Let’s get started 🚀
Step 1: Log in to your agent dashboard and click More > All Logs as shown in the screenshot below.
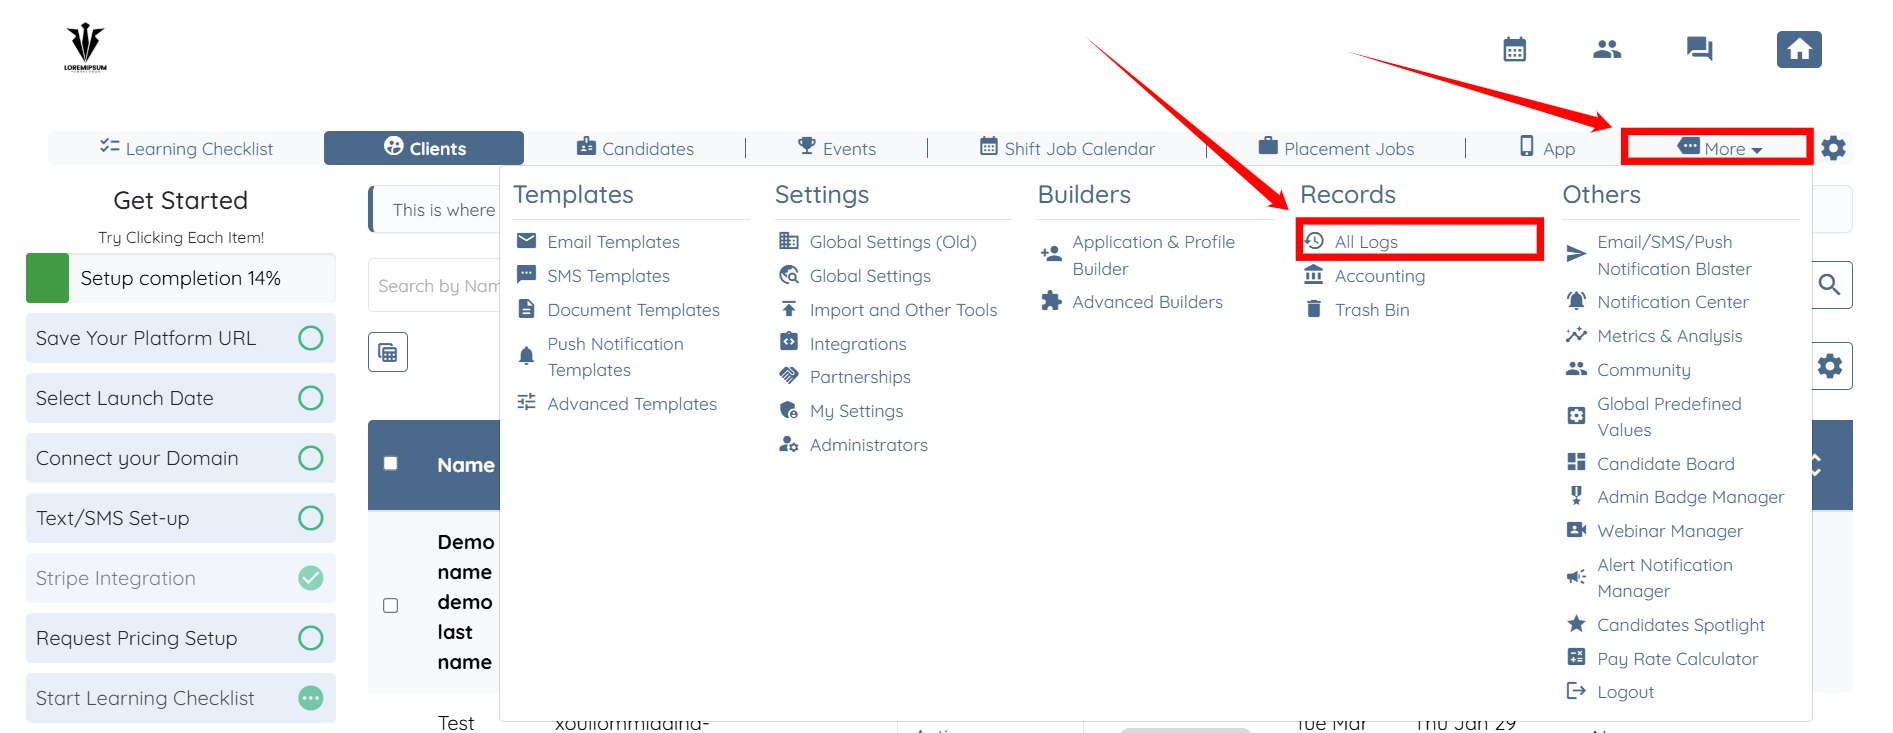
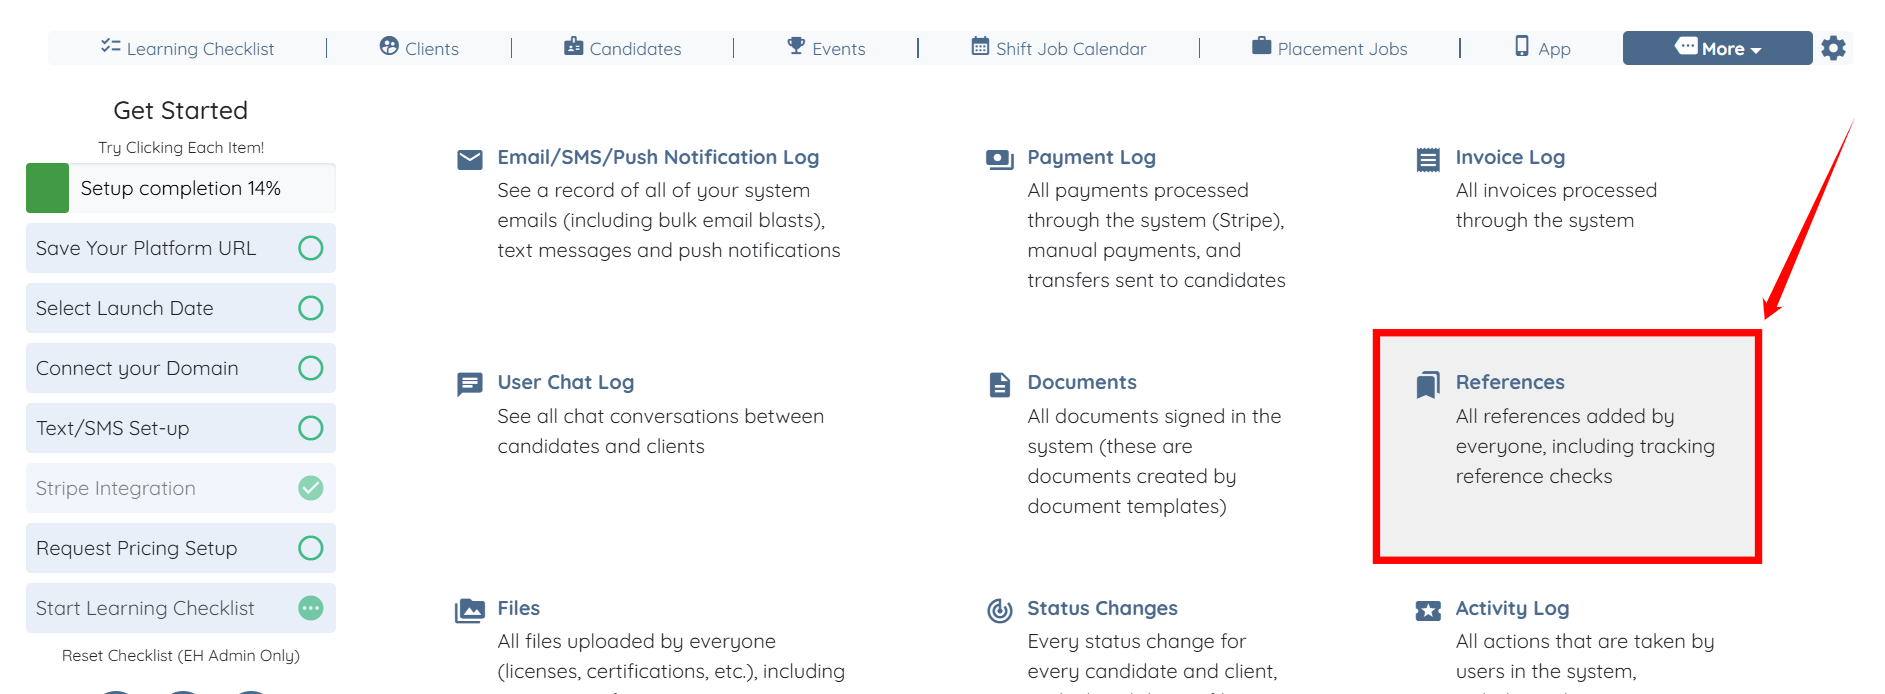
Step 2: Click the References option to view the References and Experiences log tables.
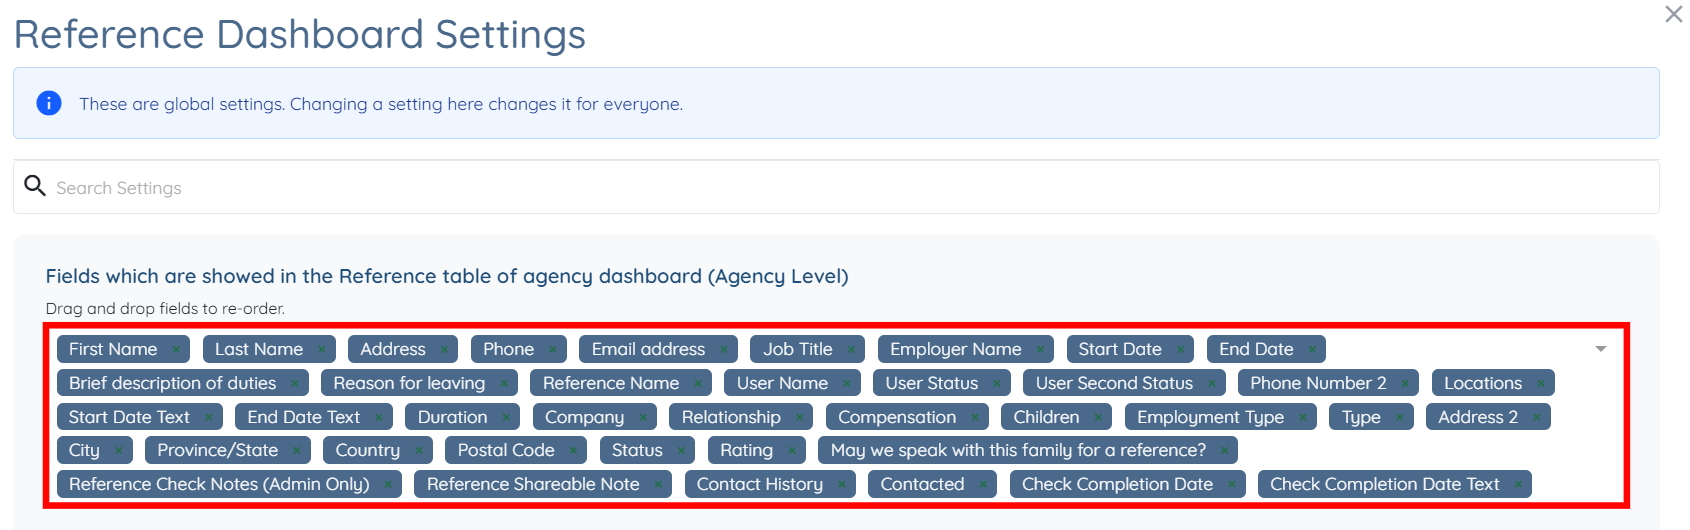
Step 3: Scroll the References log table to the left and click the Gear icon on the right-hand side of table header to open the Reference Dashboard Settings.
Step 4: Click the field selection box to open the dropdown list.
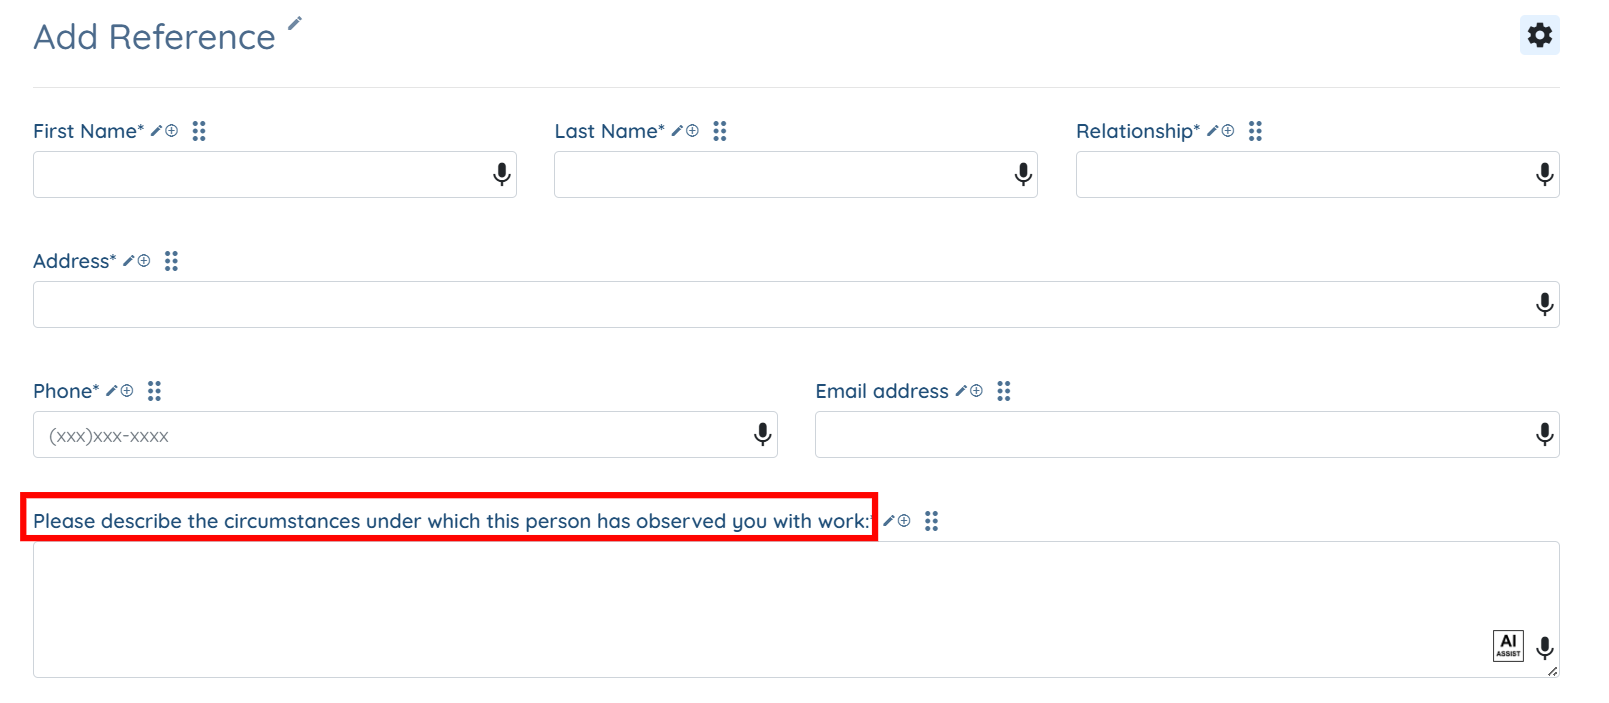
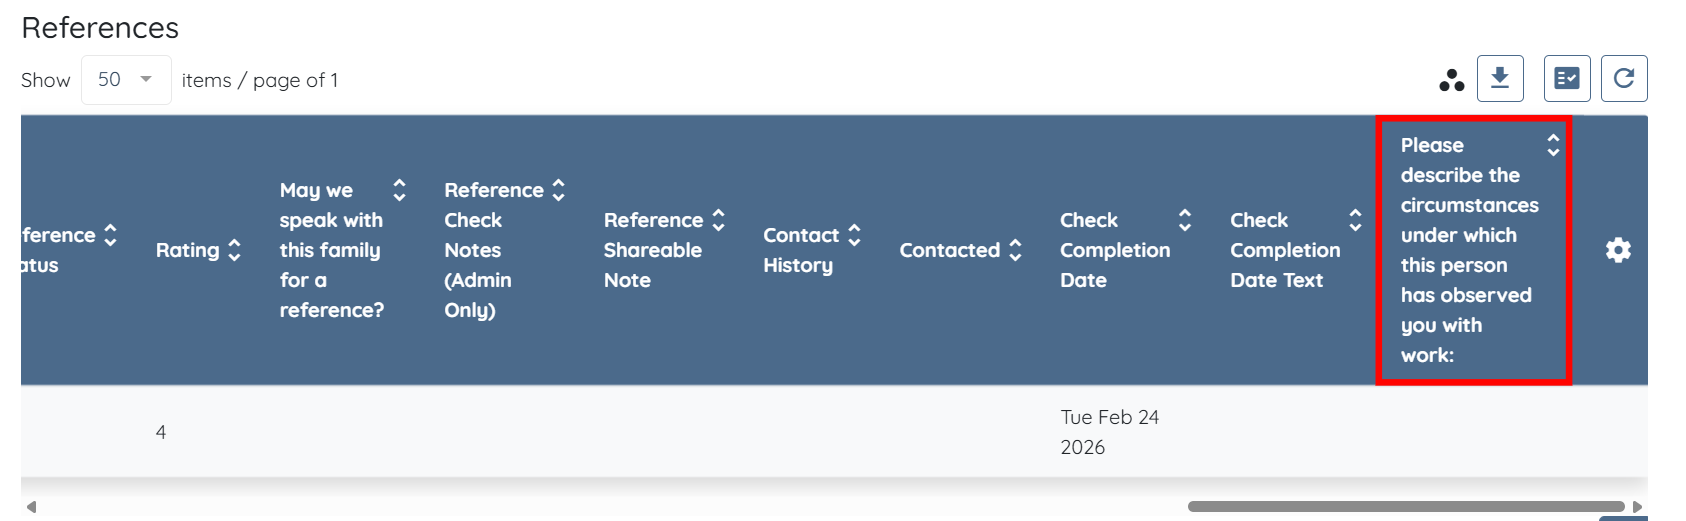
You can add any custom field from the references section to this log table. For example, Please describe the circumstances under which this person has observed you with work
Step 5: Search for the custom field you want to add in the references log table, and then select it from the dropdown list.
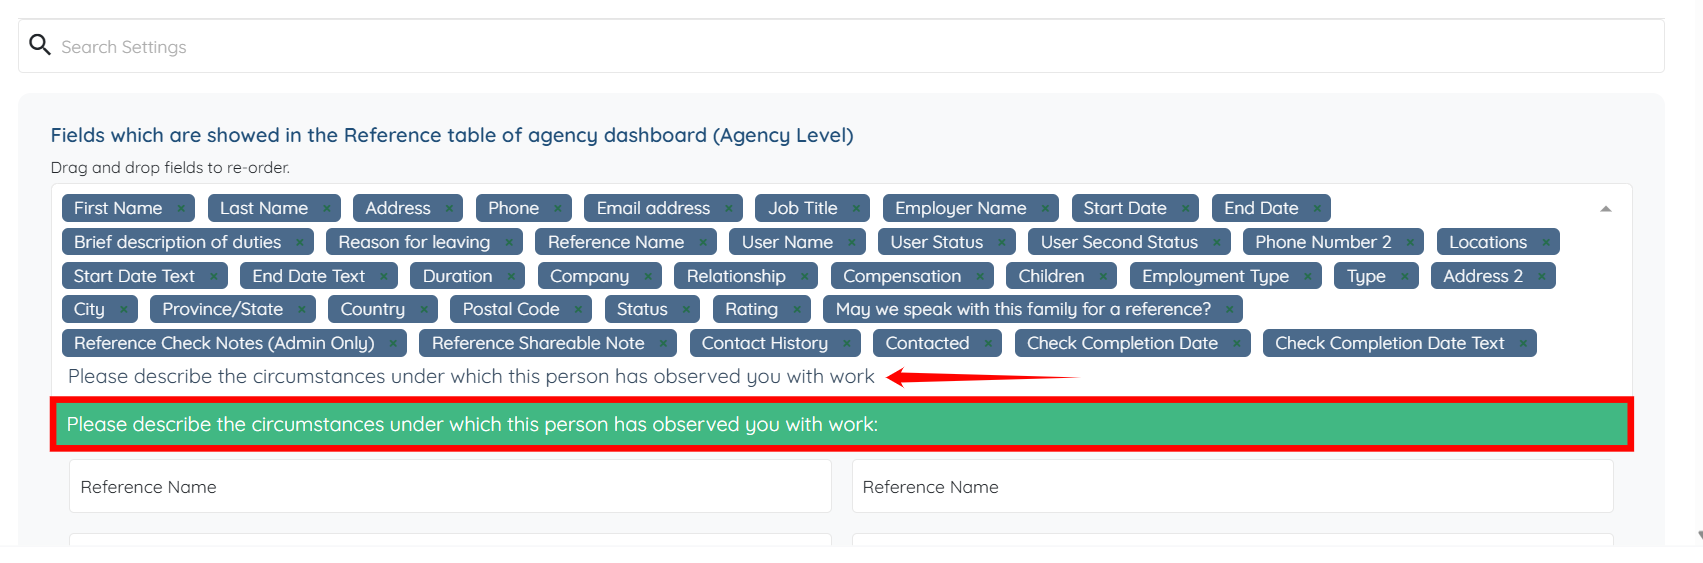
The settings will be saved automatically.
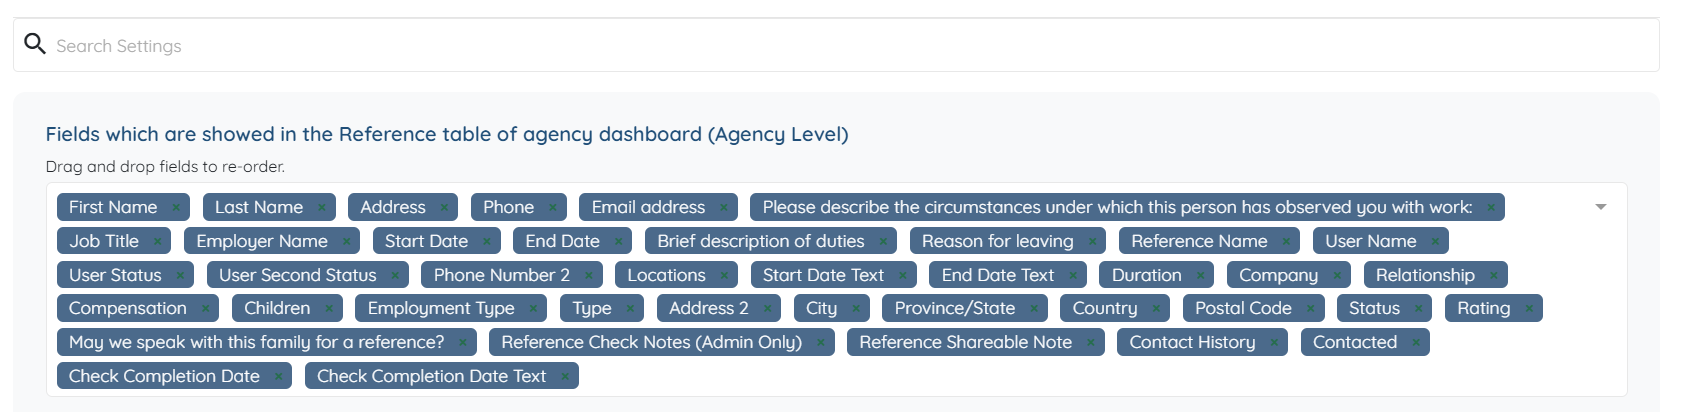
The added custom fields will successfully appear in the references log table.
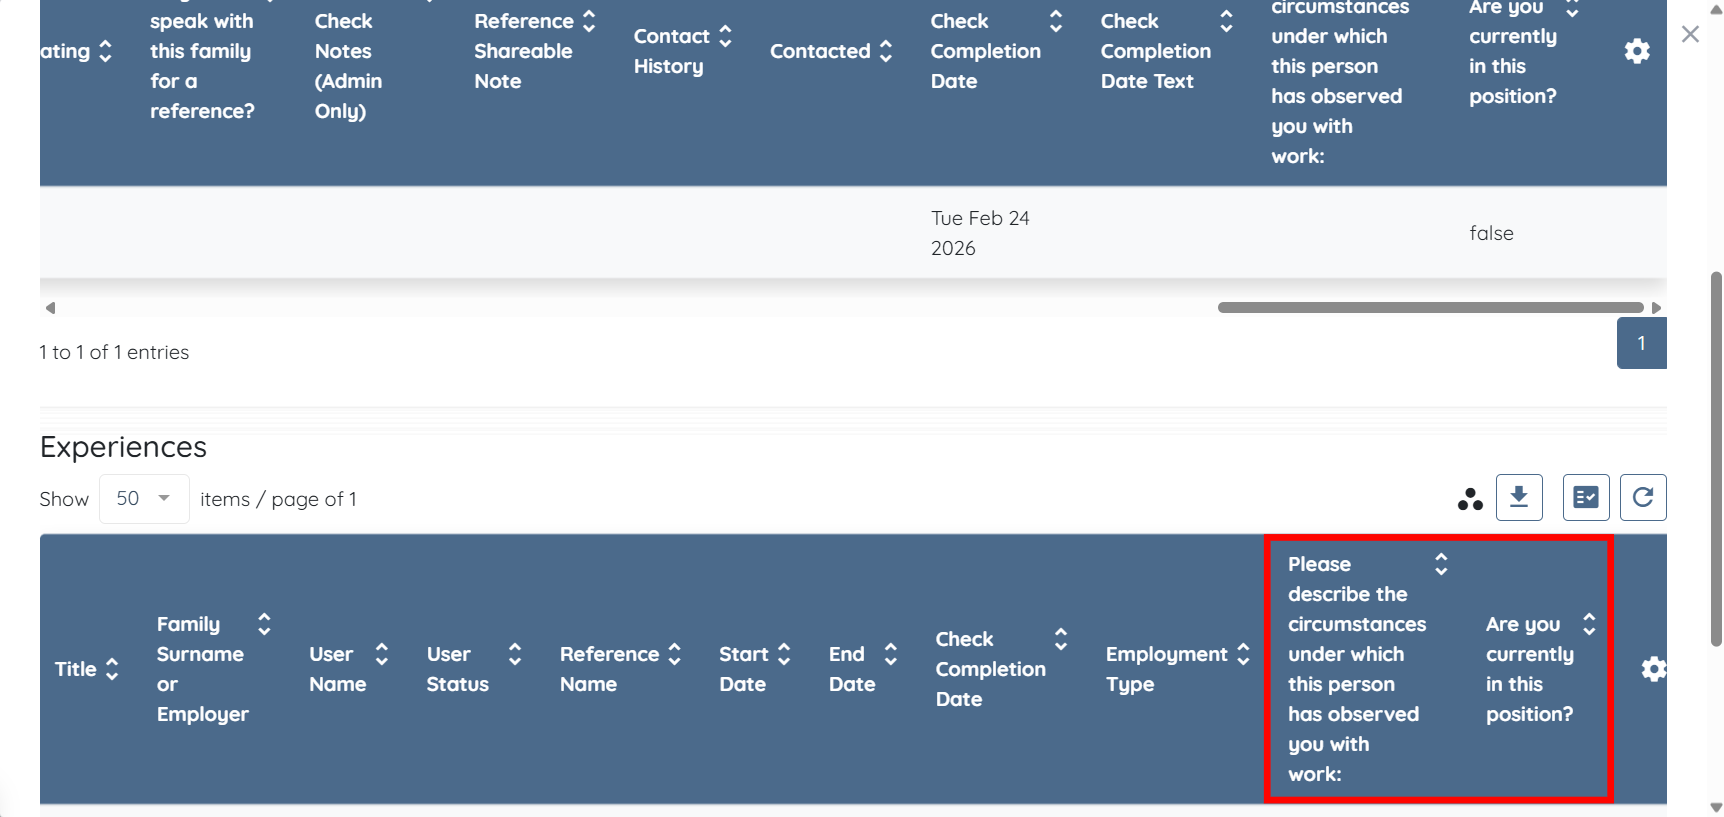
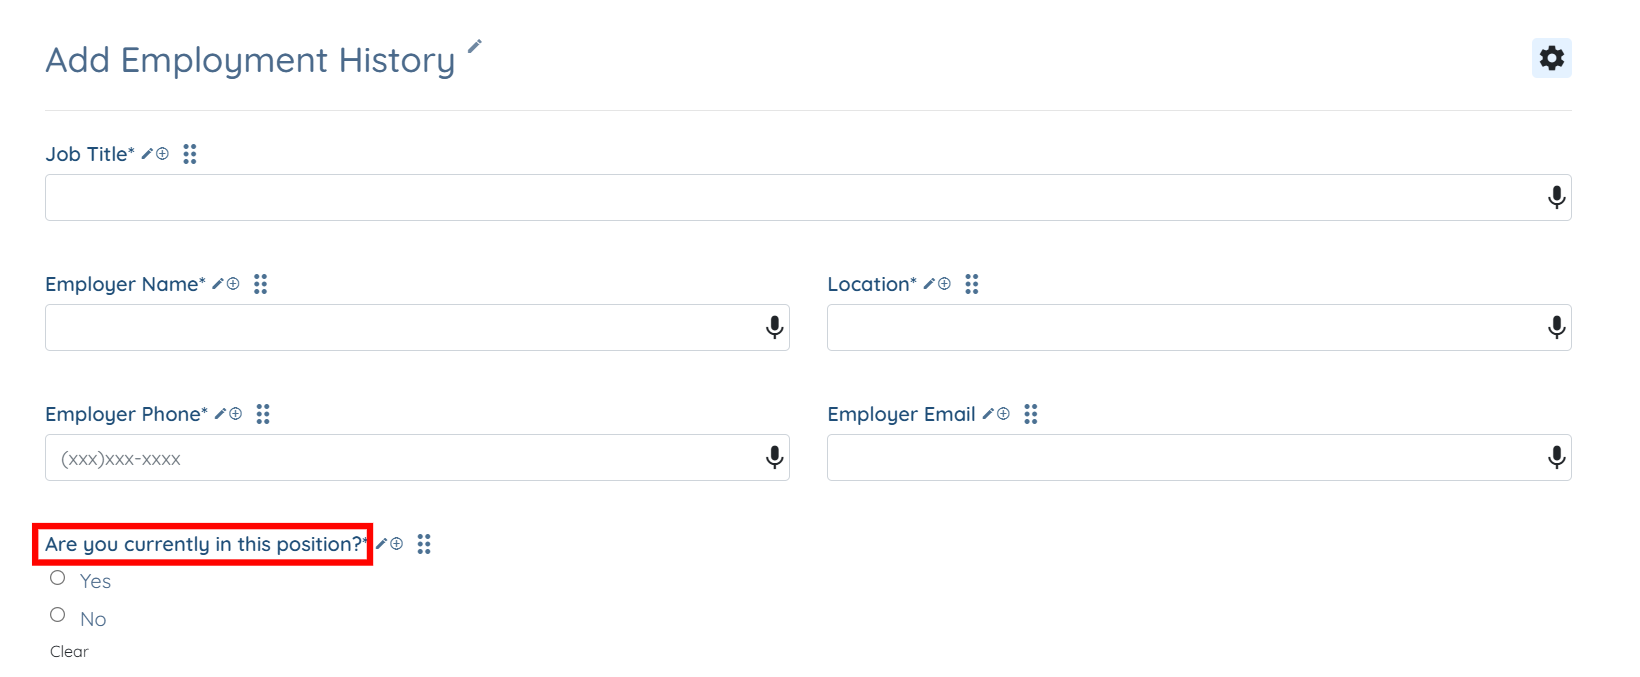
You can also add custom fields from the Employment History section into the references log table. For example, “Are you currently in this position?”
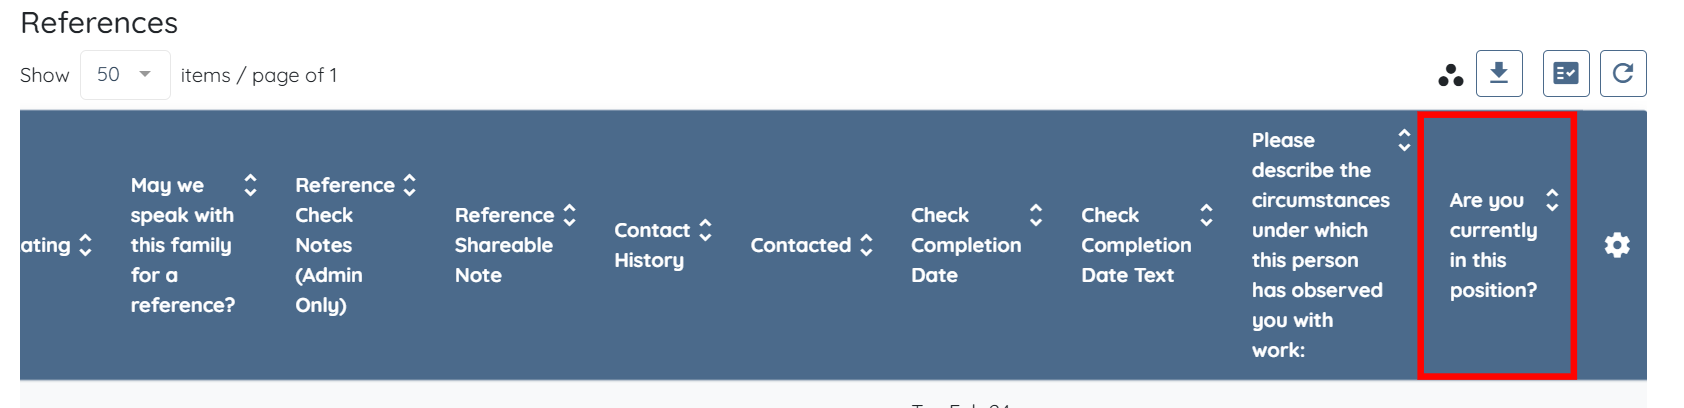
The custom fields that you add from the Employment History section will also successfully appear in the references log table.

Step 6: To add custom fields to the Experiences log table, click the Gear icon on the right-hand side of the Experiences table header to open the Experience Dashboard Settings.

Step 7: Repeat Steps 4–5 to add the required custom fields to the Experiences log table.
The added custom fields will successfully appear in the Experiences log table.