Let’s get started 🚀
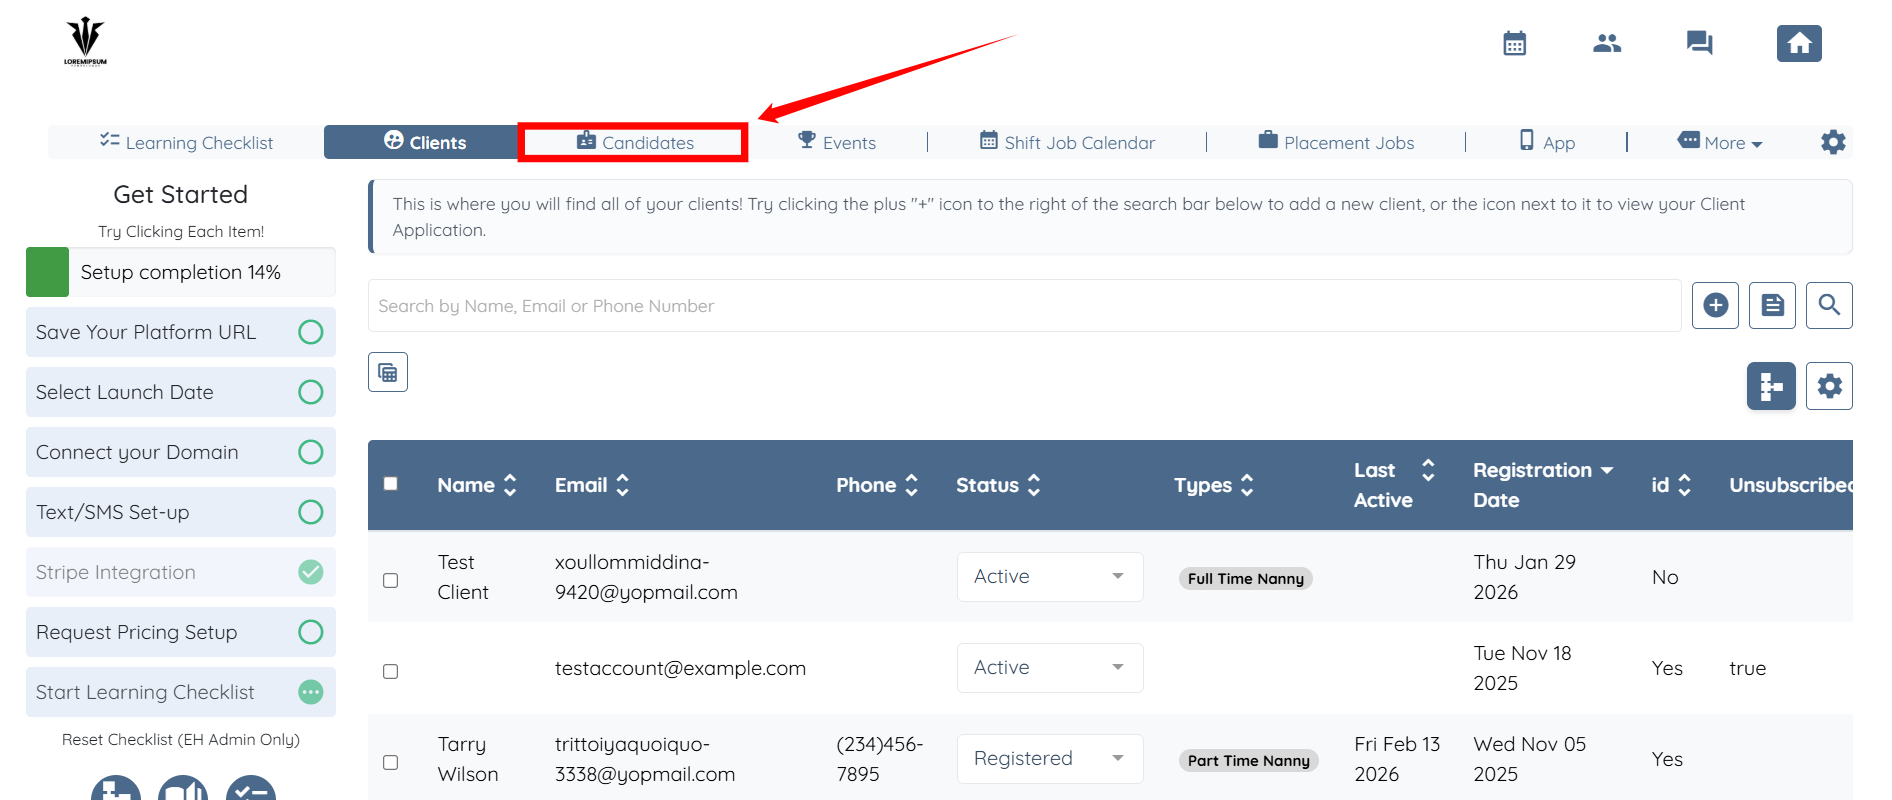
Step 1: Log in to your agent dashboard and click Candidates in the navigation bar.
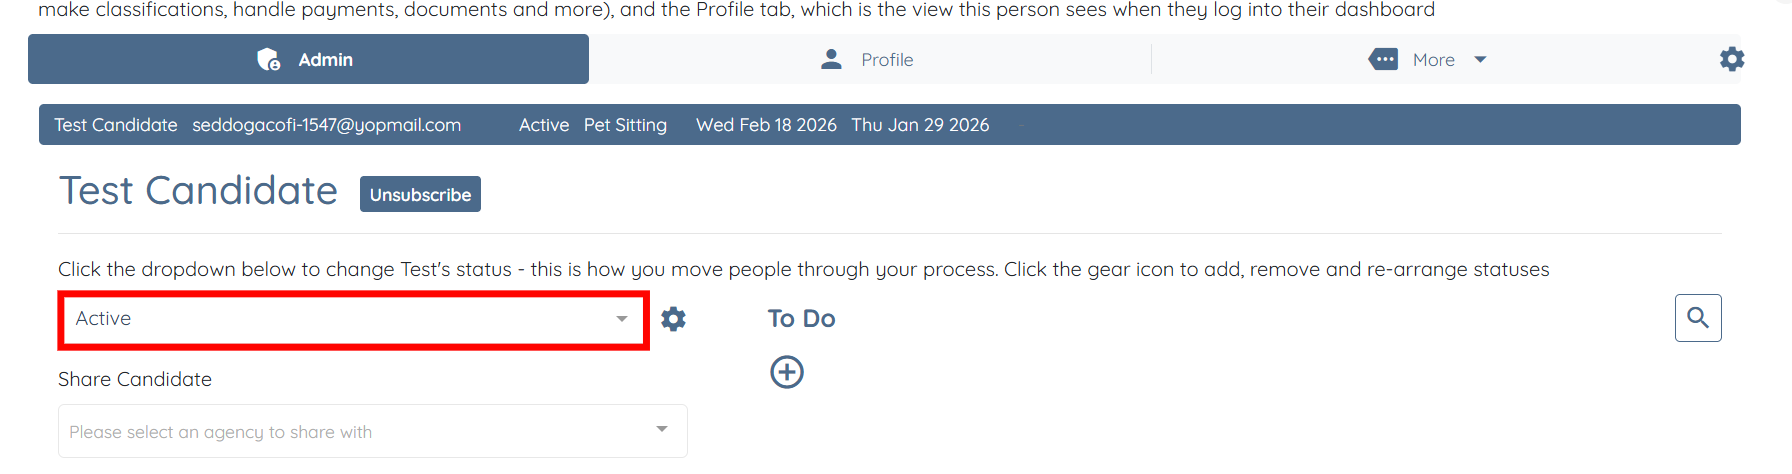
Step 2: Click on any candidate in the list.

Step 3: Under the Admin tab, click the box as shown in the screenshot below.
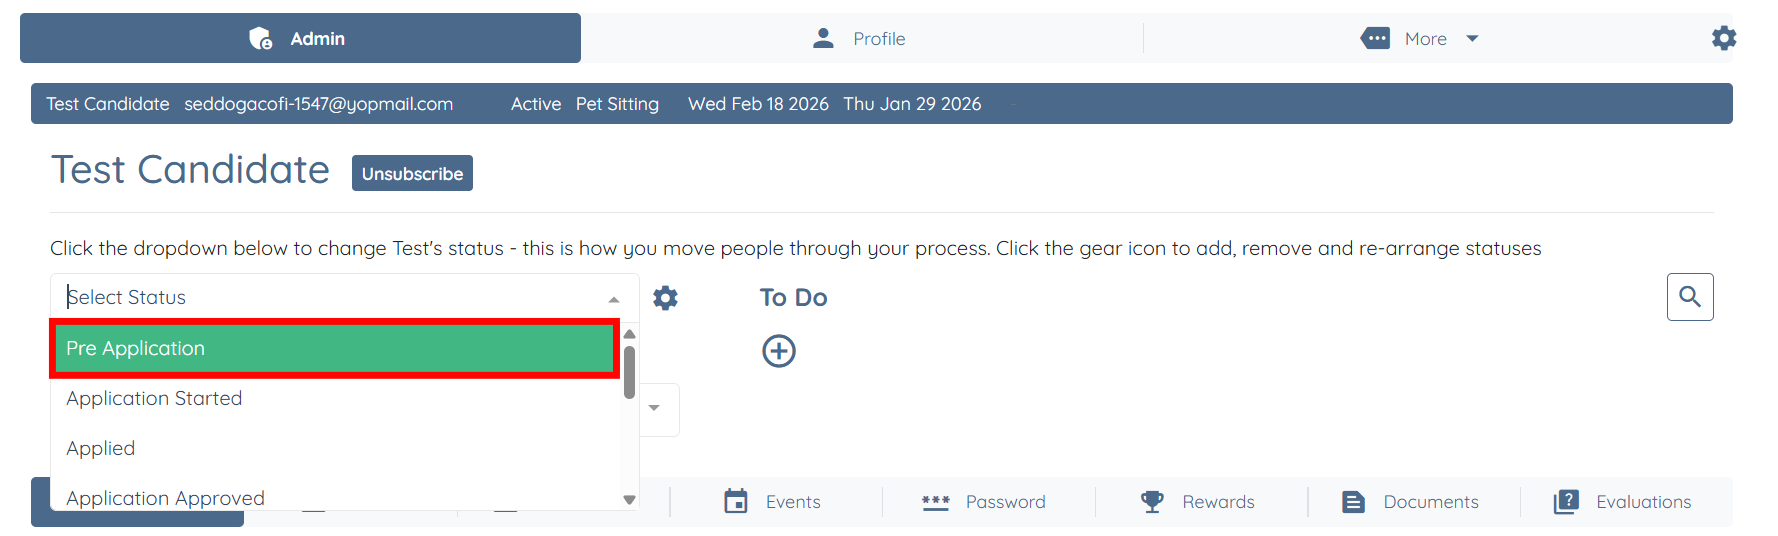
Step 4: Select the status you want to update for the selected candidate, such as Pre Application.

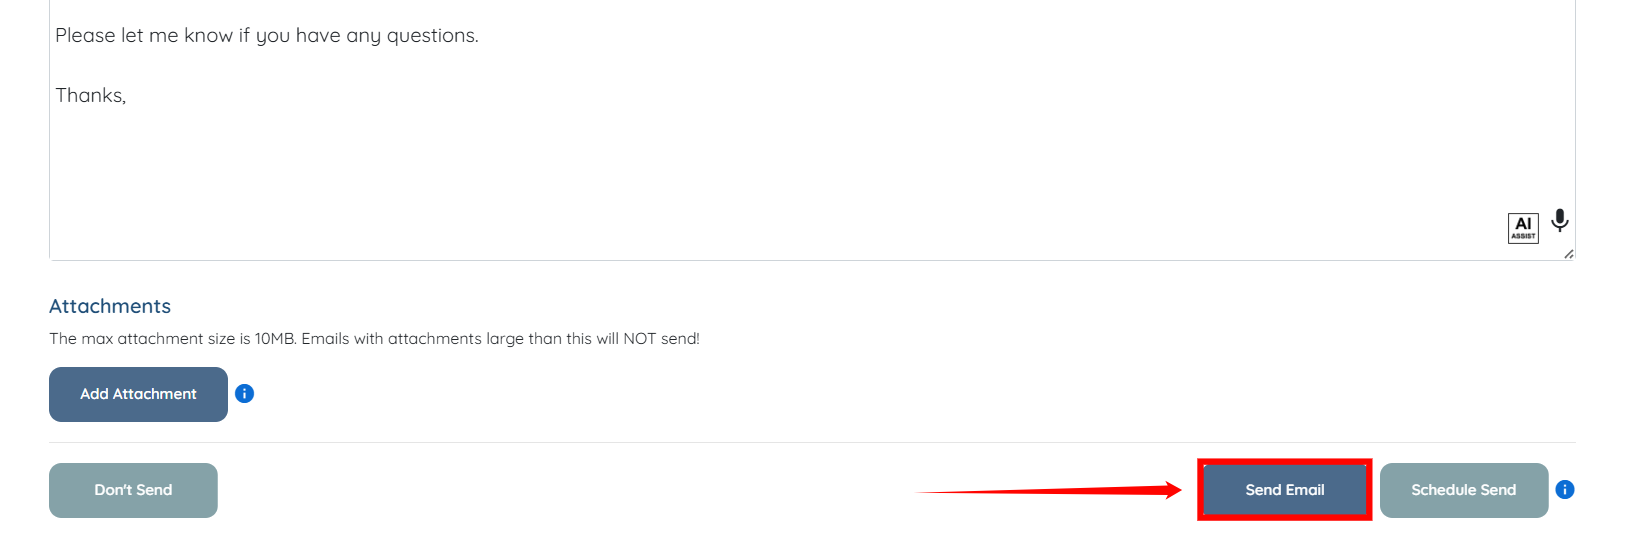
Step 5: An email pop-up will appear. Scroll down and edit the email content as required.
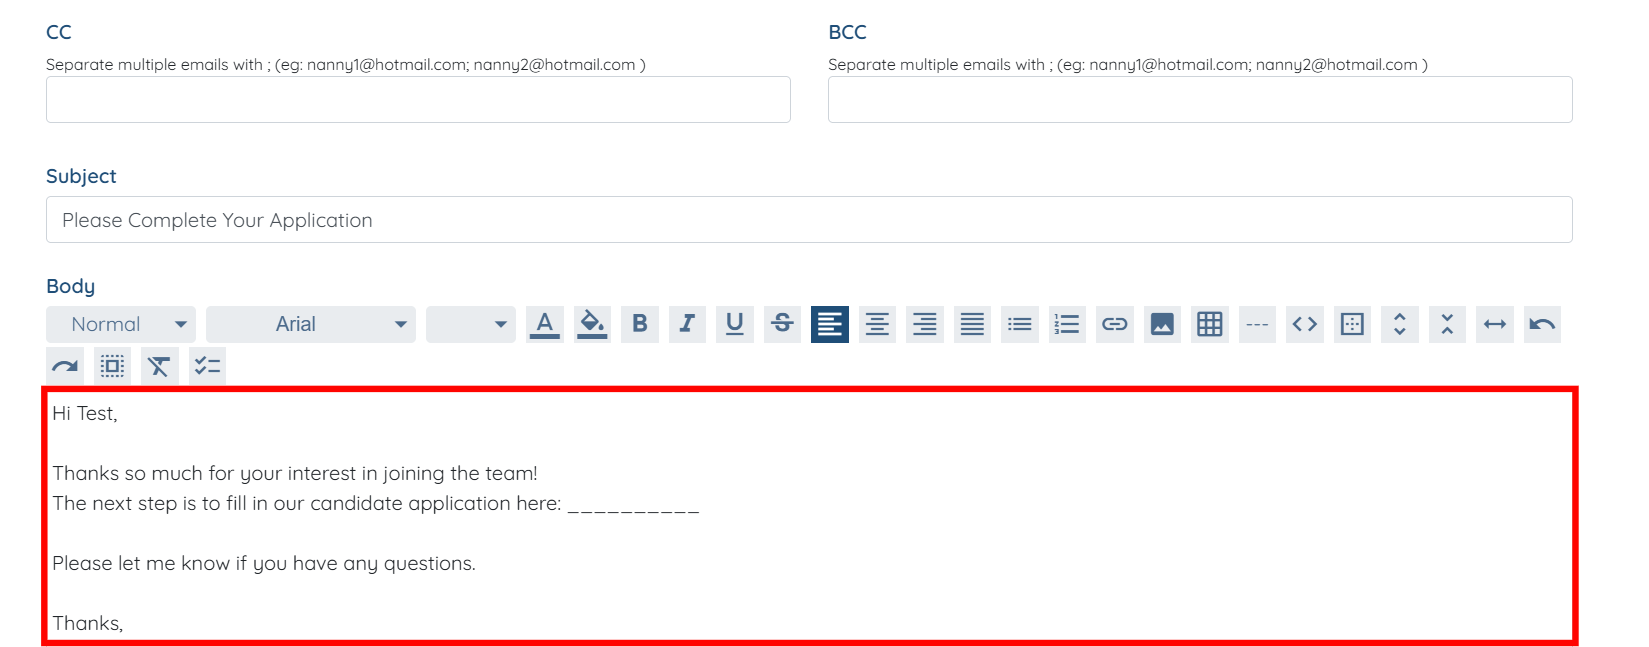
Step 6: Click the Send Email button if you want to send the email to notify candidate.
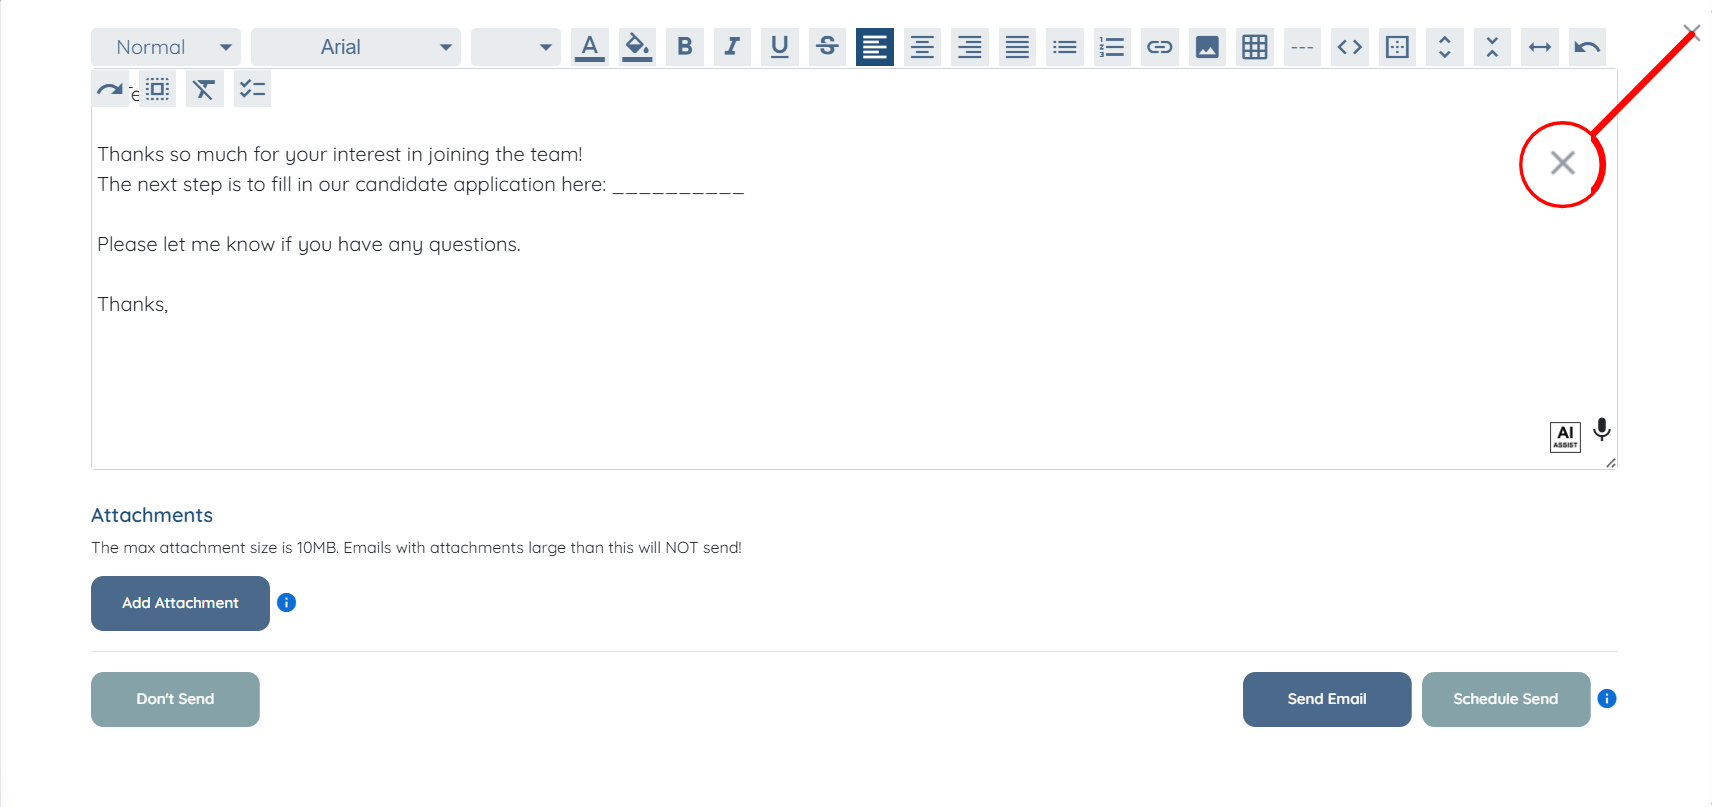
You can also click the X icon on the email pop-up to close the screen, and the system will not send a notification to the candidate.
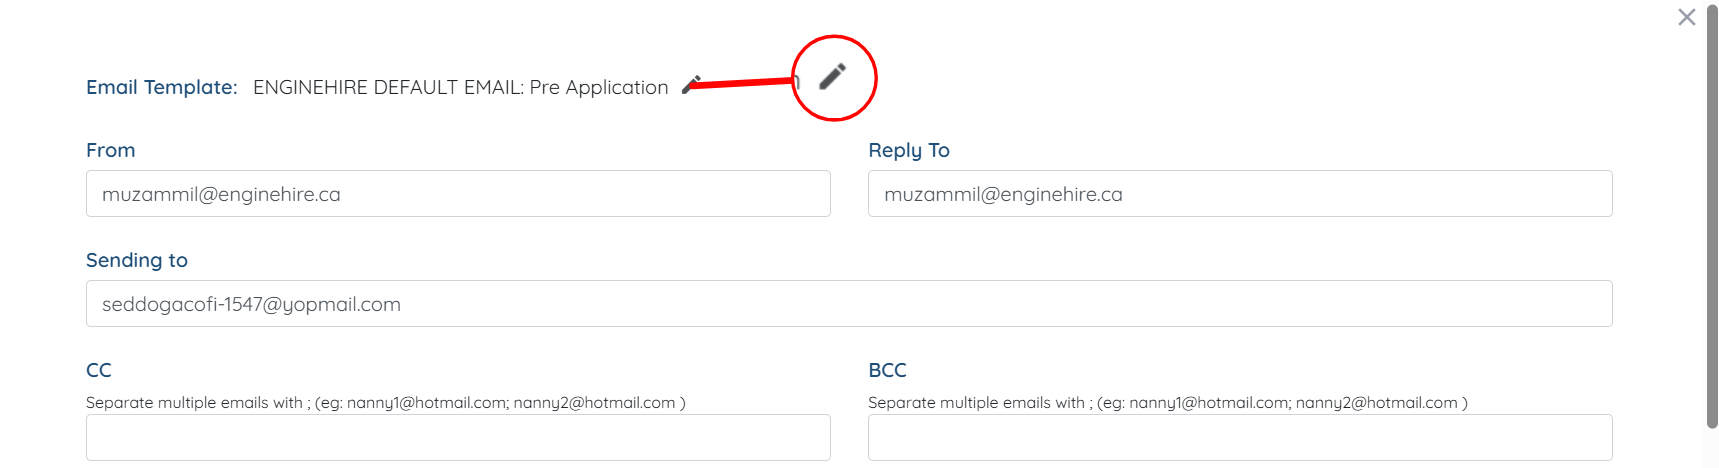
Step 7: You can edit this email template for all future updates by clicking the Pencil icon at the top of the email pop-up.
Follow the steps above to see this in action.
Start with the first candidate status and customize each email with the proper information for that status they are now in.
If you have created a test profile with your own email address, you can see how the status change email notification is when it is sent.
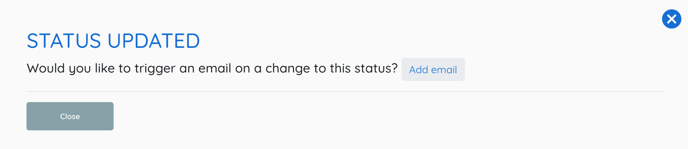
For brand new statuses created by your agency or new to the system a popup asking if you would like to add an email notification will appear.
If this doesn't answer your questions you can always contact us by clicking here
