
Let’s get started 🚀
Create a mailing list by defining the audience you want to include. This allows you to save recipient groups and reuse them for future email blasts without reapplying filters each time.
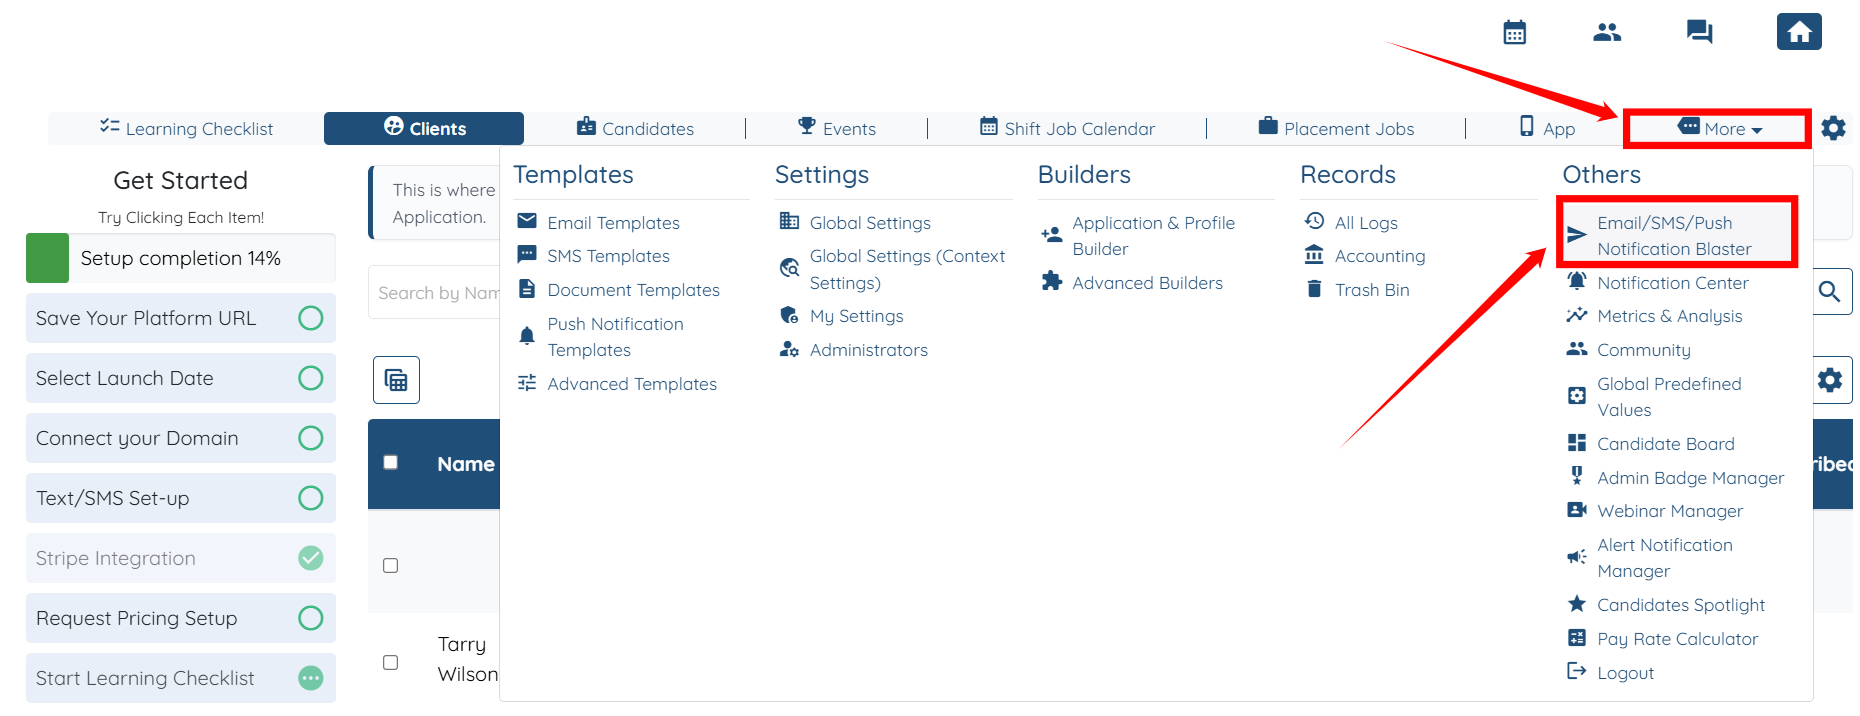
Step 1: Log in to your agent dashboard and click More > Email/SMS/Push Notification Blaster, as shown in the screenshot below.
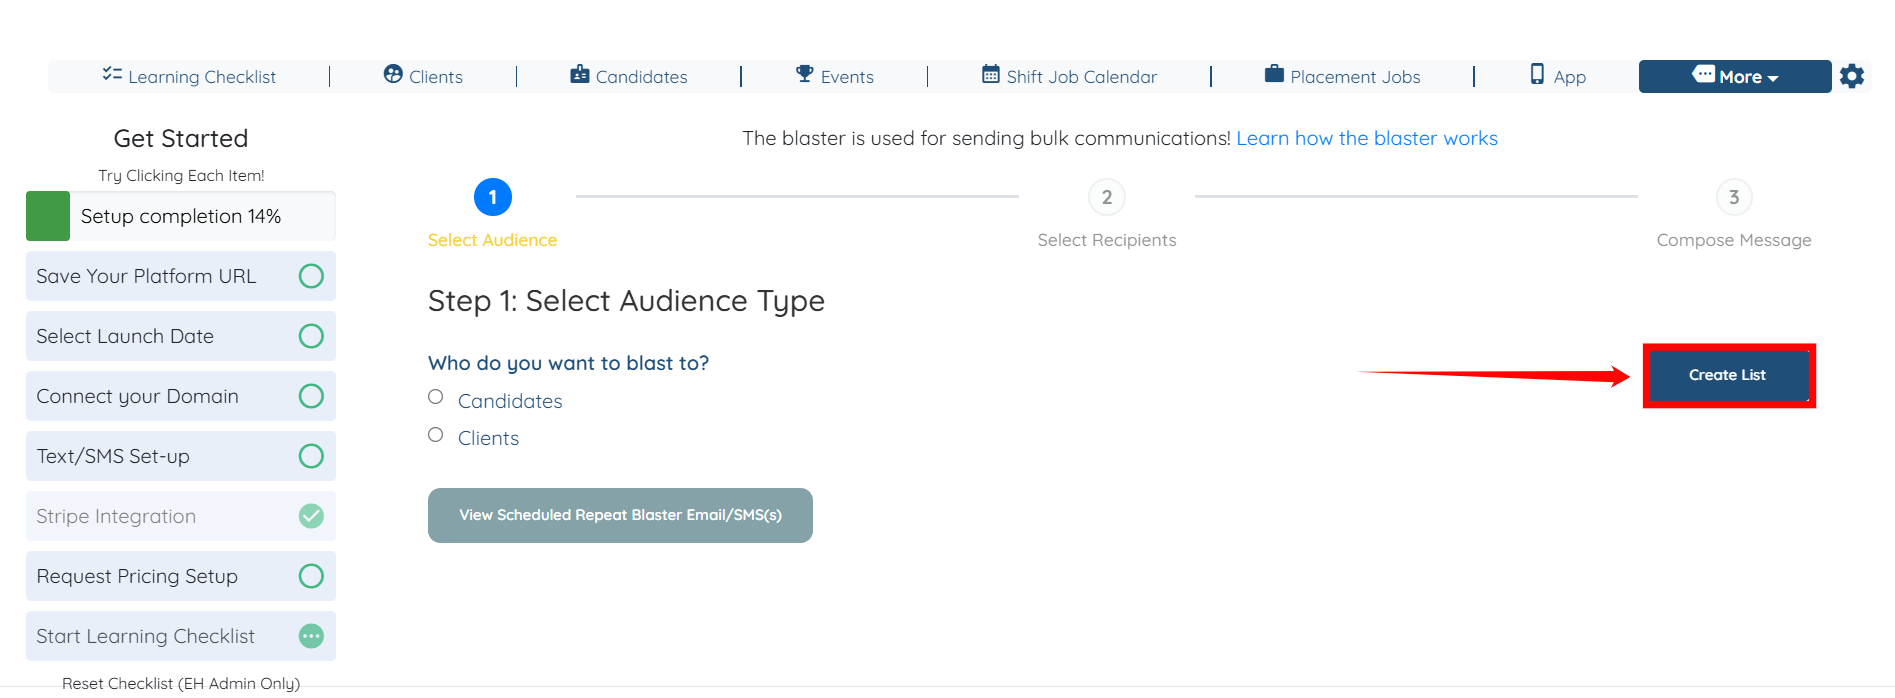
Step 2: Click the Create List button to start creating the mailing list.
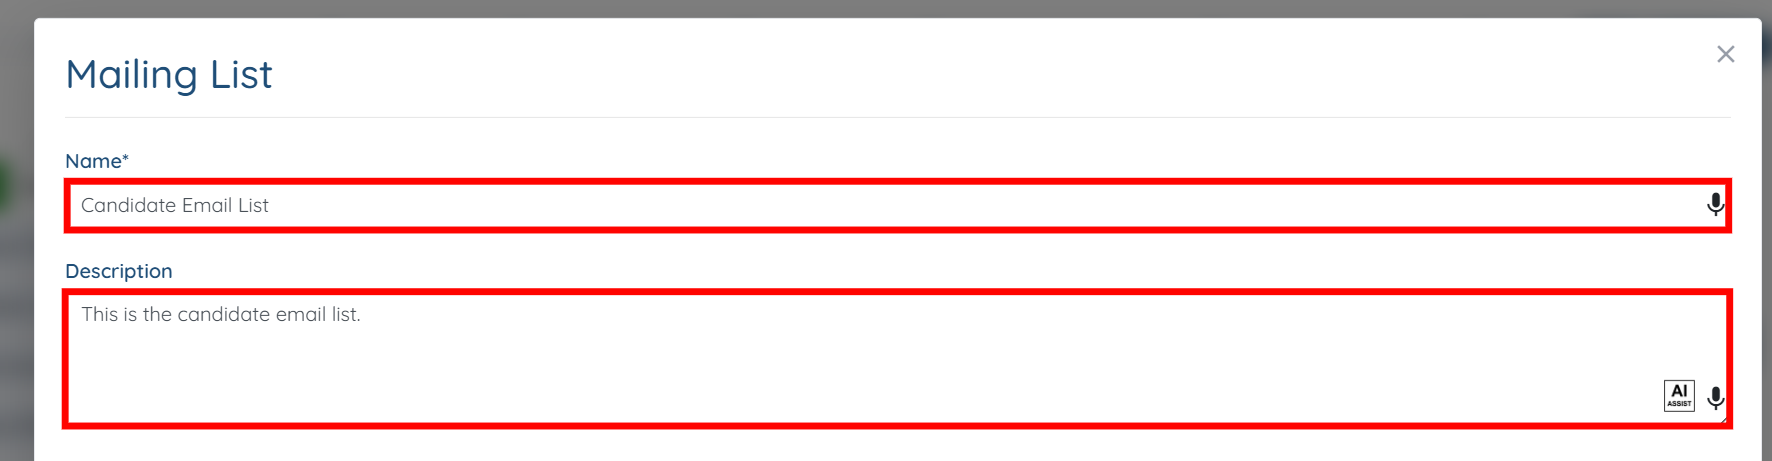
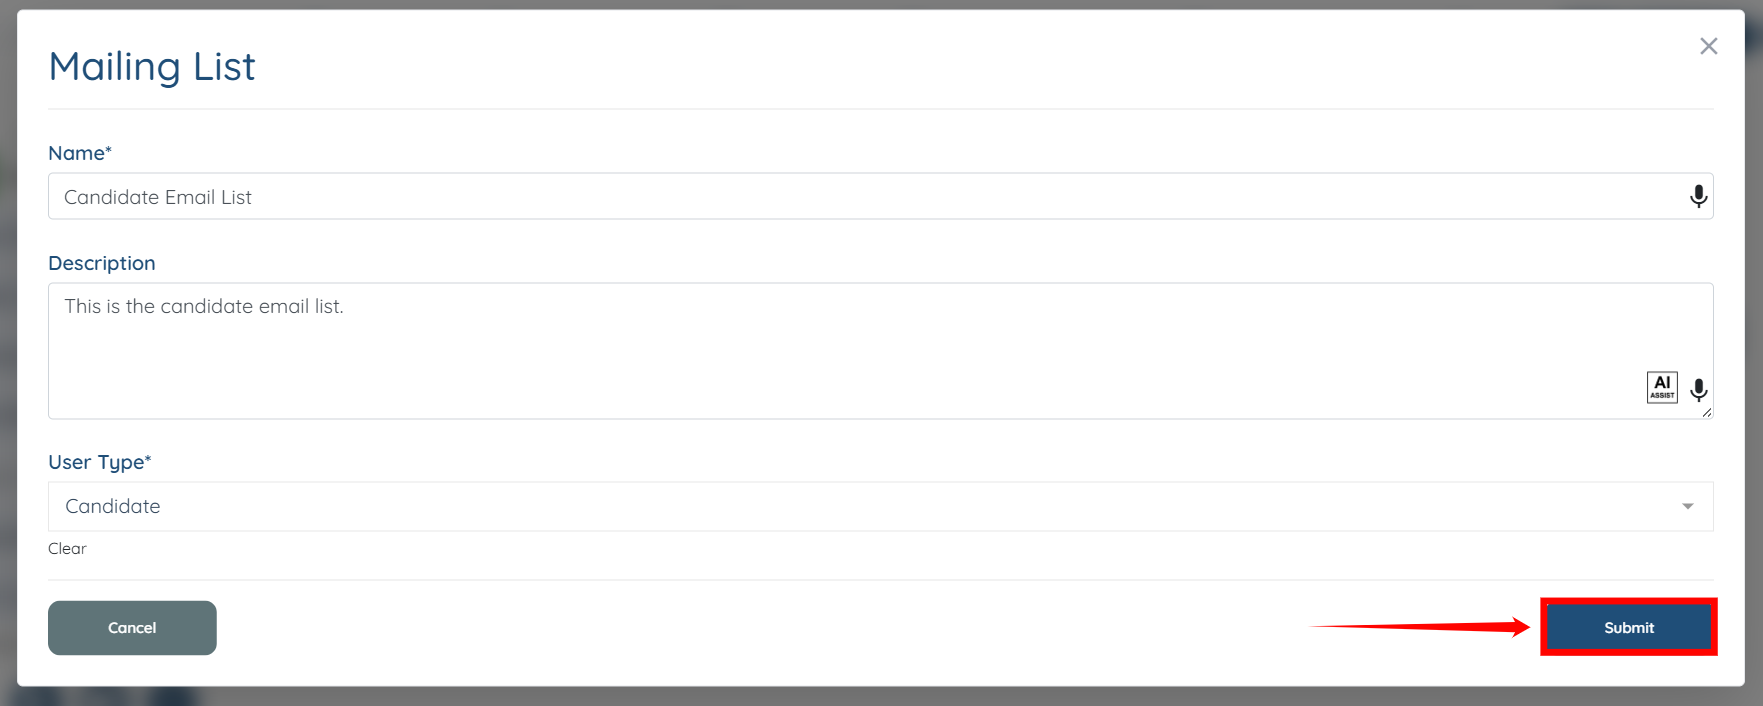
Step 3: Enter the Name and Description for the mailing list.
Step 4: Select the User Type to Candidate.
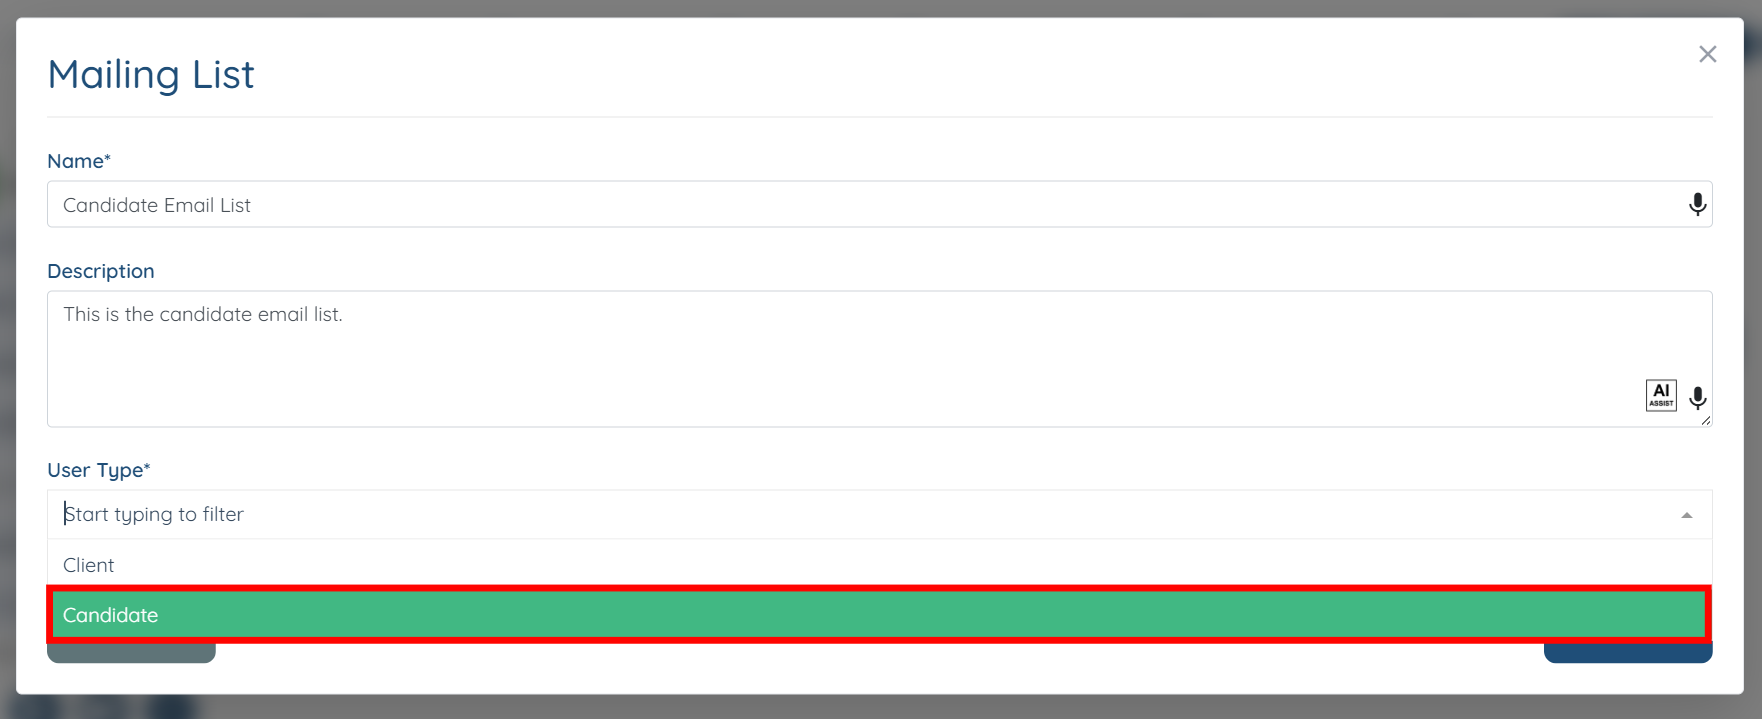
Step 5: Click the Submit button to proceed.
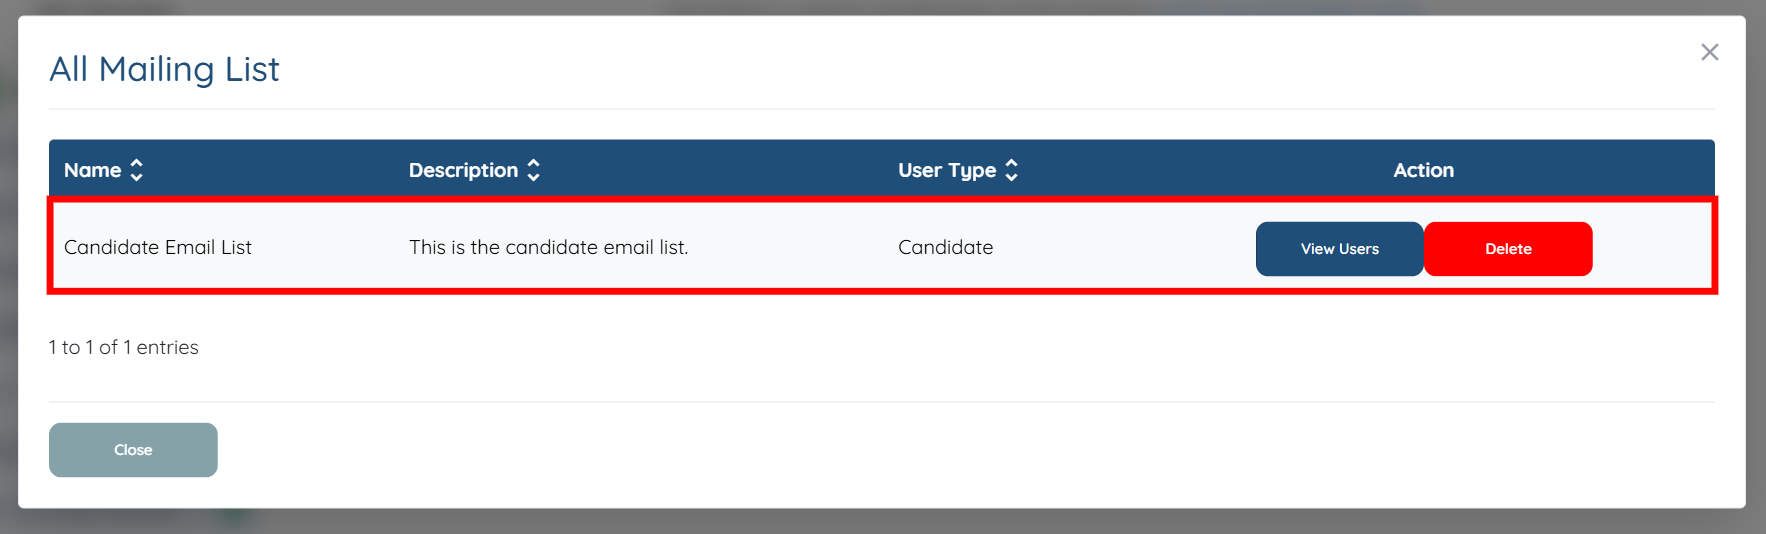
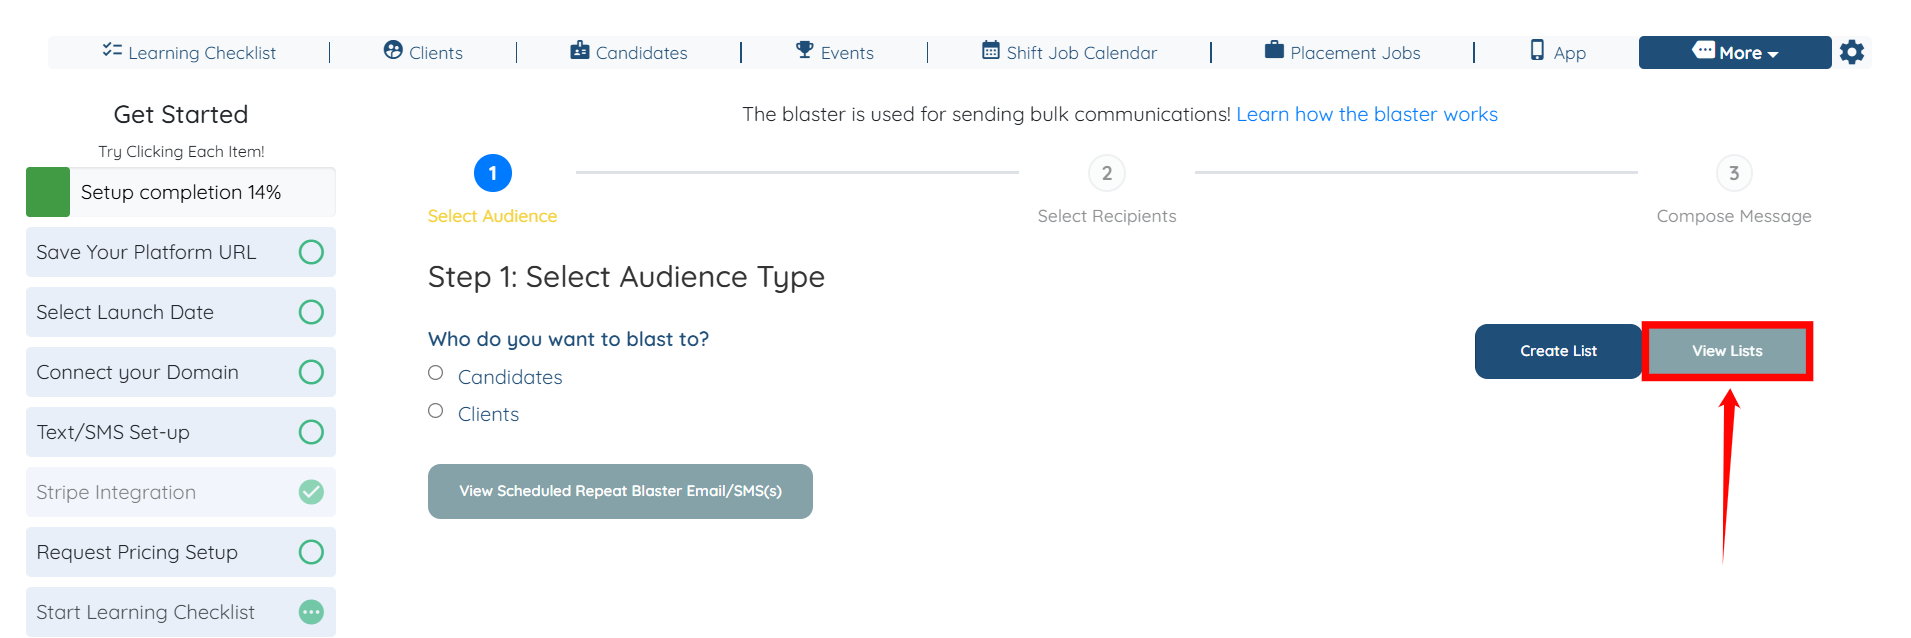
Step 6: Click the View Lists button.

Here you can view the mailing list you have newly created.
Add users to the mailing list to keep it up to date. Updating the list ensures your email blasts reach the right recipients as your audience changes.
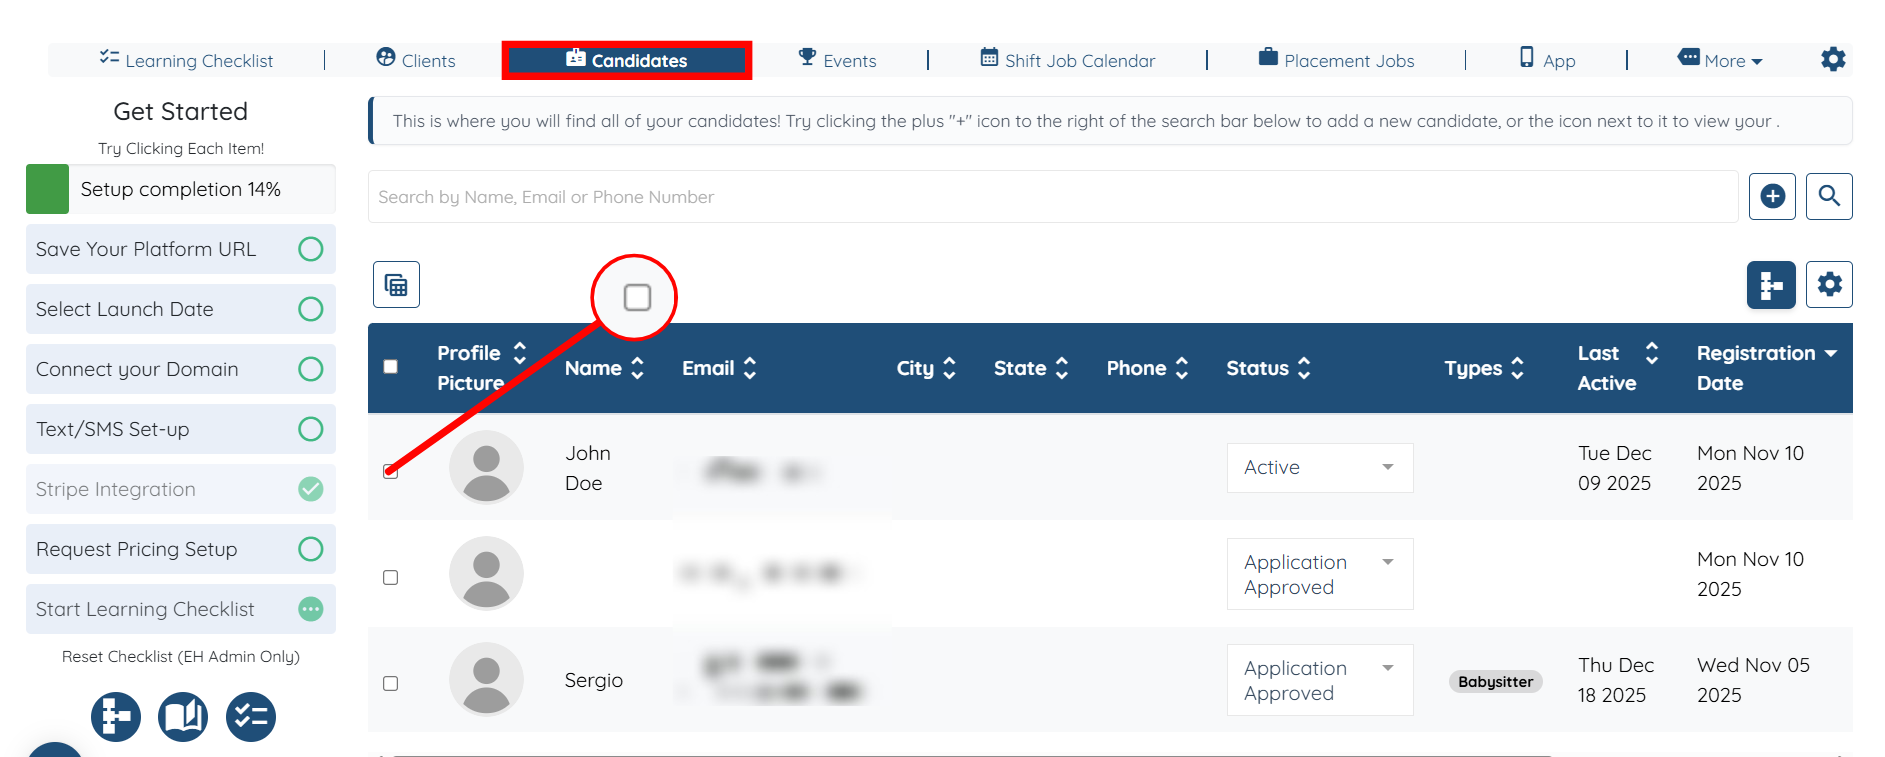
Step 1: Under Candidates on your agent dashboard, click the checkbox located just before the candidate’s name for the candidate you want to add to the mailing list.
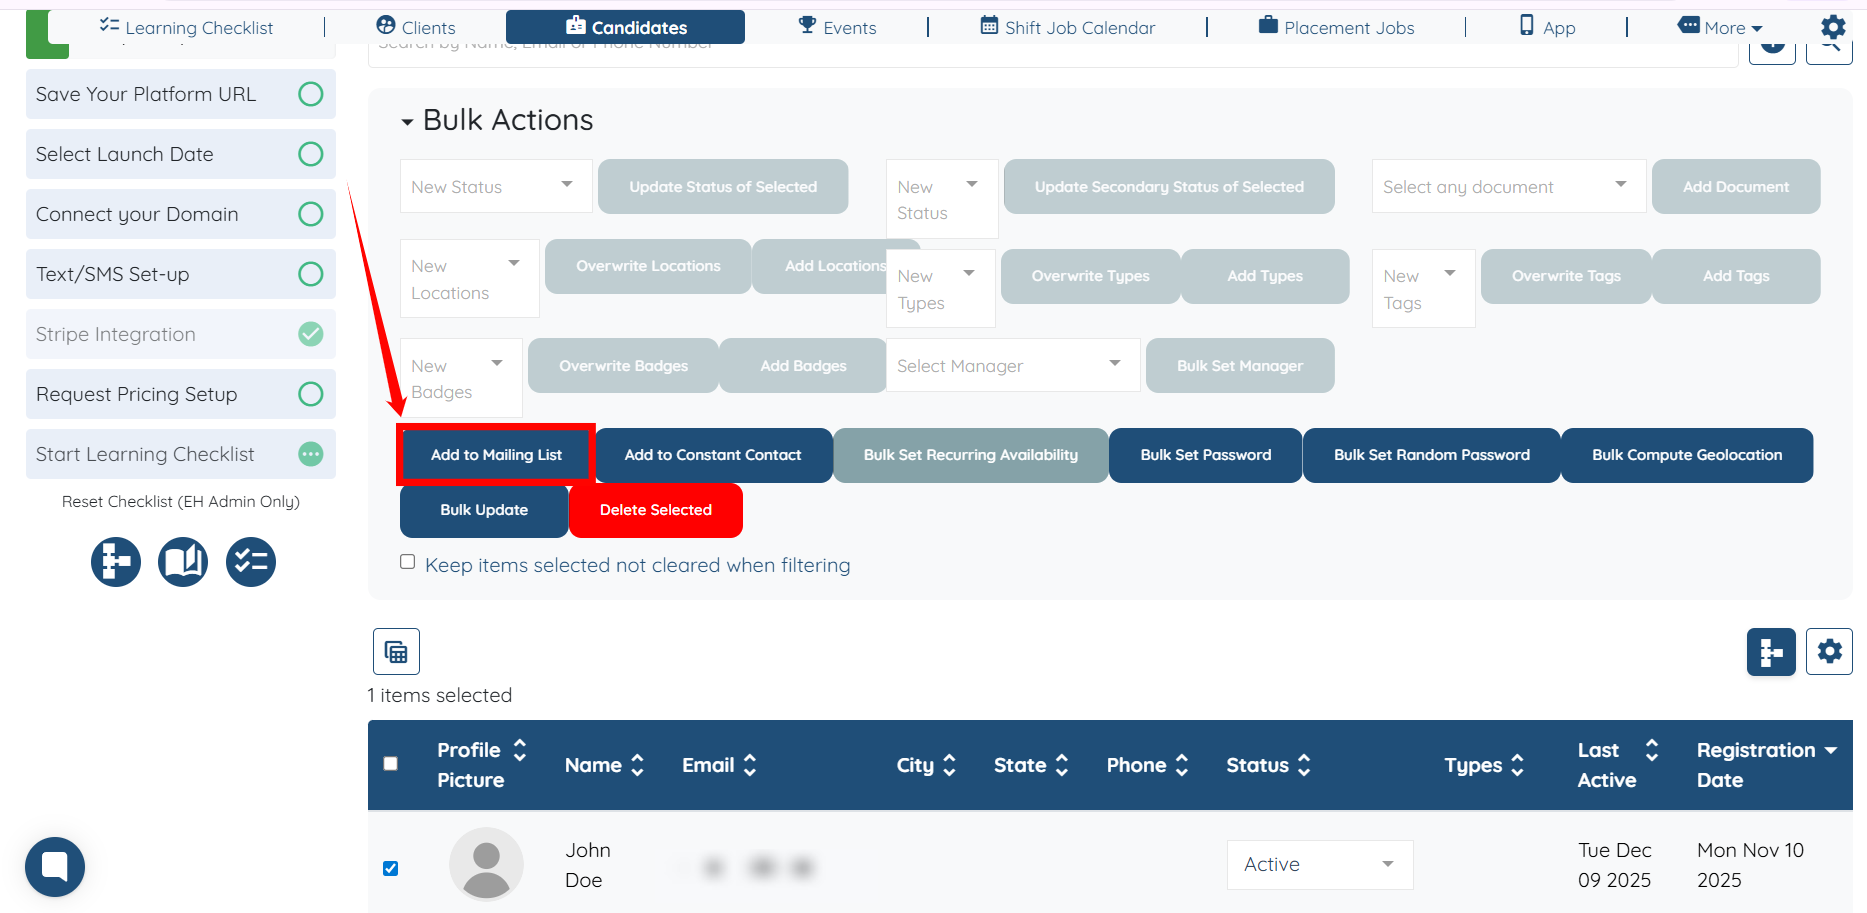
Step 2: Click Add to Mailing List button.
Step 3: Select the mailing list to which you want to add the selected candidate. In our case, this is the Candidate Email List.
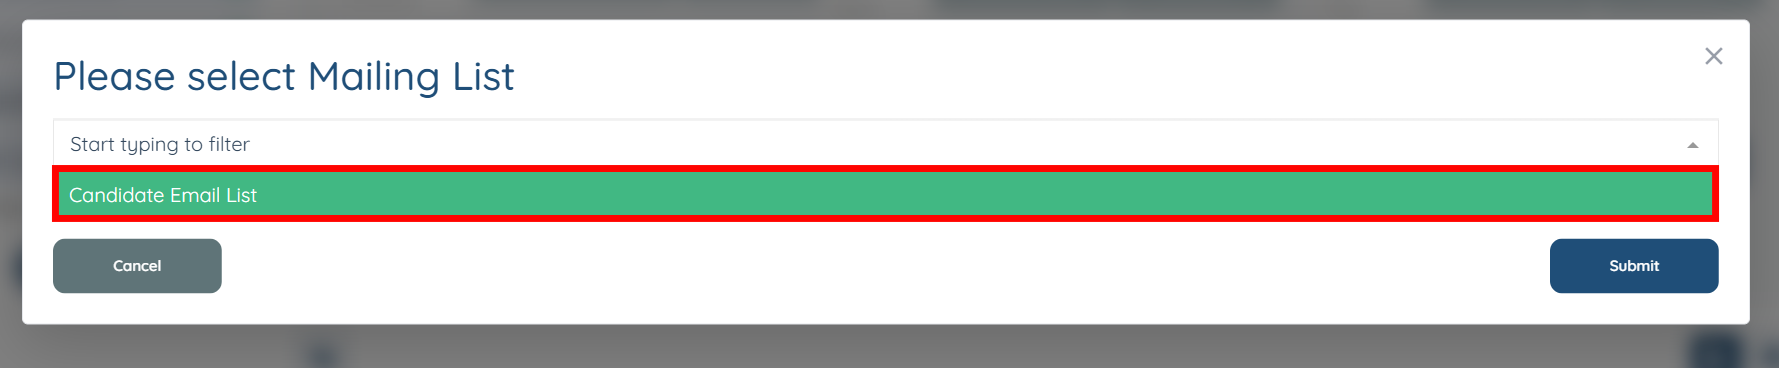
Step 4: Click the Submit button to proceed.

Step 5: Now, under the Email/SMS/Push Notification Blaster option, click the View Lists button.
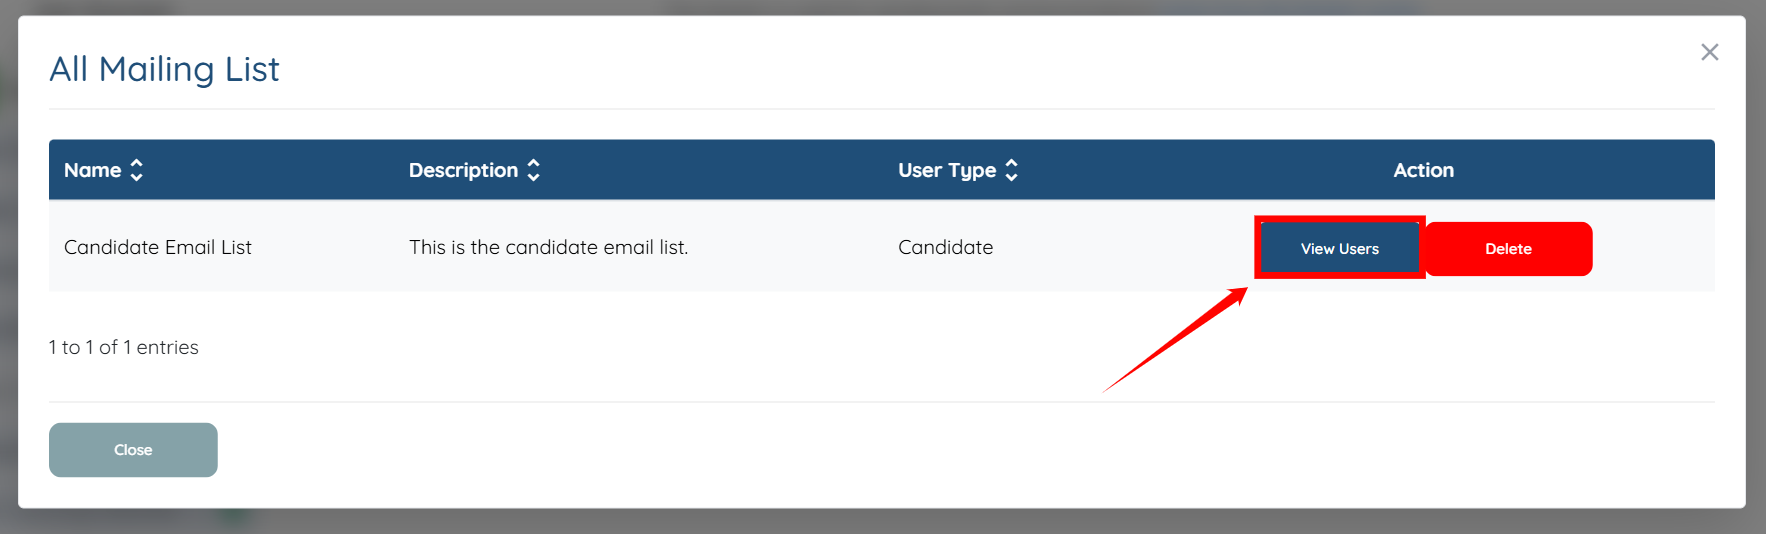
Step 6: Click the View Users button for the mailing list to which you have added the candidate.
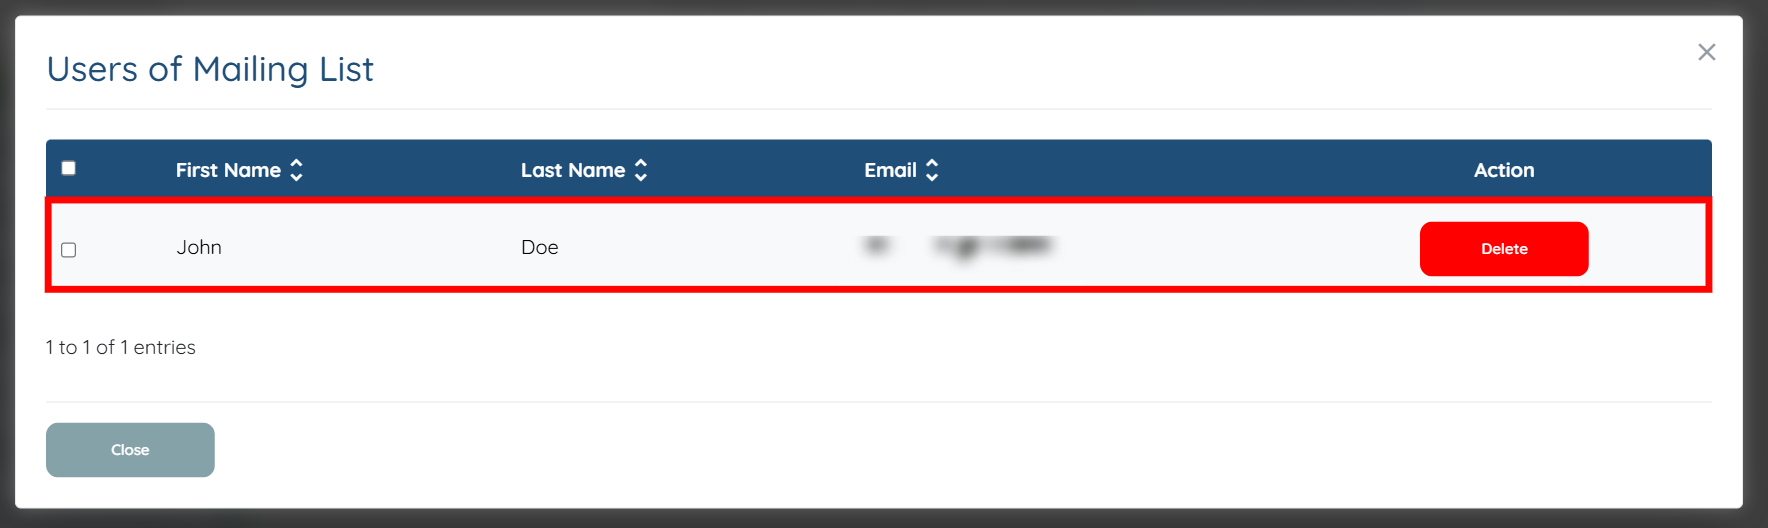
Here, you can view the candidate you added to the mailing list
If this doesn't answer your questions you can always contact us by clicking here
