Let’s get started 🚀
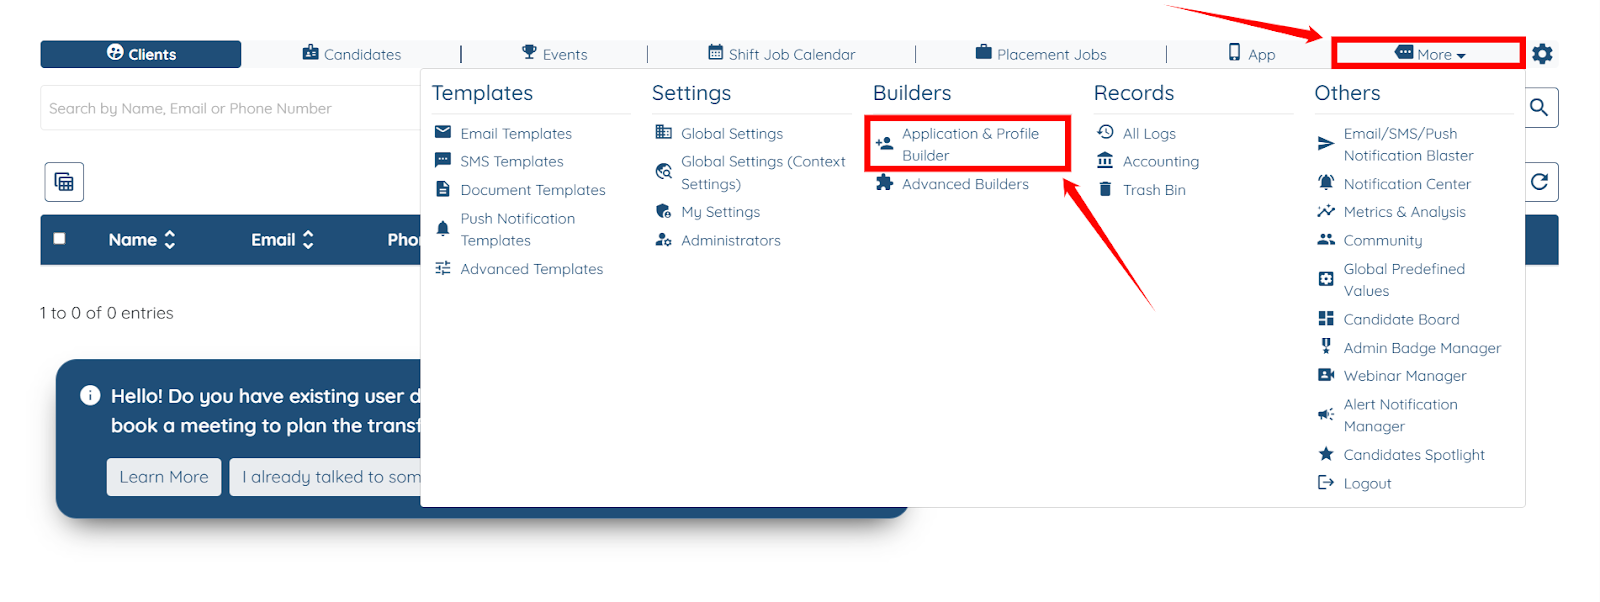
Step 1: Log in to your agent dashboard, then navigate to More > Application & Profile Builder, as shown in the screenshot below.
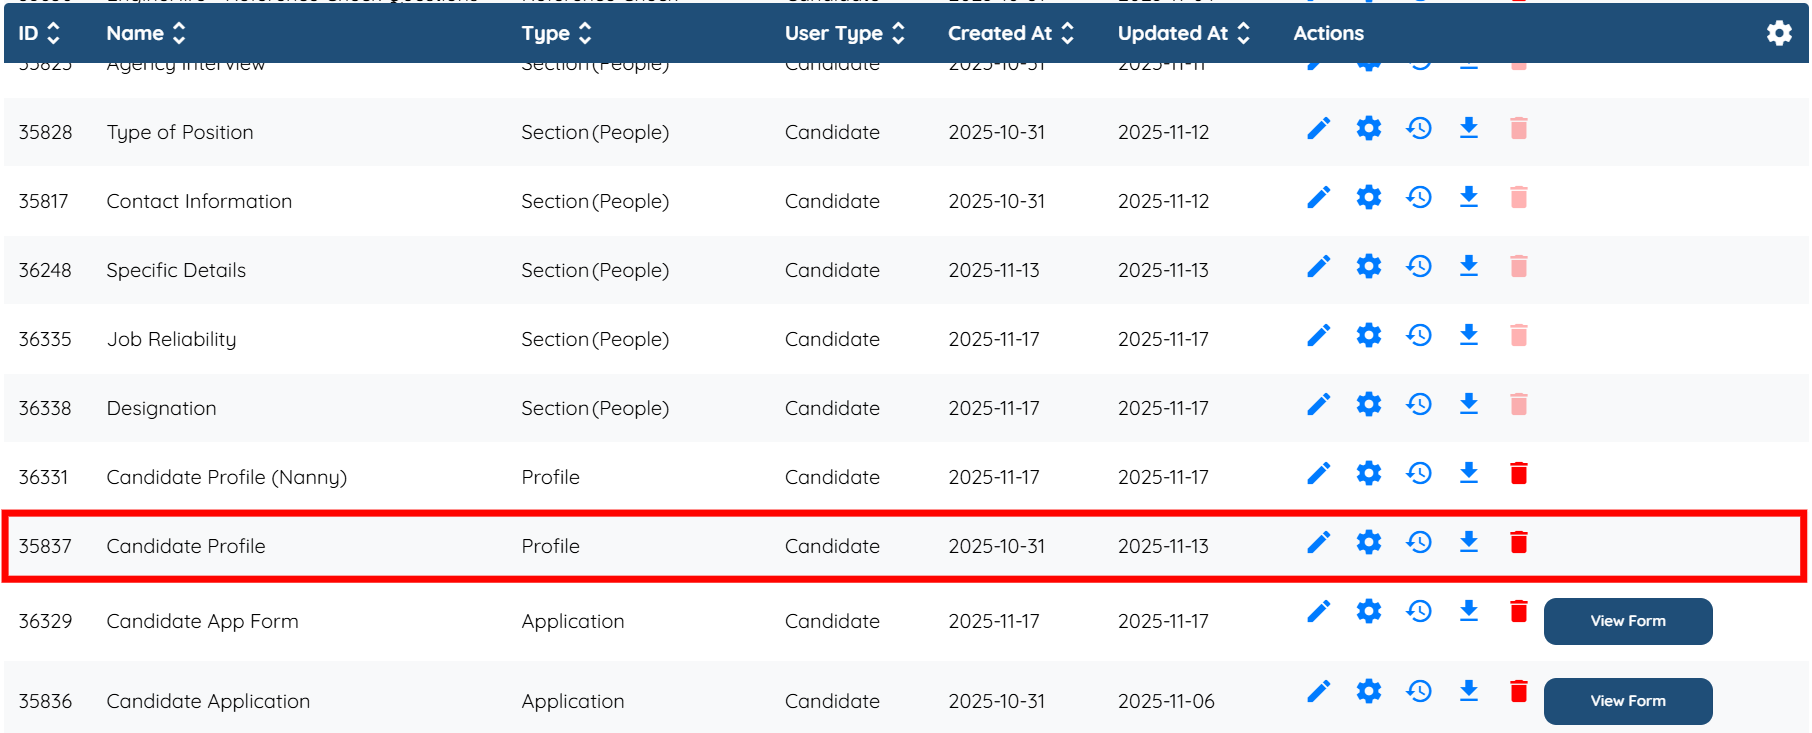
Step 2: Locate the Candidate Profile in the list of all the builders and click it to open it.
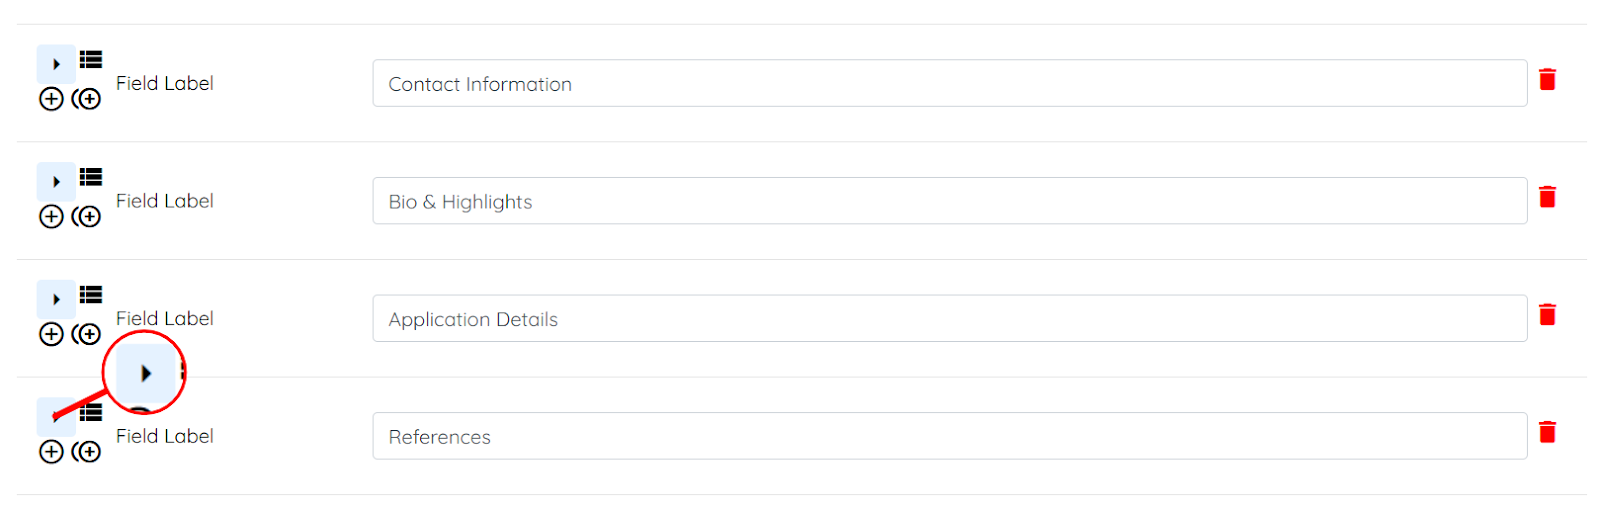
Step 3: Locate the References field and click the arrow icon, as shown in the screenshot below, to expand its details.
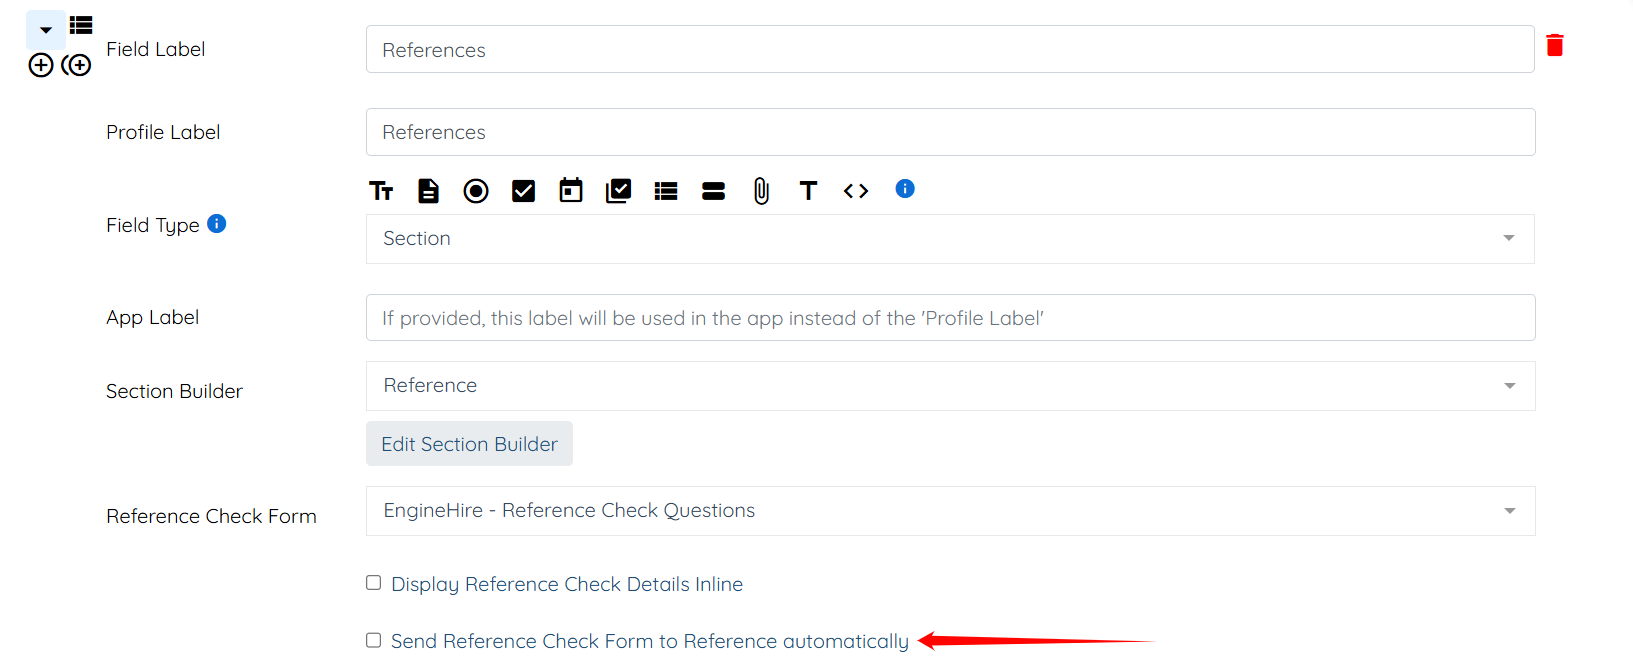
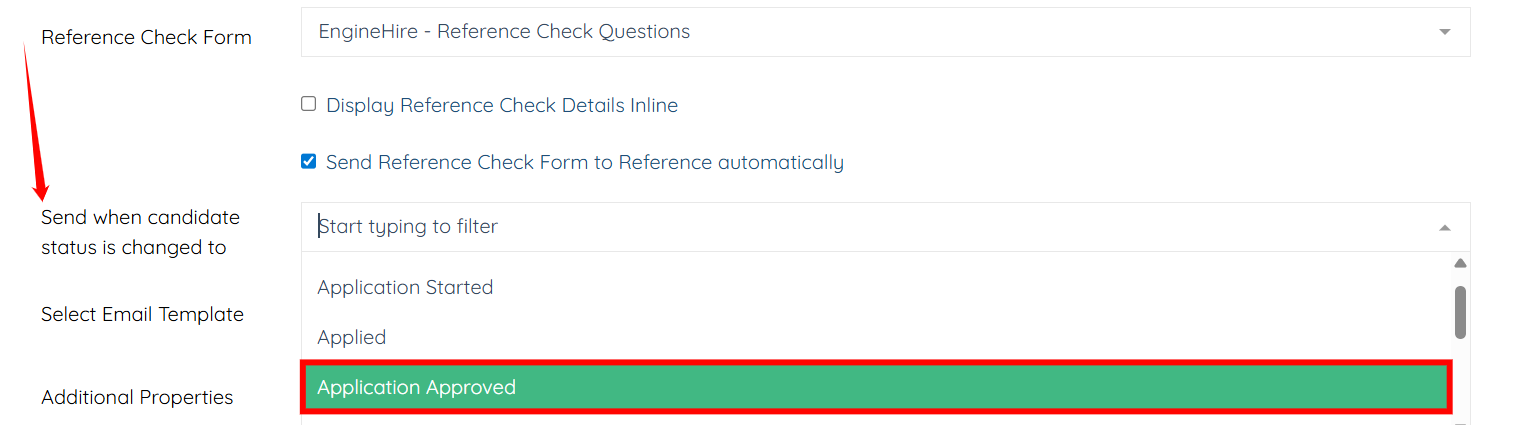
Step 4: Check the Send Reference Check Form to Reference Automatically checkbox to proceed.
Step 5: In the Send when candidate status is changed to field, select the status that should trigger the automatic reference check. For example, Application Approved.
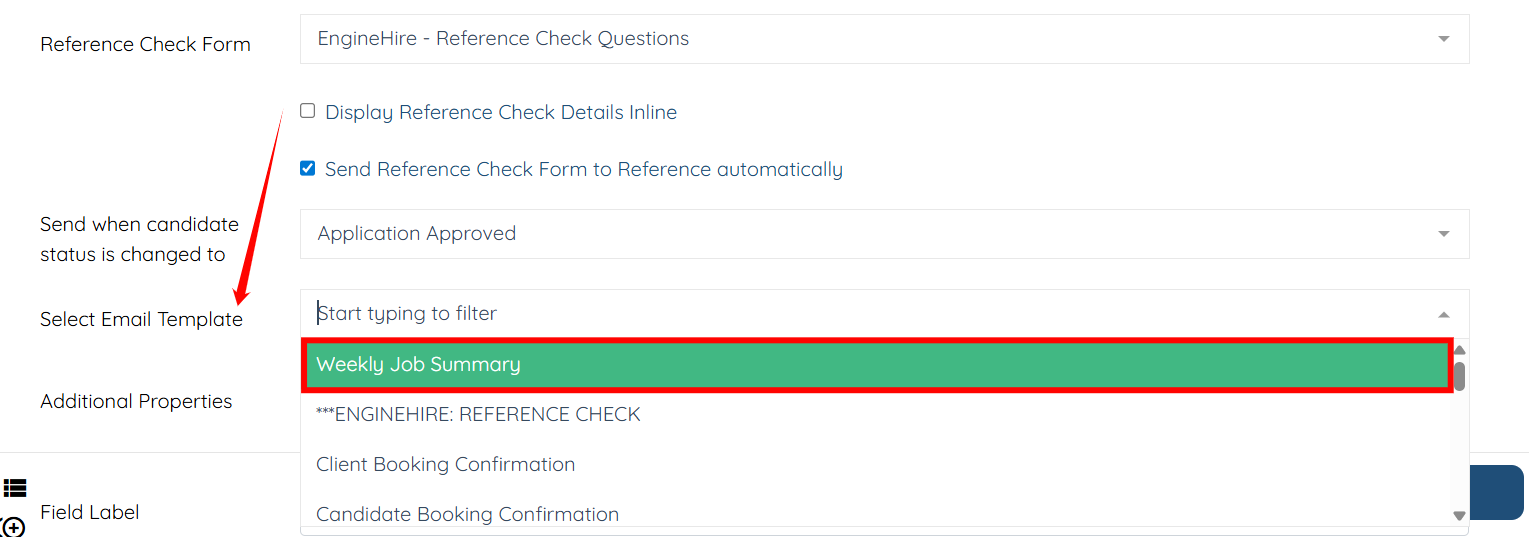
Step 6: In the Select Email Template field, choose the email template you want to use for sending the reference check request.
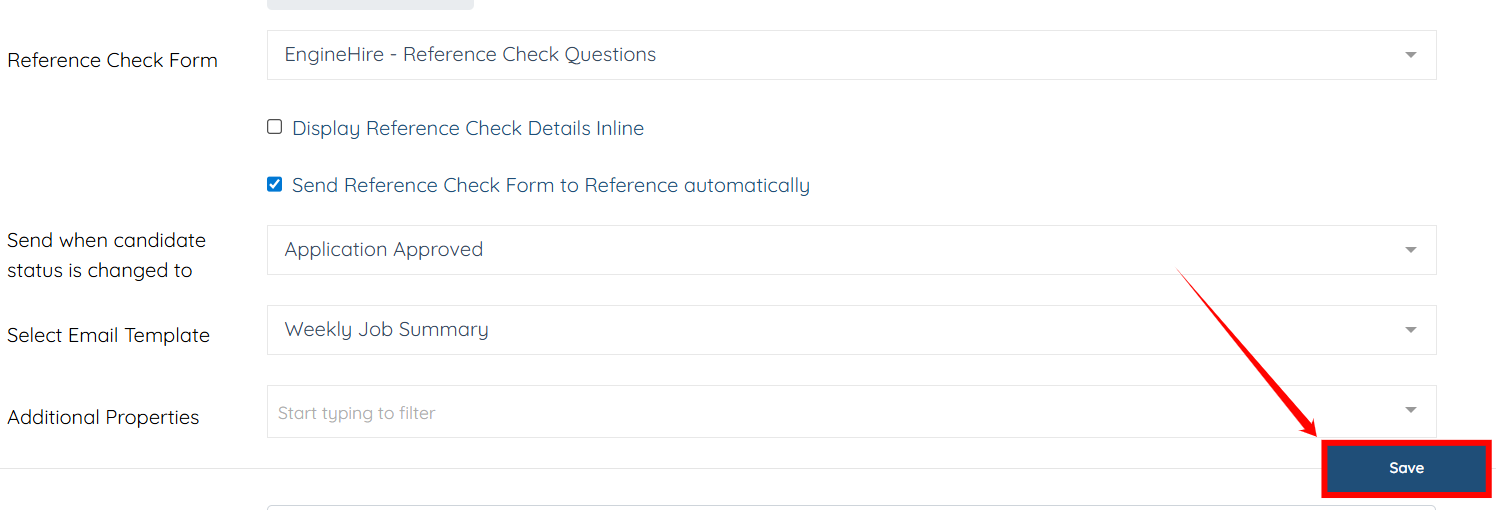
Step 7: Click the Save button to apply the changes.
Tip
Learn how to create the reference check email template so these checks will automatically send.
Tip:
Remind References to complete the check.
Tip:
Learn how to connect reference questions to reference sections.
Note:
Why to Use Automated Reference Checks
If this doesn't answer your questions you can always contact us by clicking here
