Let’s get started 🚀
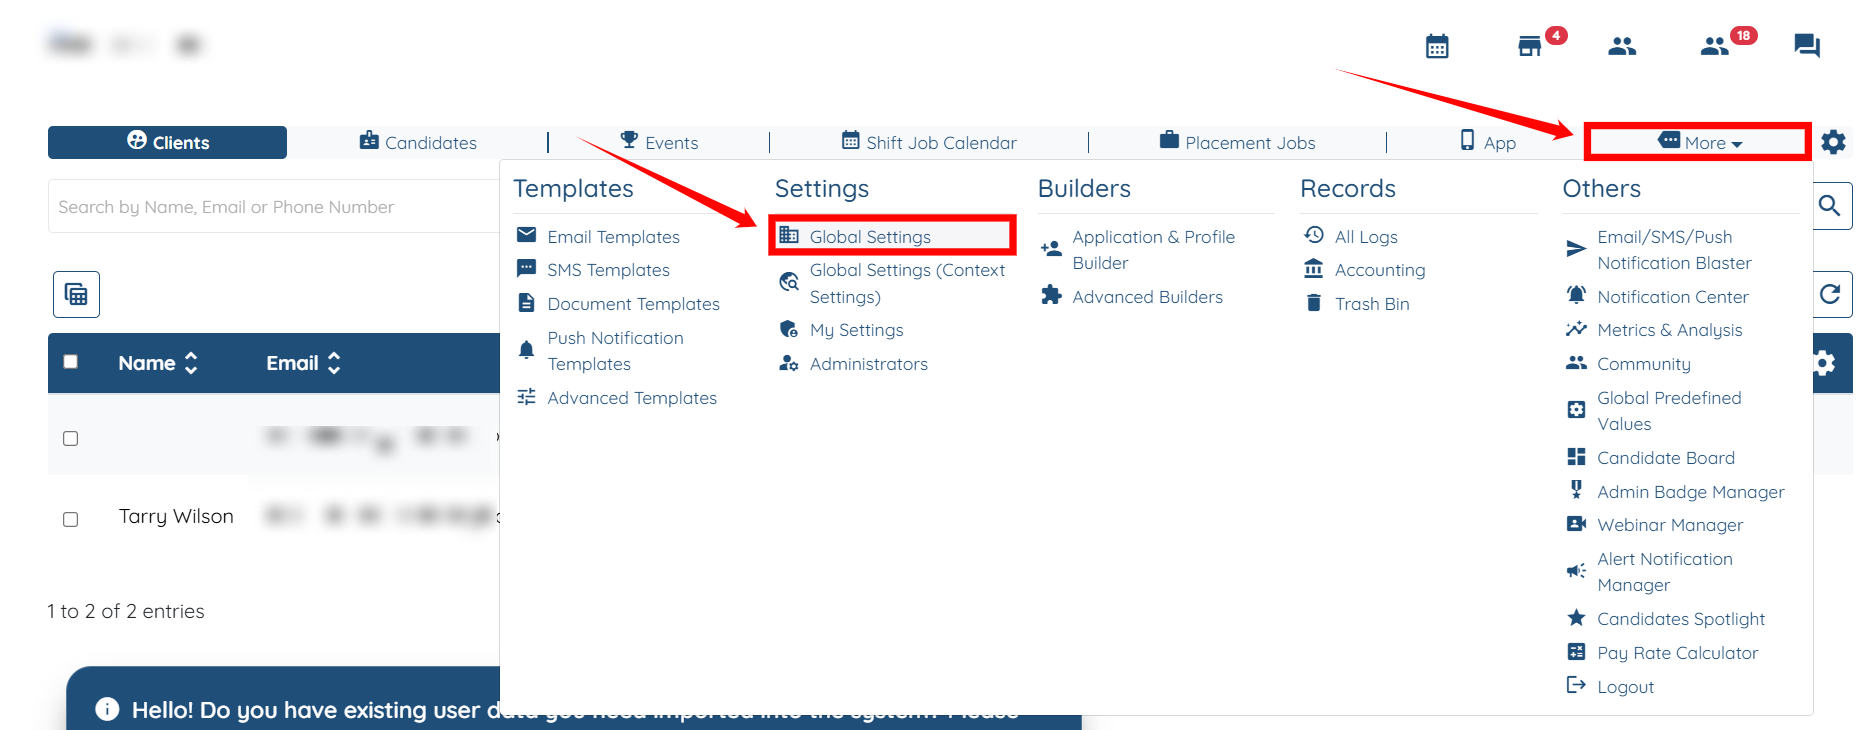
Step 1: Log in to your agent dashboard, then navigate to More > Global Settings, as shown in the screenshot below.
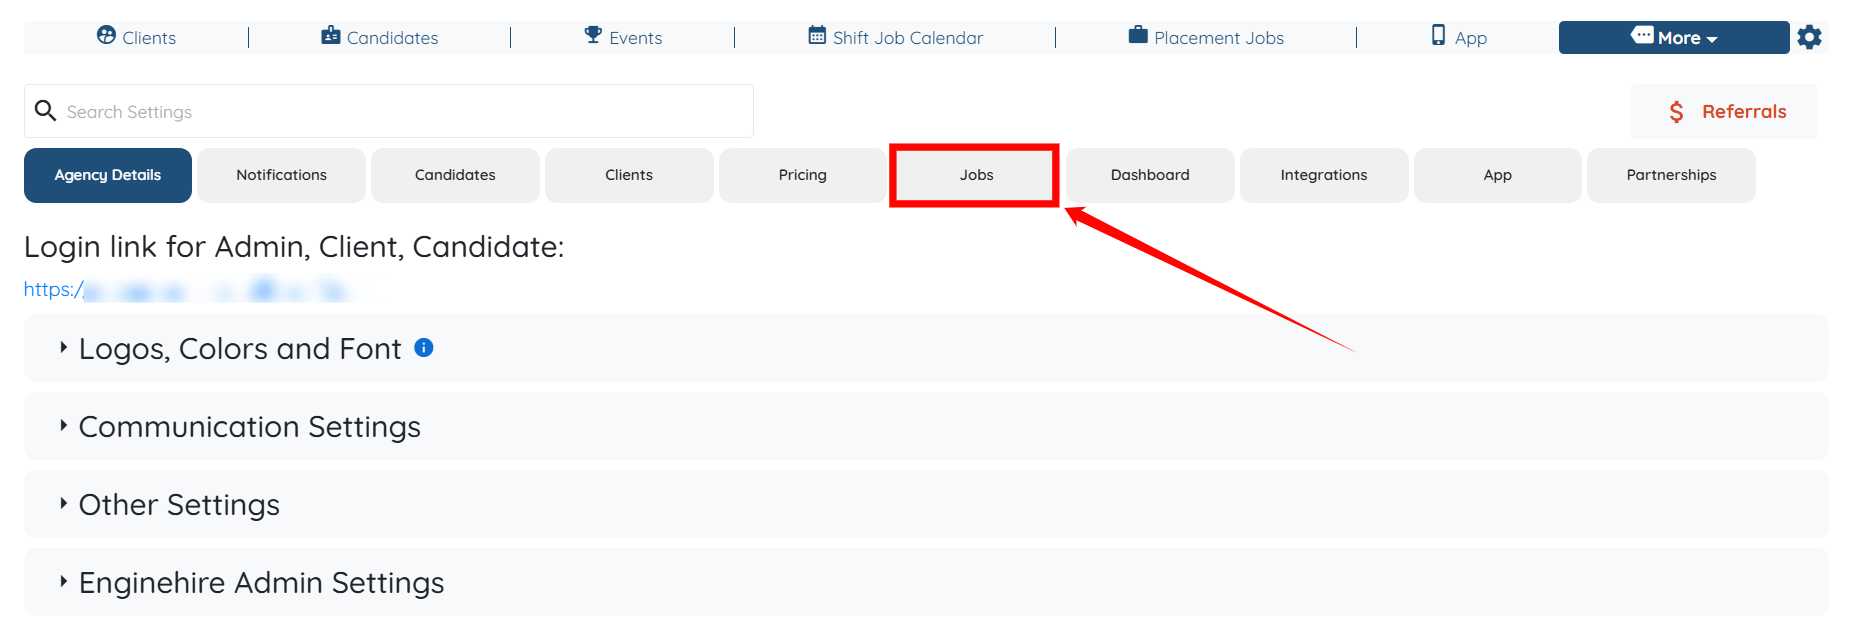
Step 2: Click the Jobs tab in the list of all available tabs.
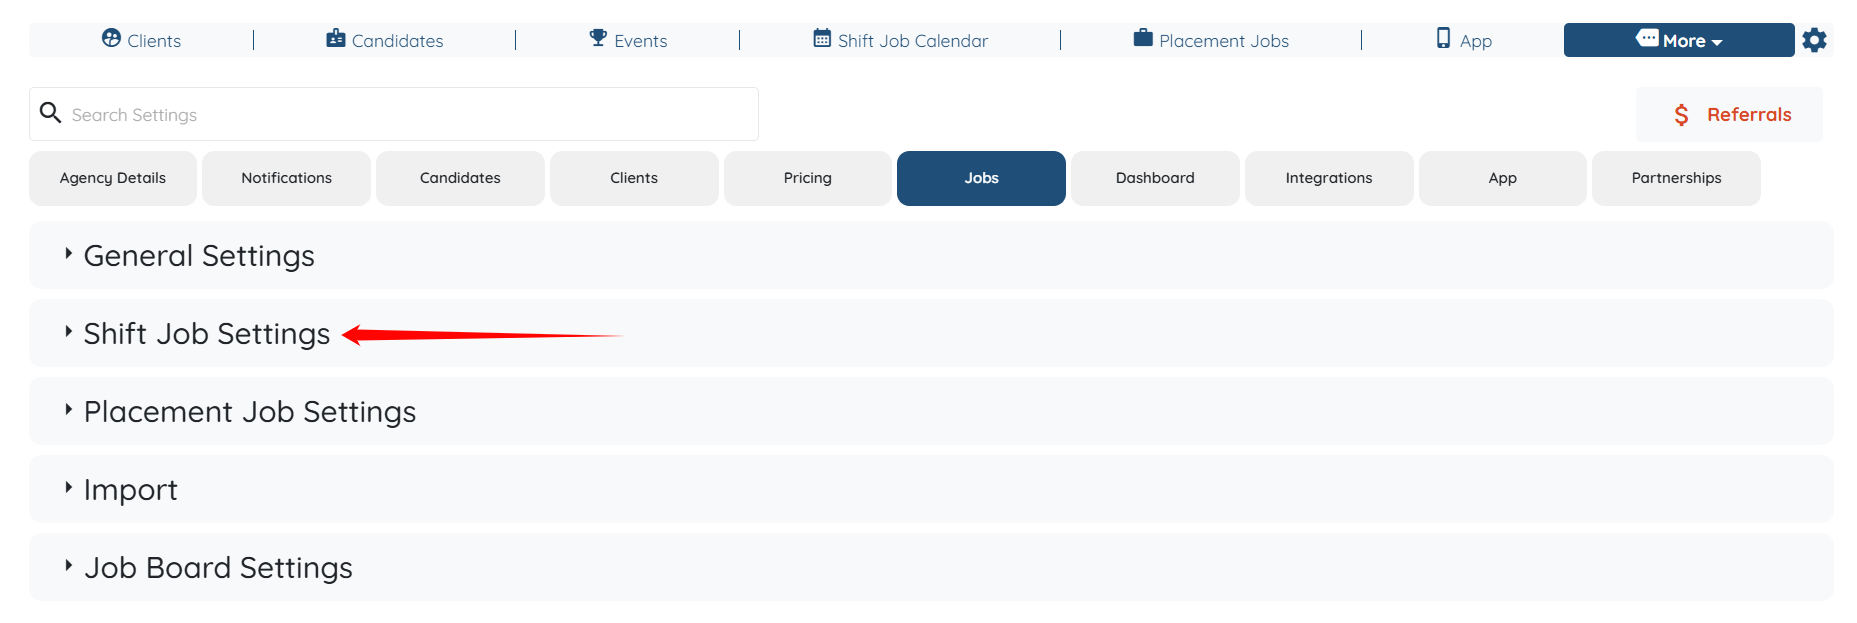
Step 3: Click the Shift Job Settings option to expand its details.
Step 4: Click the Candidate Side tab from the list of all available tabs.
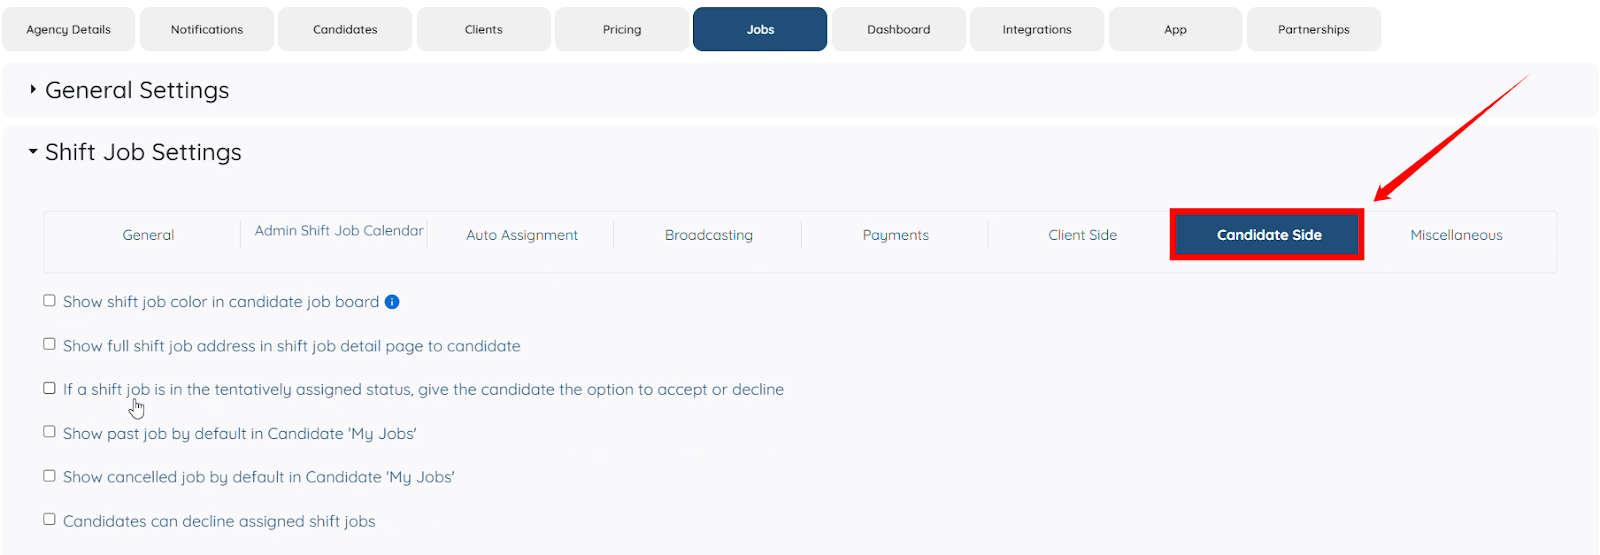
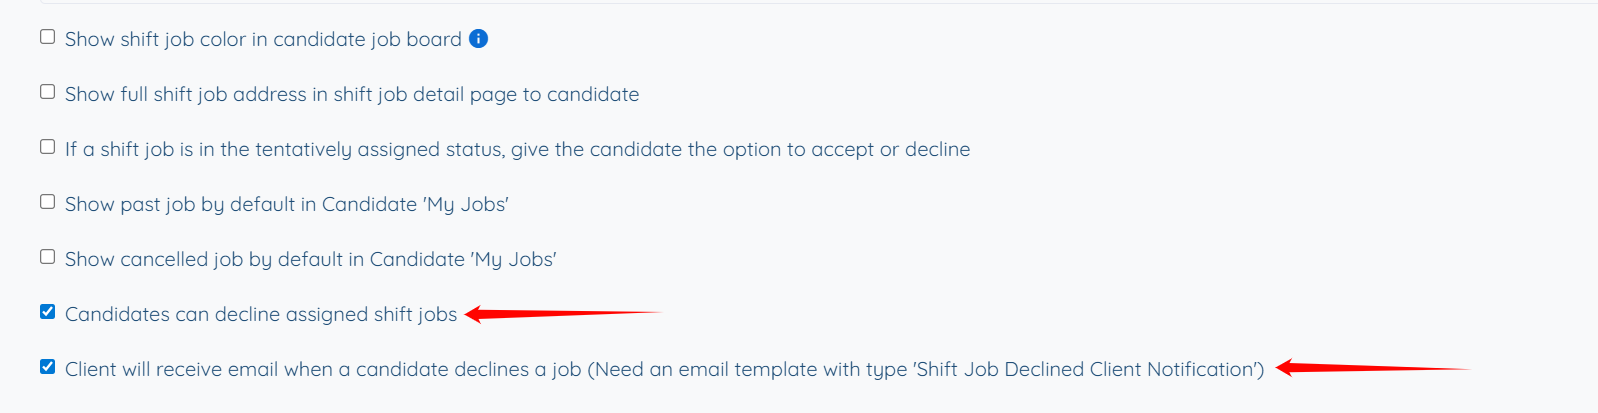
Step 5: Check the “Candidates can decline assigned shift jobs” checkbox, and the system will then automatically check “Client will receive email when a candidate declines a job (Need an email template with type ‘Shift Job Declined Client Notification’)”.
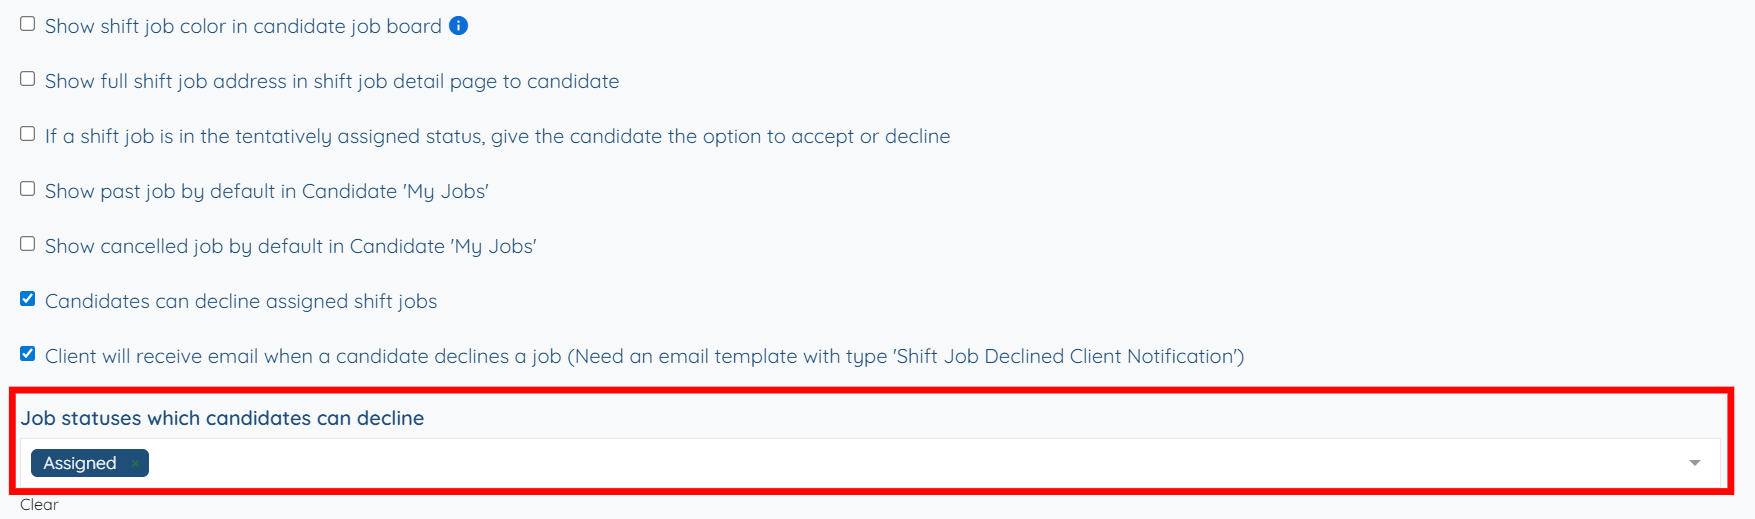
Step 6: Select the Assigned status in the Job statuses that candidates can decline option.
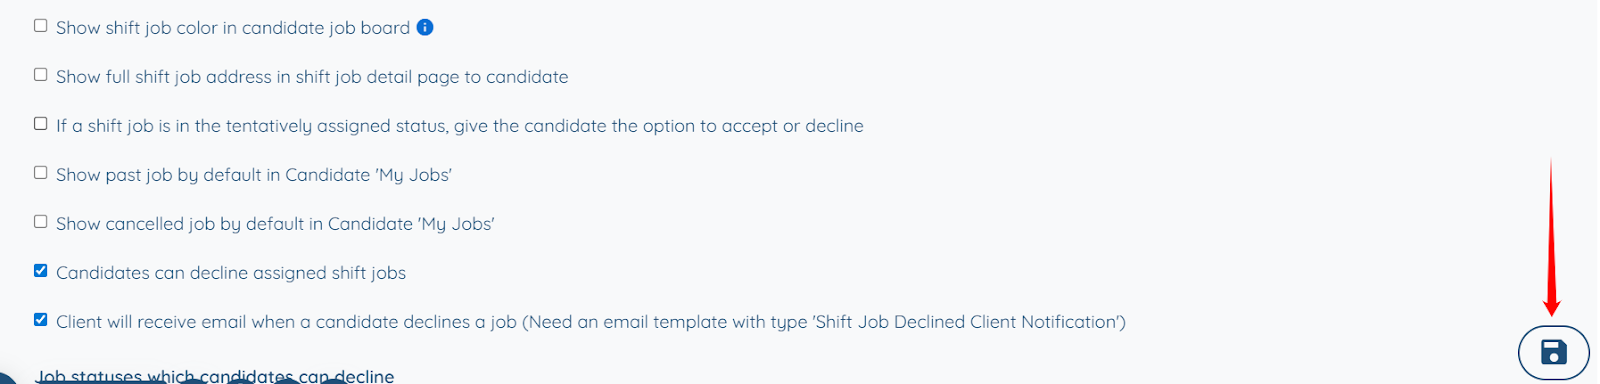
Step 7: Click the Save button to confirm the changes.
The Decline button now appears for the candidate's Assigned shifts in the My Jobs section of their candidate profile.


