Let’s get started🚀
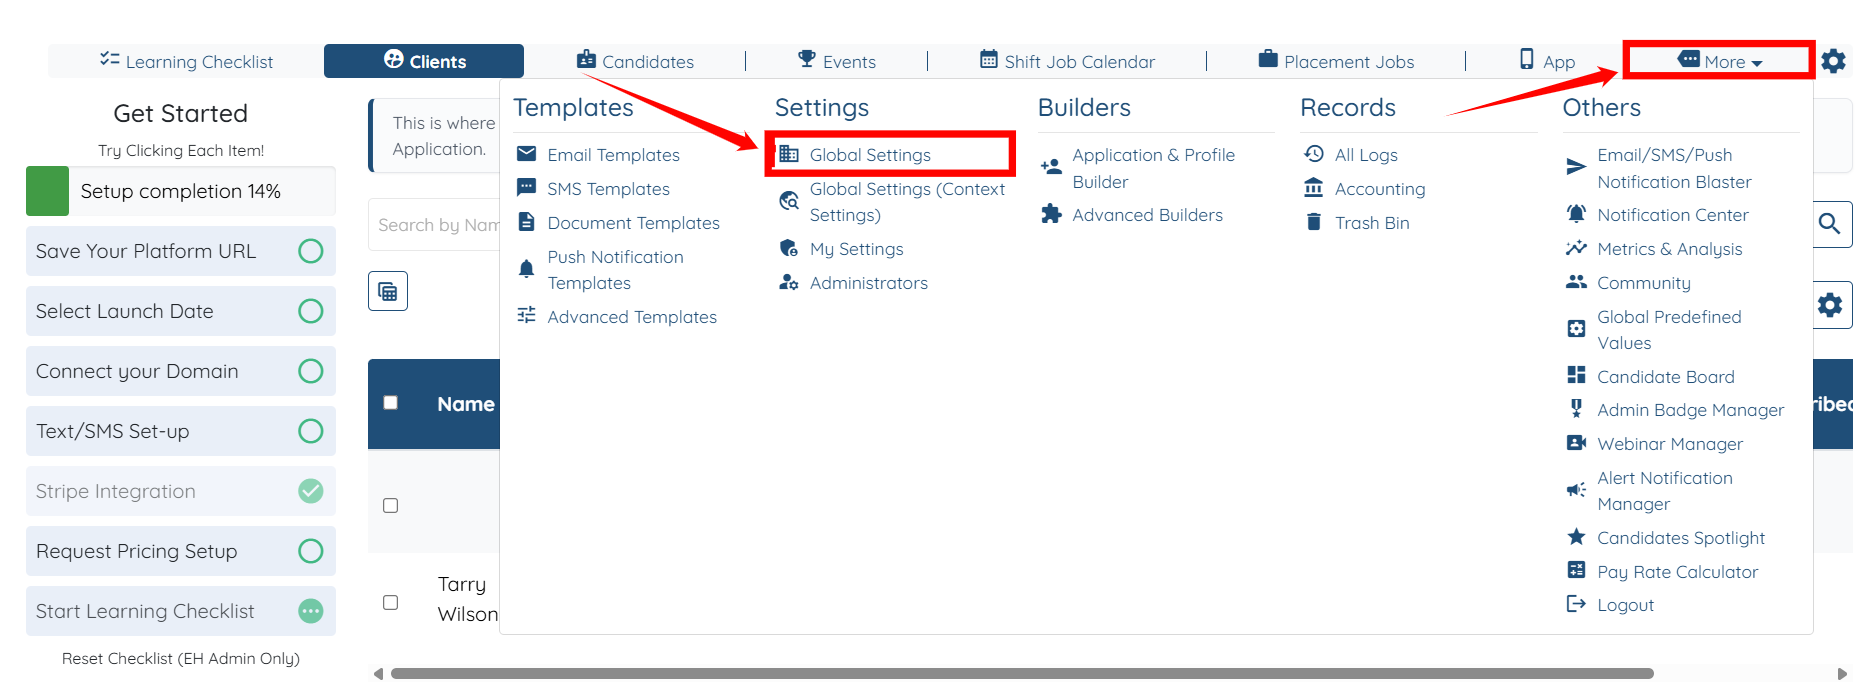
Step 1: Log in to your agent dashboard and click More > Global Settings, as shown in the screenshot below.
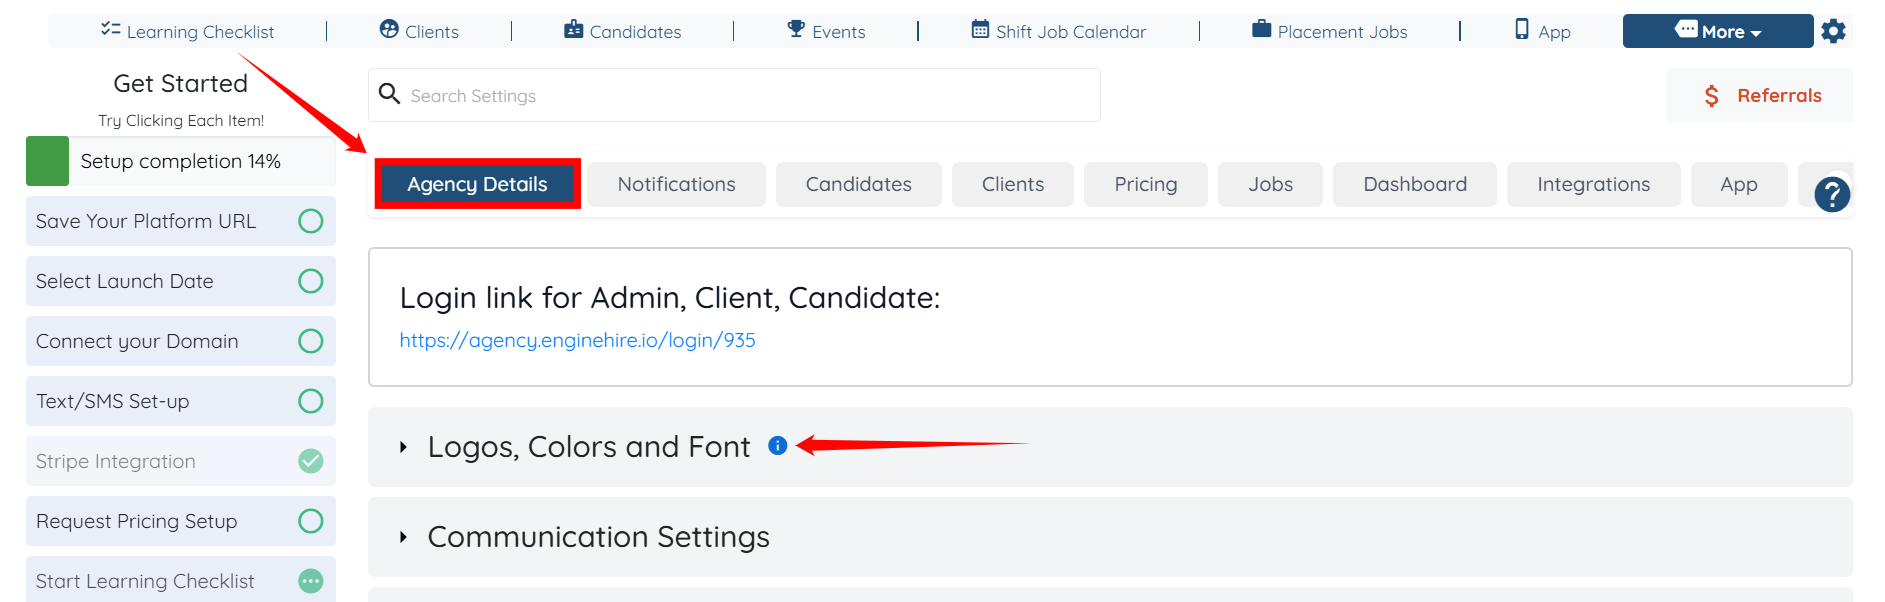
Step 2: Under the Agency Details tab, click the Logos, Colors and Font option to expand its details.
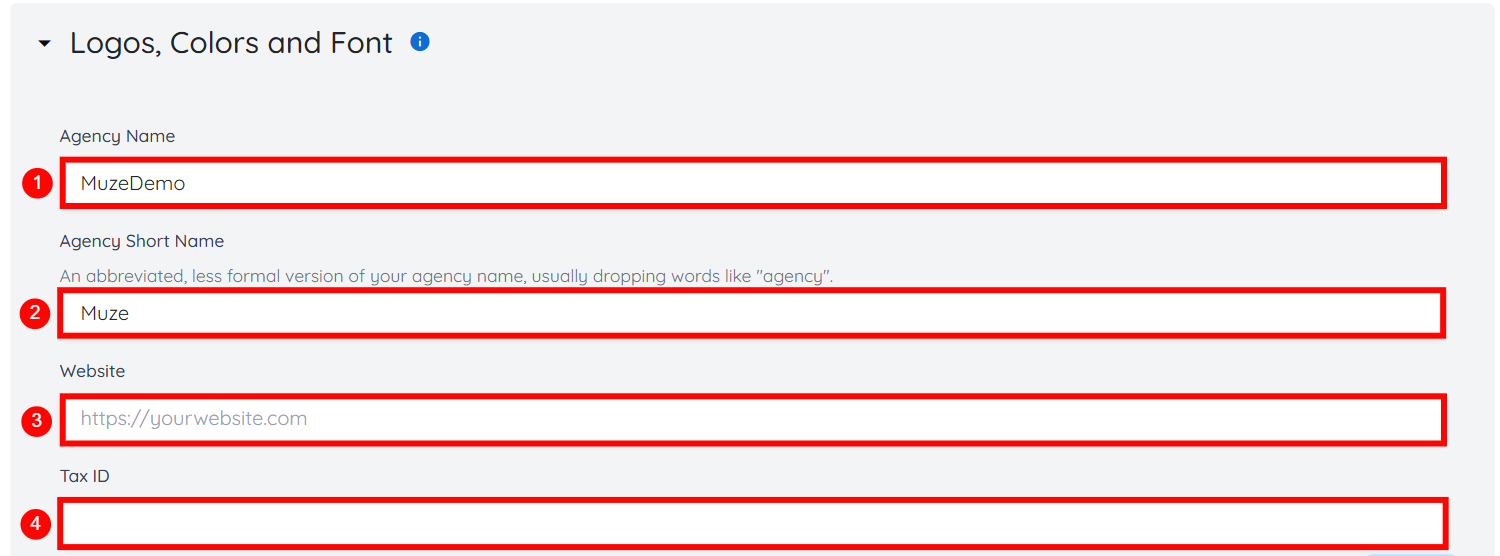
Step 3: Enter the following agency details as shown in the table below:
S.no | Field | Description |
1 | Agency Name | Enter the full, official name of your agency. This name appears across the platform and in client- and candidate-facing communications. |
2 | Agency Short Name | Enter a shortened or informal version of your agency name. This is typically used where space is limited and often omits words like “Agency.” |
3 | Website | Provide your agency’s website URL. |
4 | Tax ID | Enter your agency’s tax identification number for billing, invoicing, or compliance purposes. |
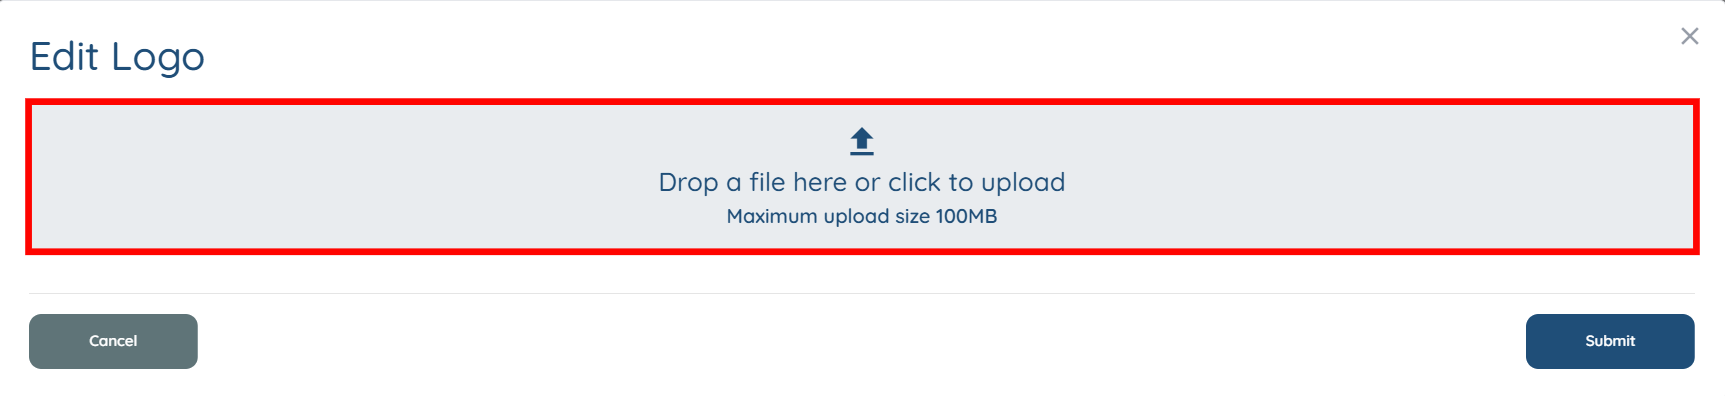
Step 4: Click the Choose File button under the Logo field to add a logo for your agency.

Step 5: Click the box as shown below.
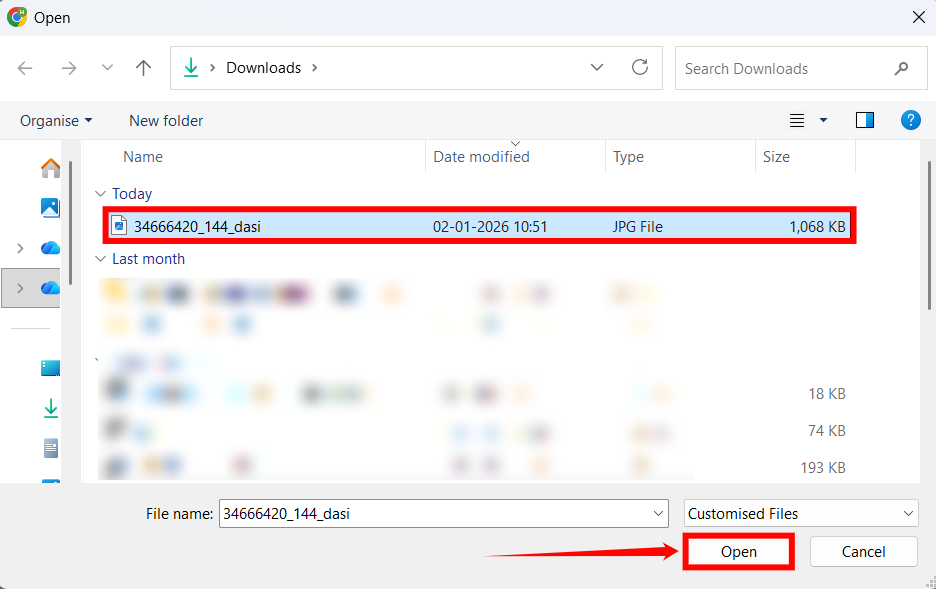
Step 6: Select the logo you want to upload for your agency, then click the Open button to continue.
Step 7: Click the Submit button to proceed.

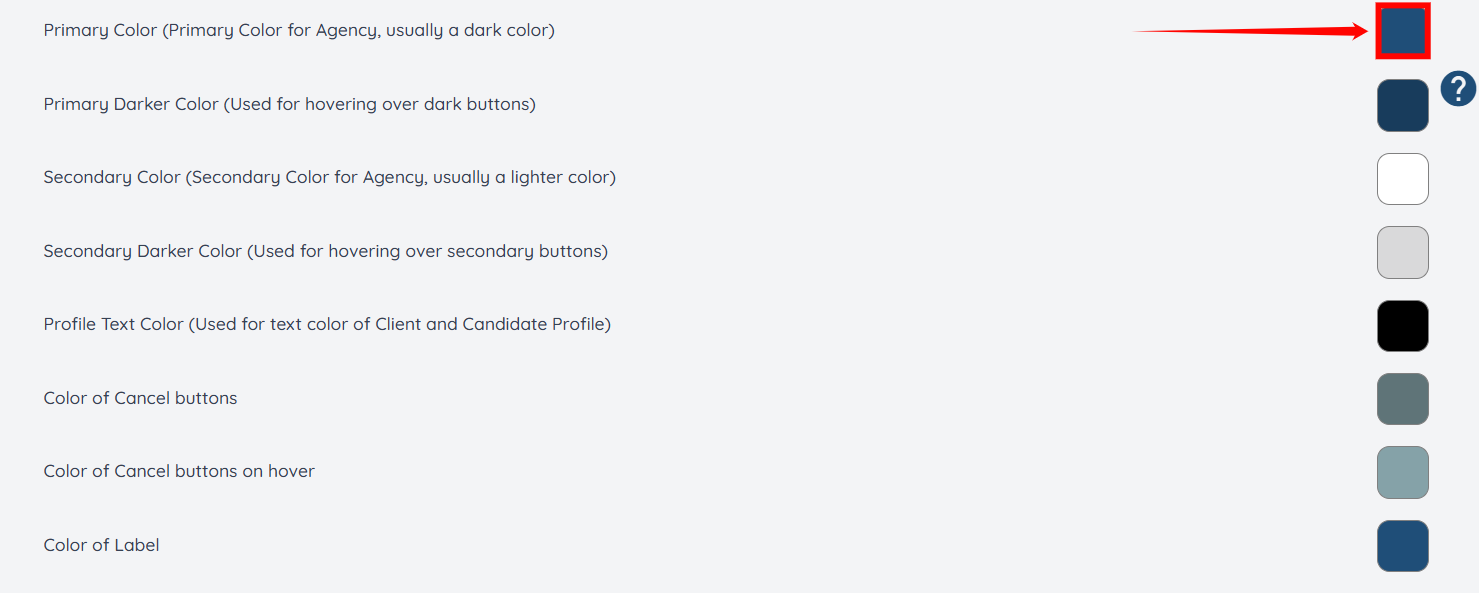
Step 8: Select different colors for each option in your agency. For example, to choose the primary color for your agency, click the color tile that corresponds to that option.
Step 9: Choose the primary color for your agency from the available options.
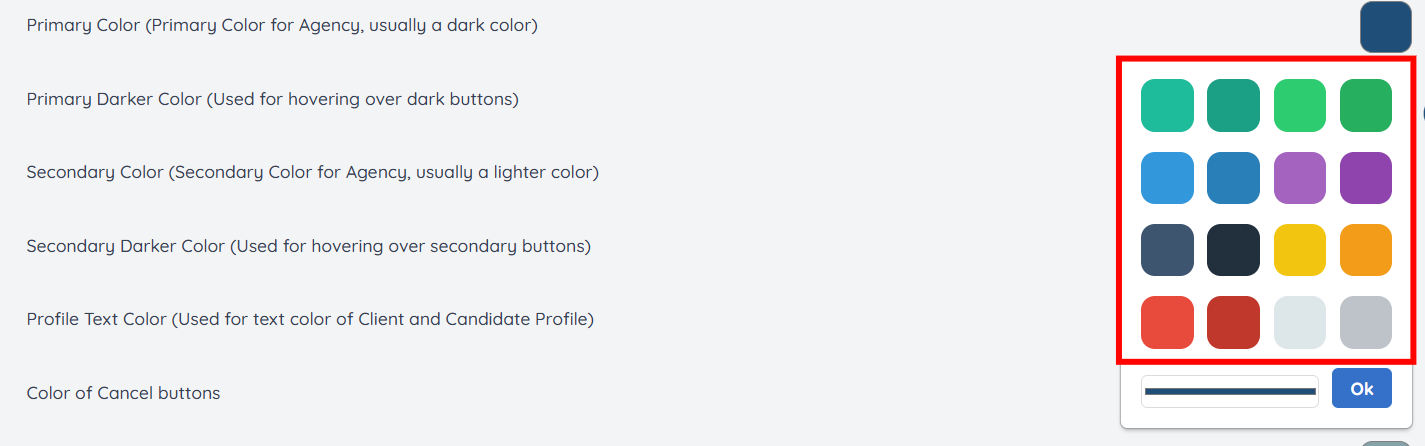
Step 10: Additionally, you can click on the line shown in the screenshot to make custom changes to the selected color.

Step 11: Drag the pointer to make custom changes to the selected color as needed. Then, click the OK button to confirm the changes.

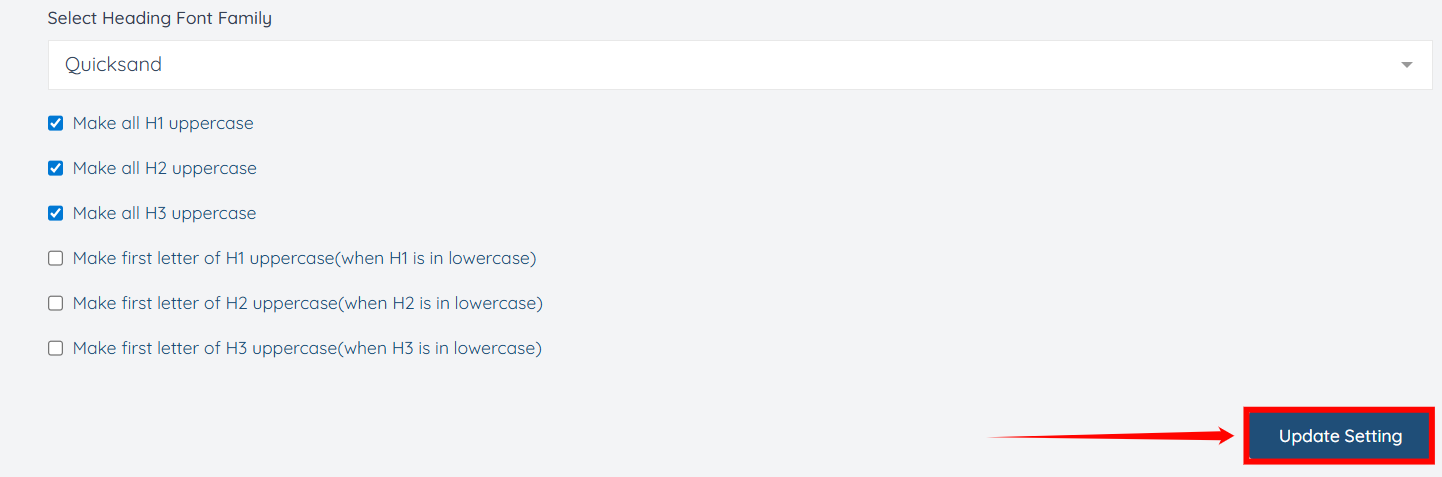
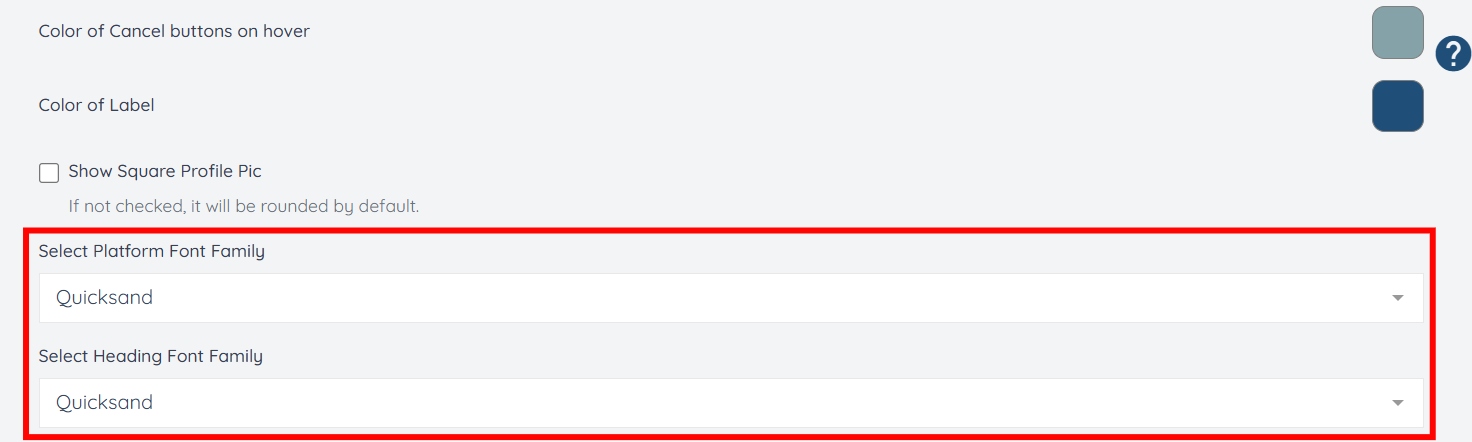
Step 12: Select the font family you want to use for your agency within the platform, including the font for headings used across the platform.
Step 13: After you make all the desired changes, click the Update Setting button to confirm your agency’s branding.