Let’s get started 🚀
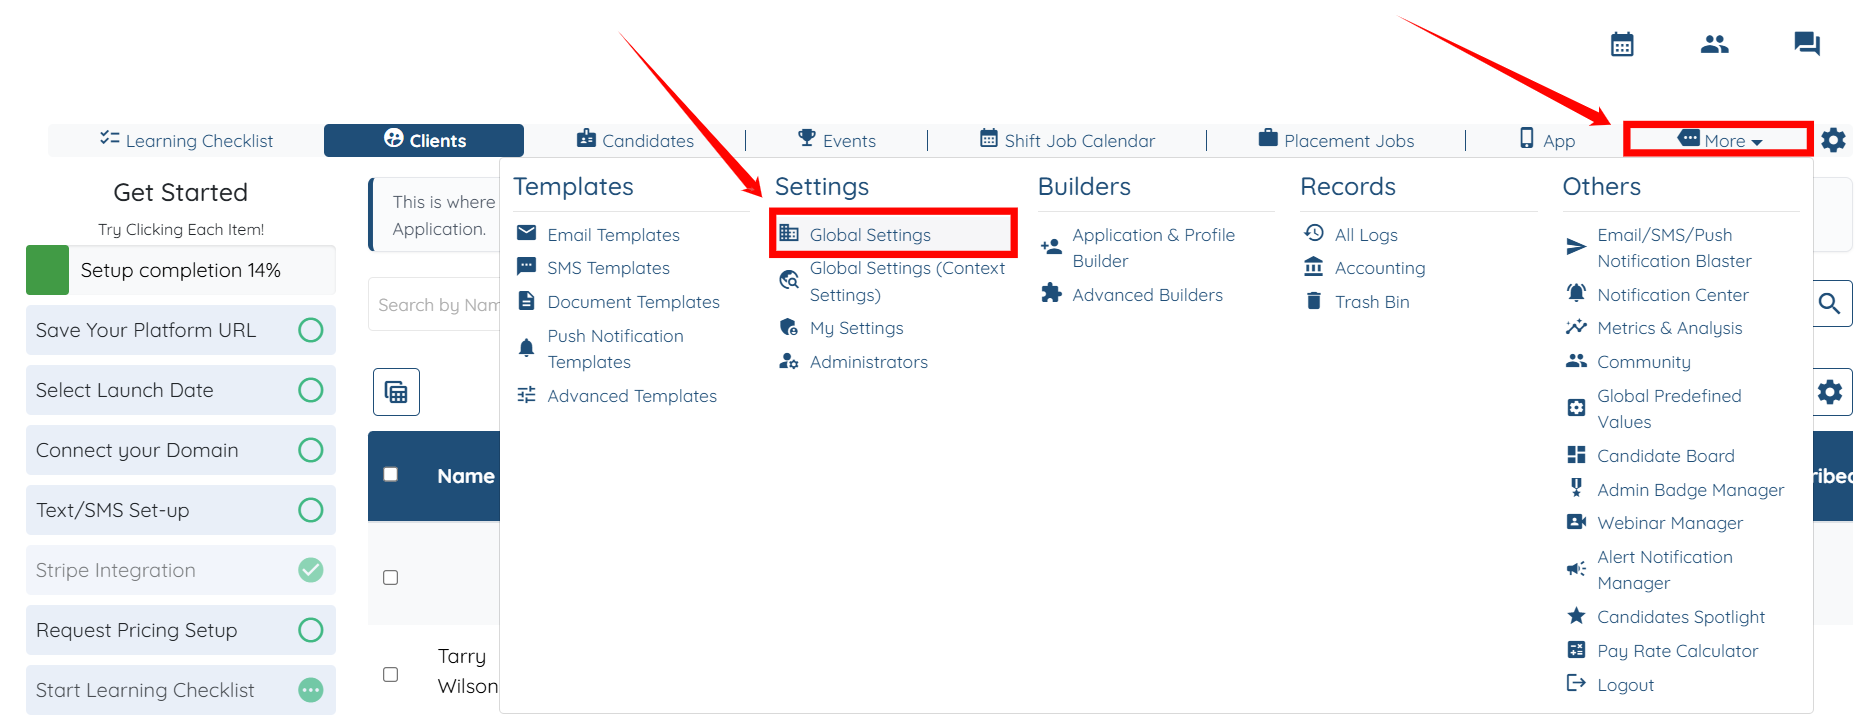
Step 1: Log in to your agent dashboard and click More > Global Settings, as shown in the screenshot below.
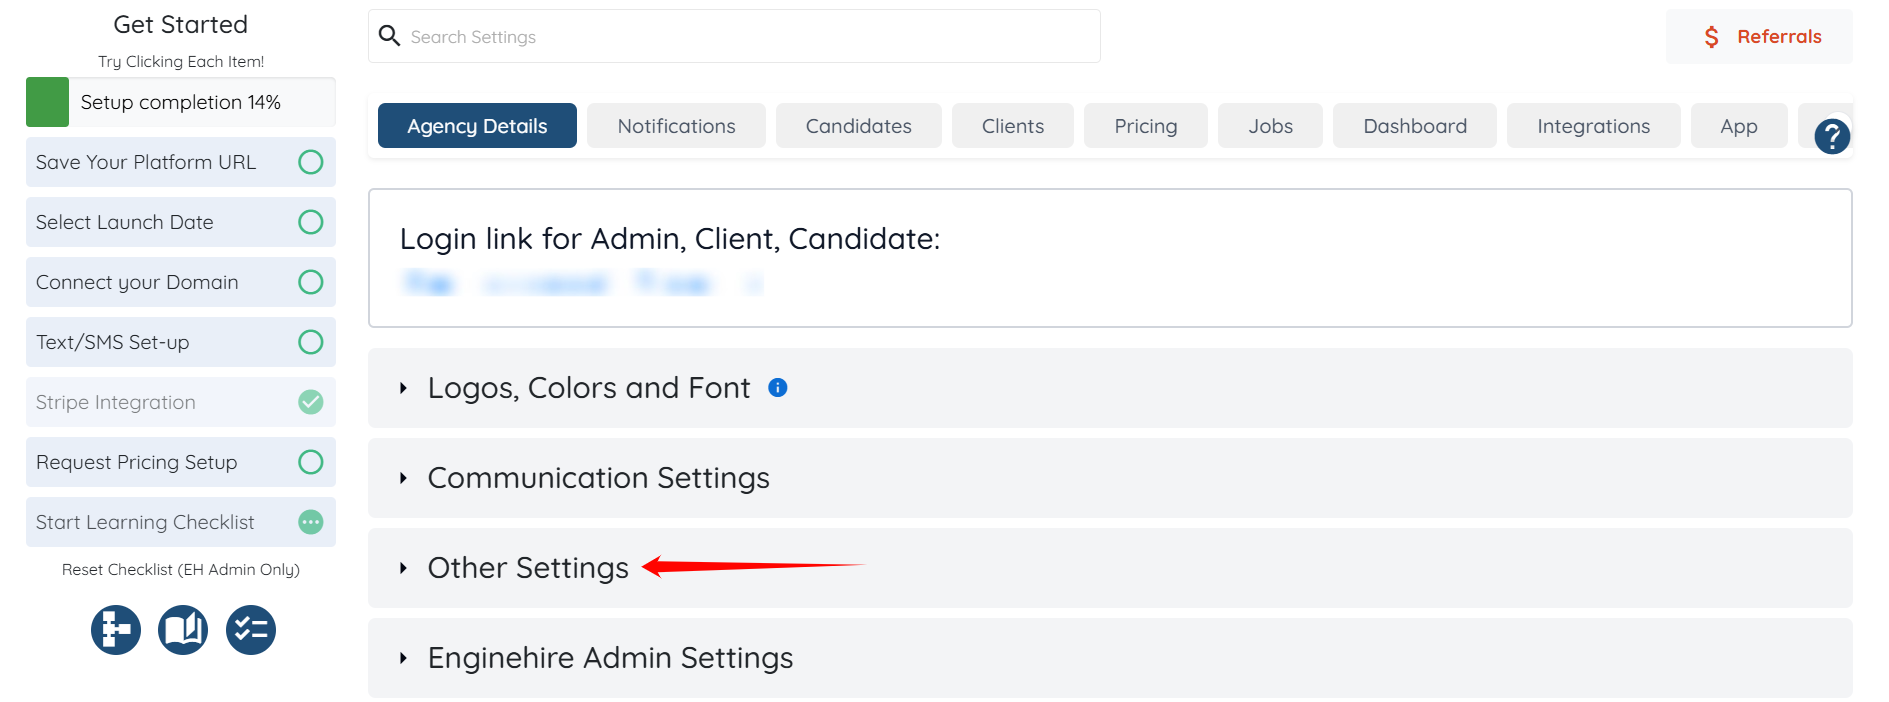
Step 2: Click the Other Settings option to expand its details.
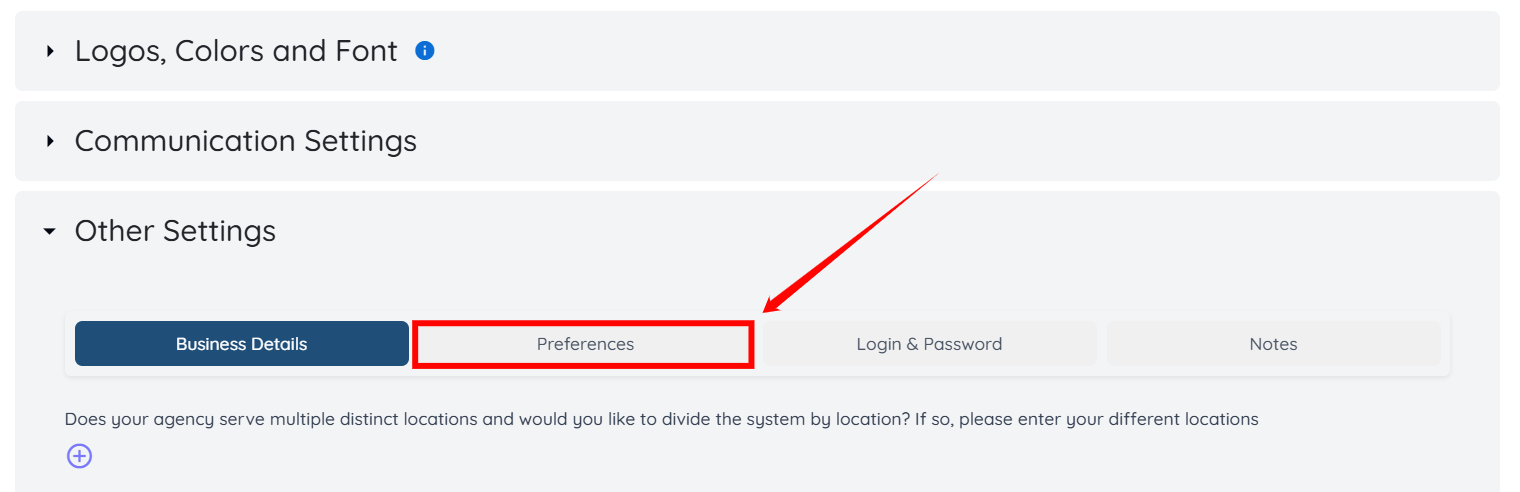
Step 3: Click the Preferences tab.
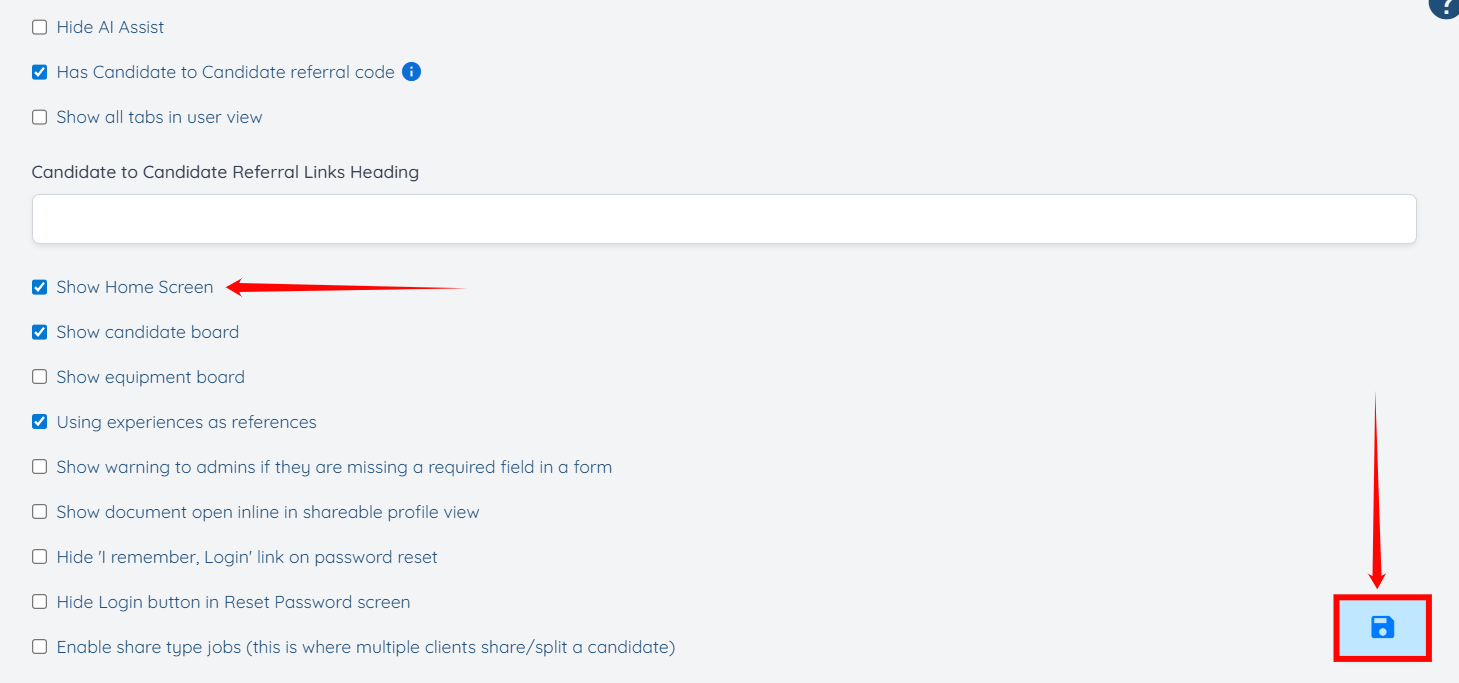
Step 4: Check the Show Home Screen checkbox, and then click the Save icon to proceed.
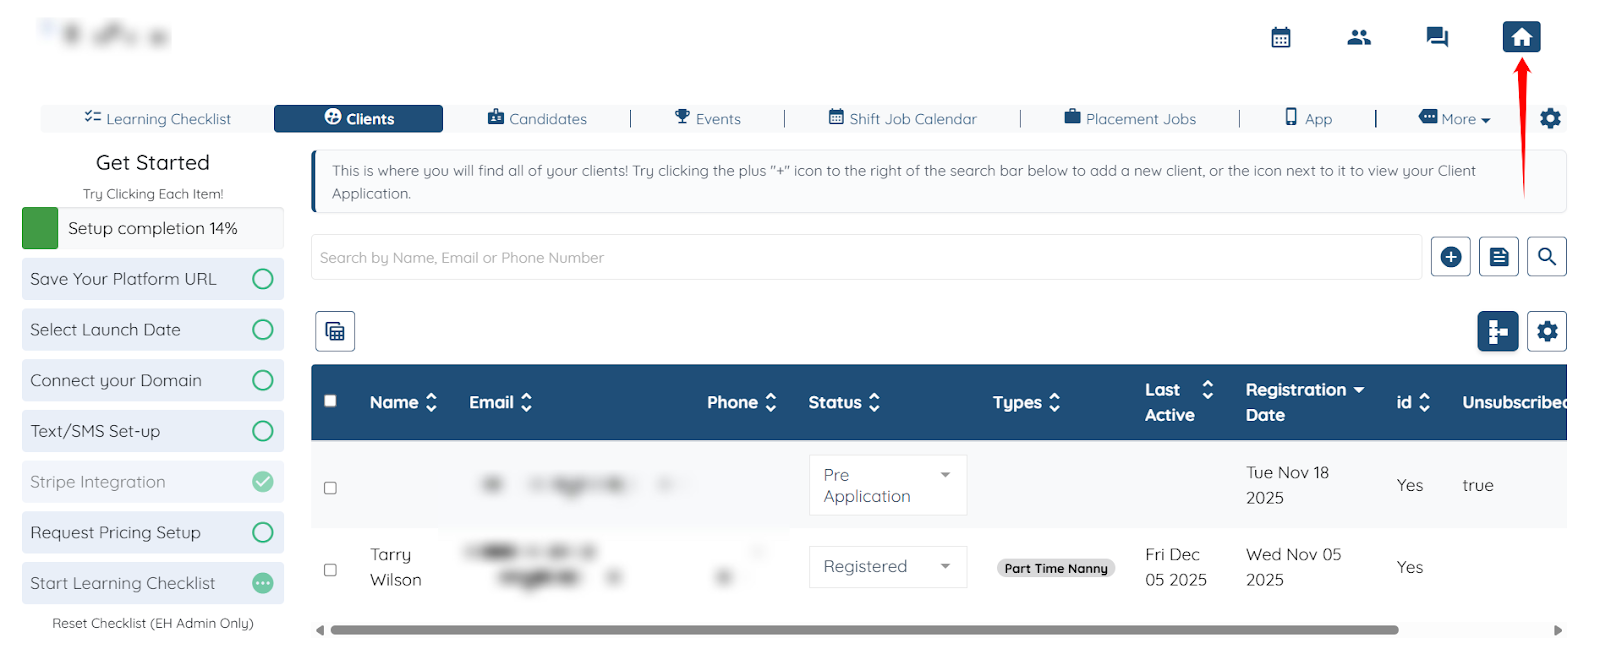
Step 5: Click the My Dashboard icon at the top right corner to access the new home screen.
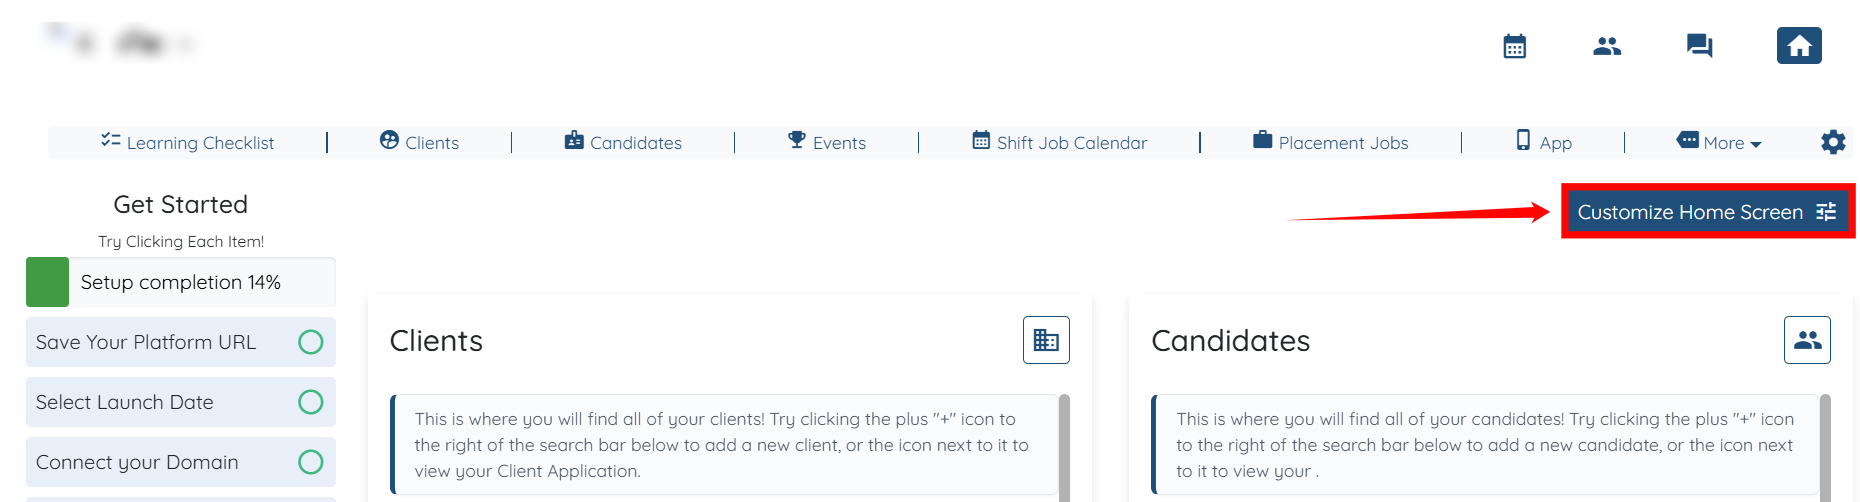
Step 6: Click the Customize Home Screen button to begin customizing your home screen.
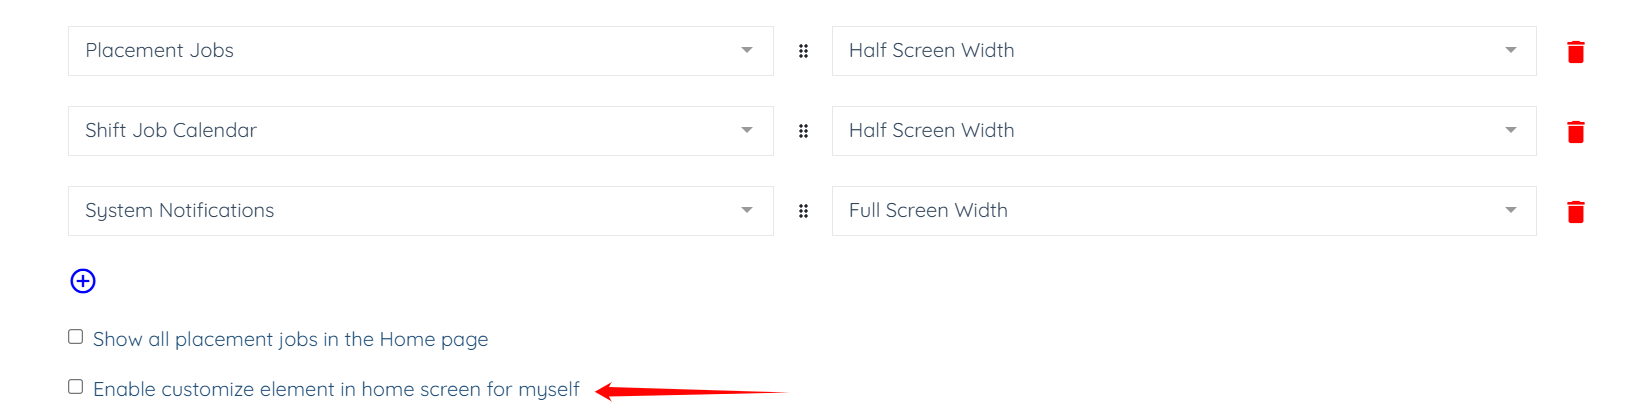
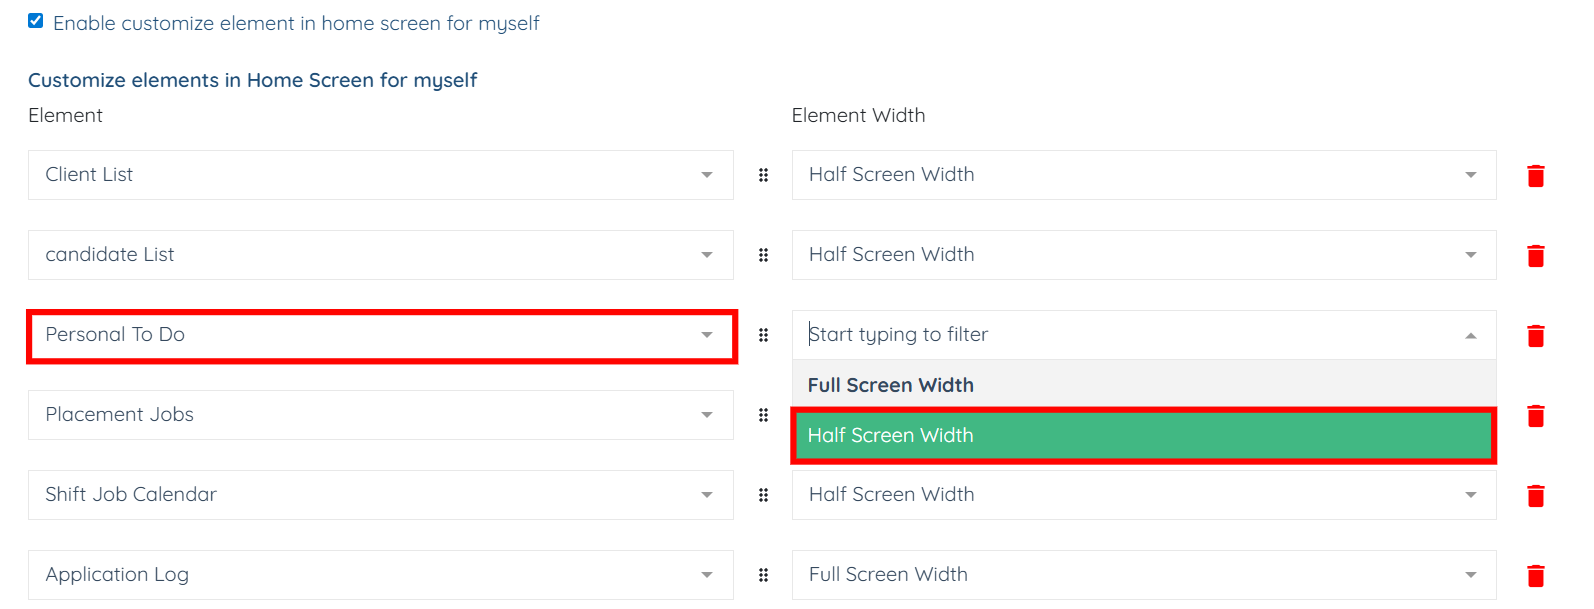
Step 7: Scroll down and check the Enable customize element in home screen for myself checkbox.
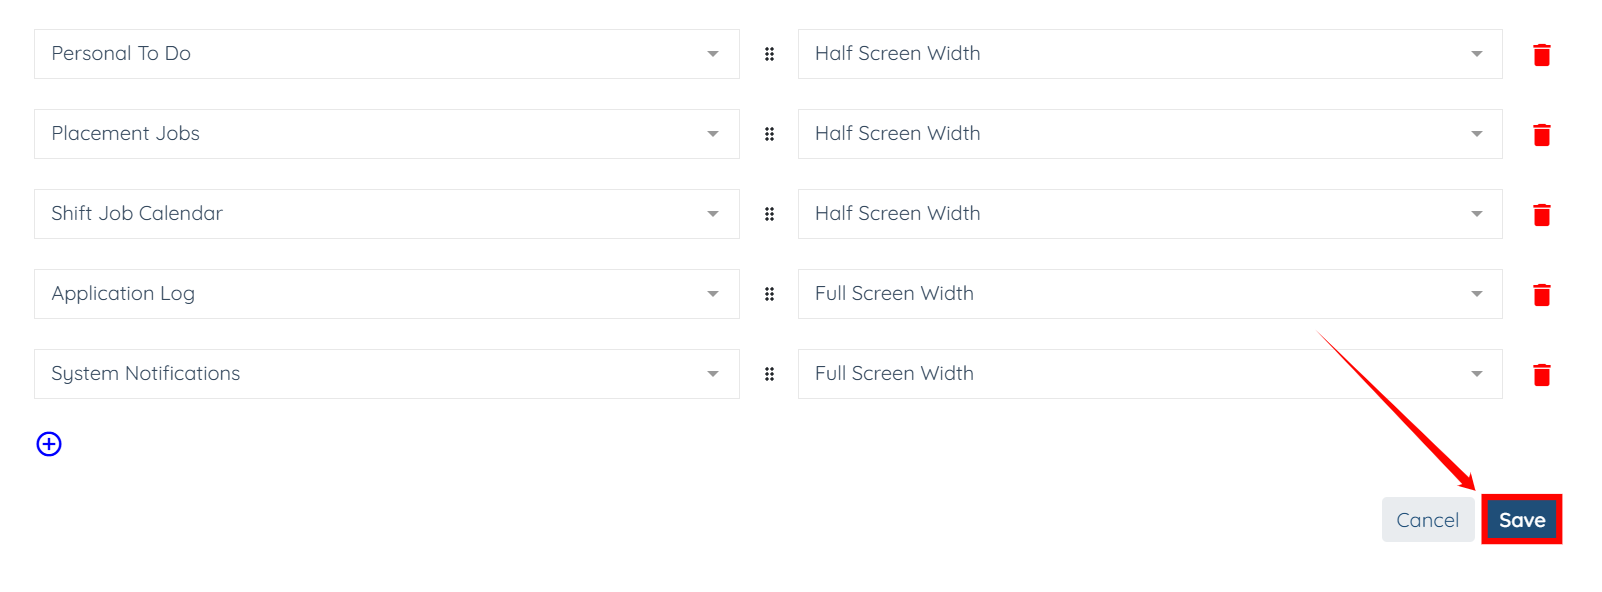
Step 8: You can customize the elements on the home screen as needed. For example, you can change the width of any element (in this case, Personal To Do) on the home screen from Full Screen Width to Half Screen Width.
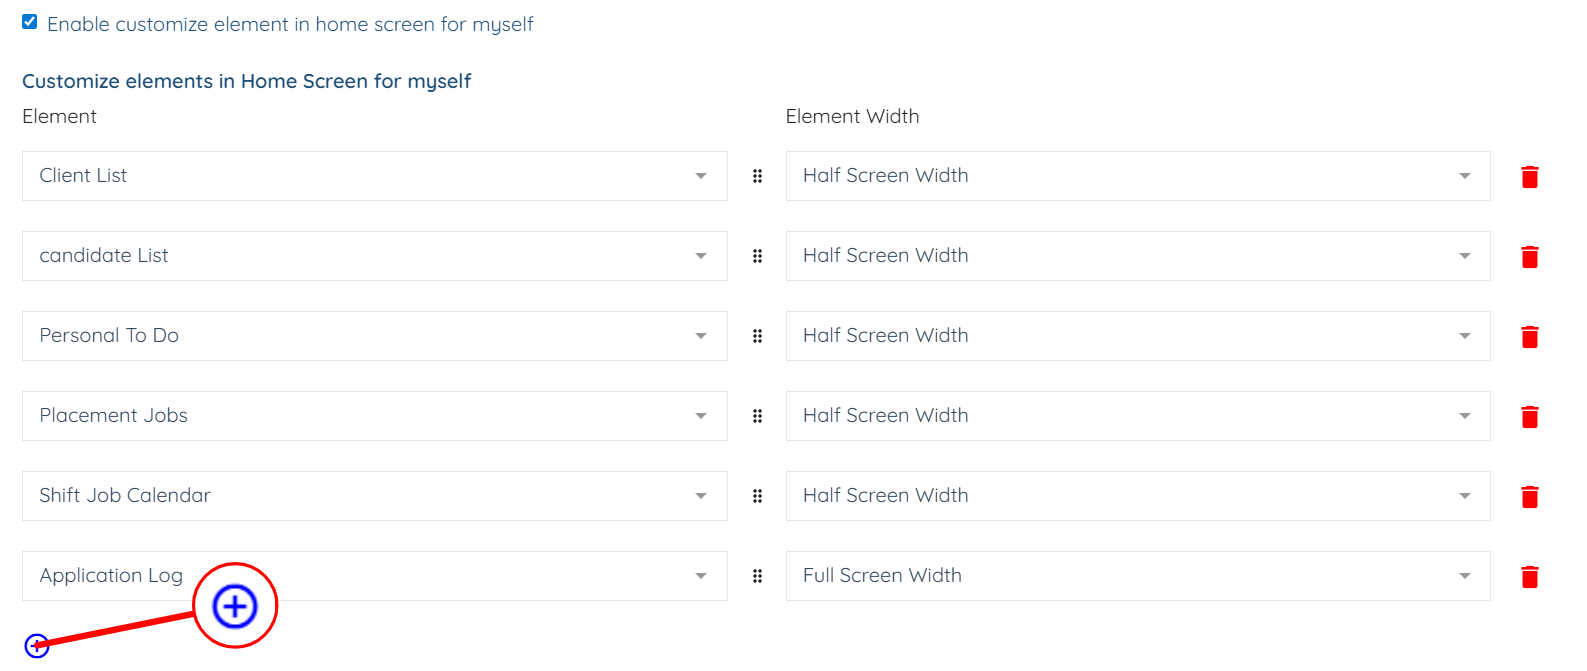
Step 9: You can also add new elements to the home screen by clicking the + icon.
Step 10: Click the box to open the dropdown and select the element you want to add to your home screen.
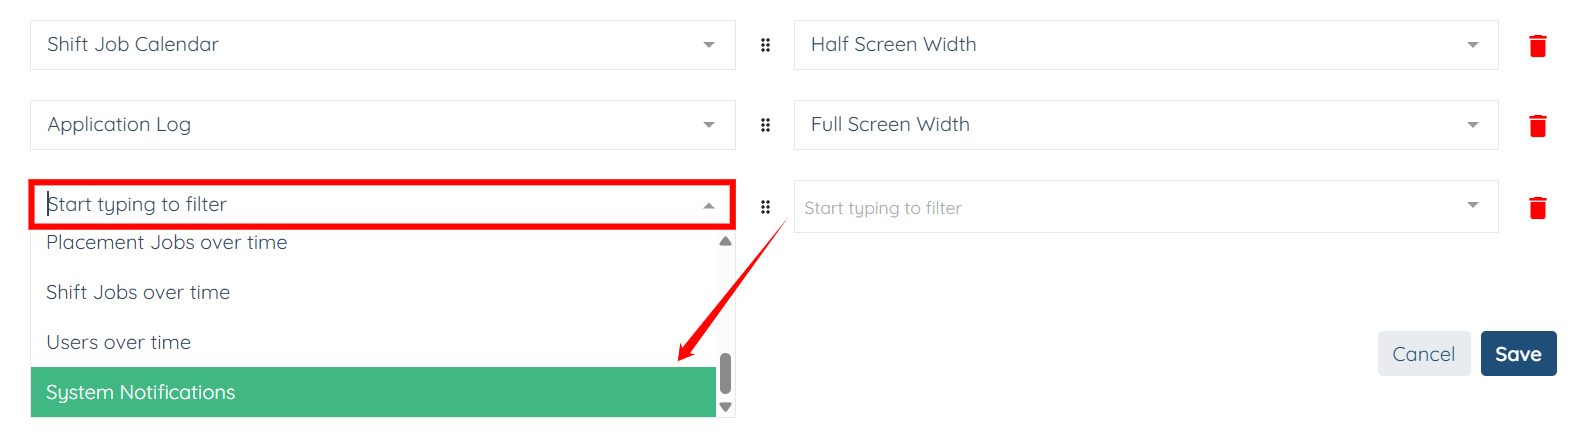
Step 11: Then, you choose the width for the new element you want to add.
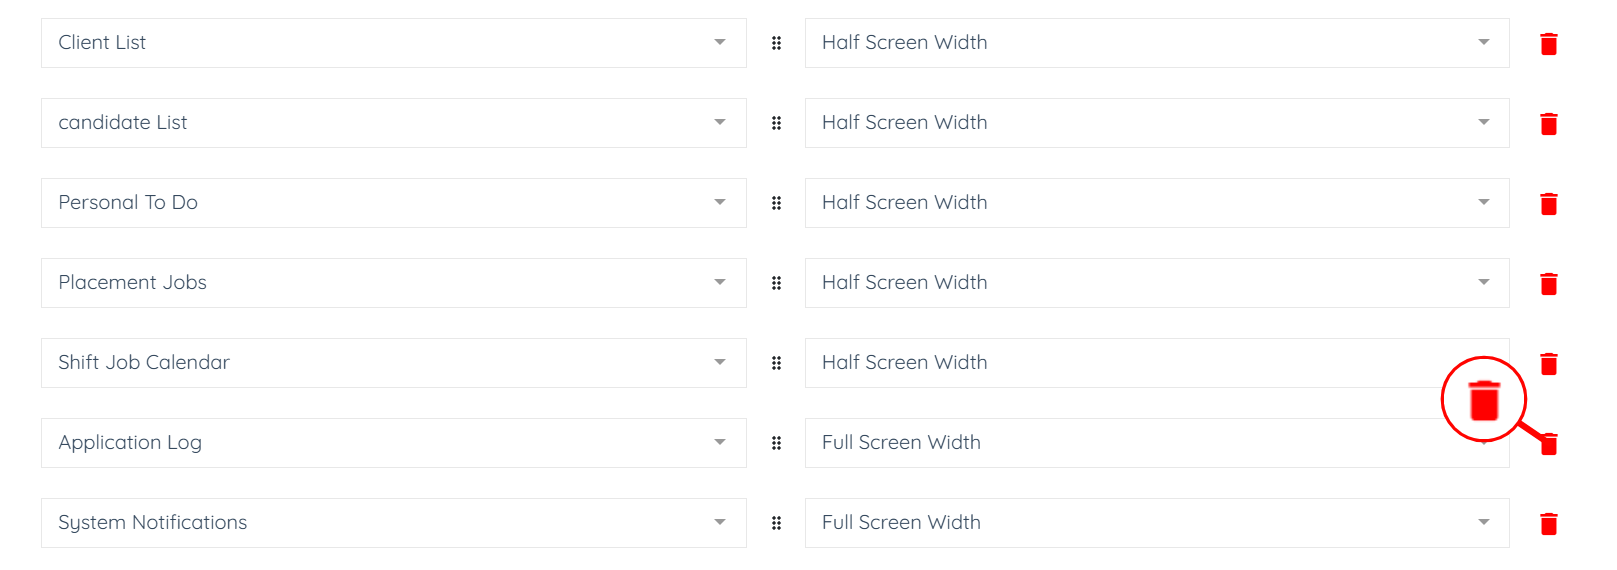
Step 12: You can also delete the element from your home screen if you no longer need it. Click the trash icon corresponding to the element you want to delete, and this action will delete that element successfully.
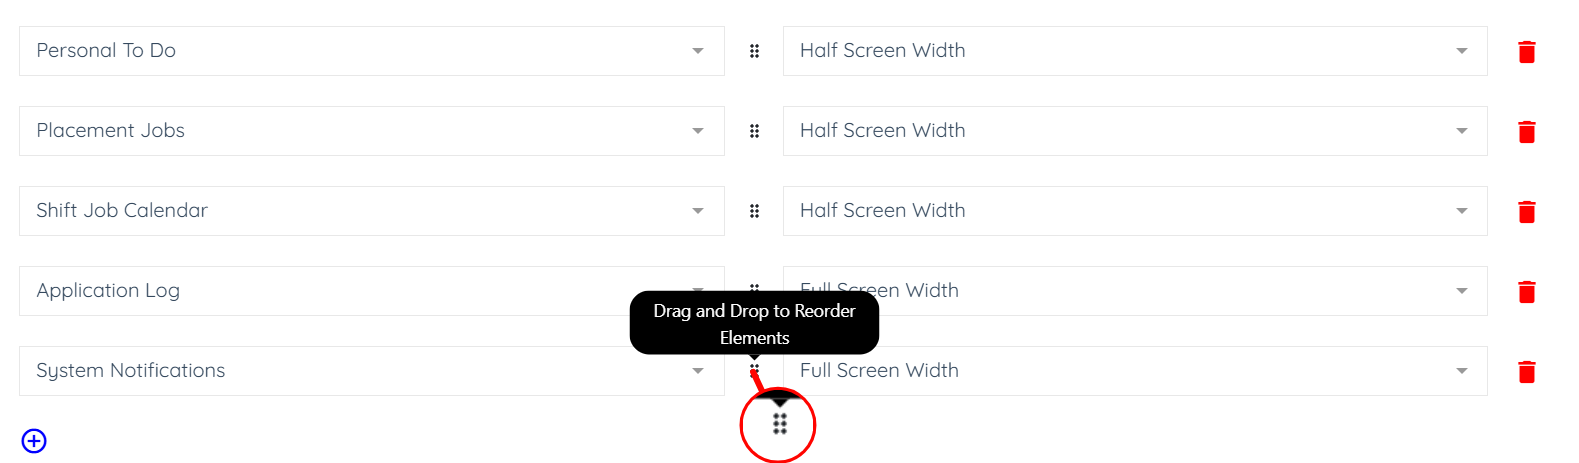
Step 13: Additionally, you can also drag and drop to reorder elements on the Home screen by clicking and holding the icon as shown in the screenshot below.
Step 14: After you customize the Home screen as required, click the Save button to confirm the changes.