Let’s get started 🚀
Select a date range and access the Summary by Clients view to group shift jobs by client for invoicing.
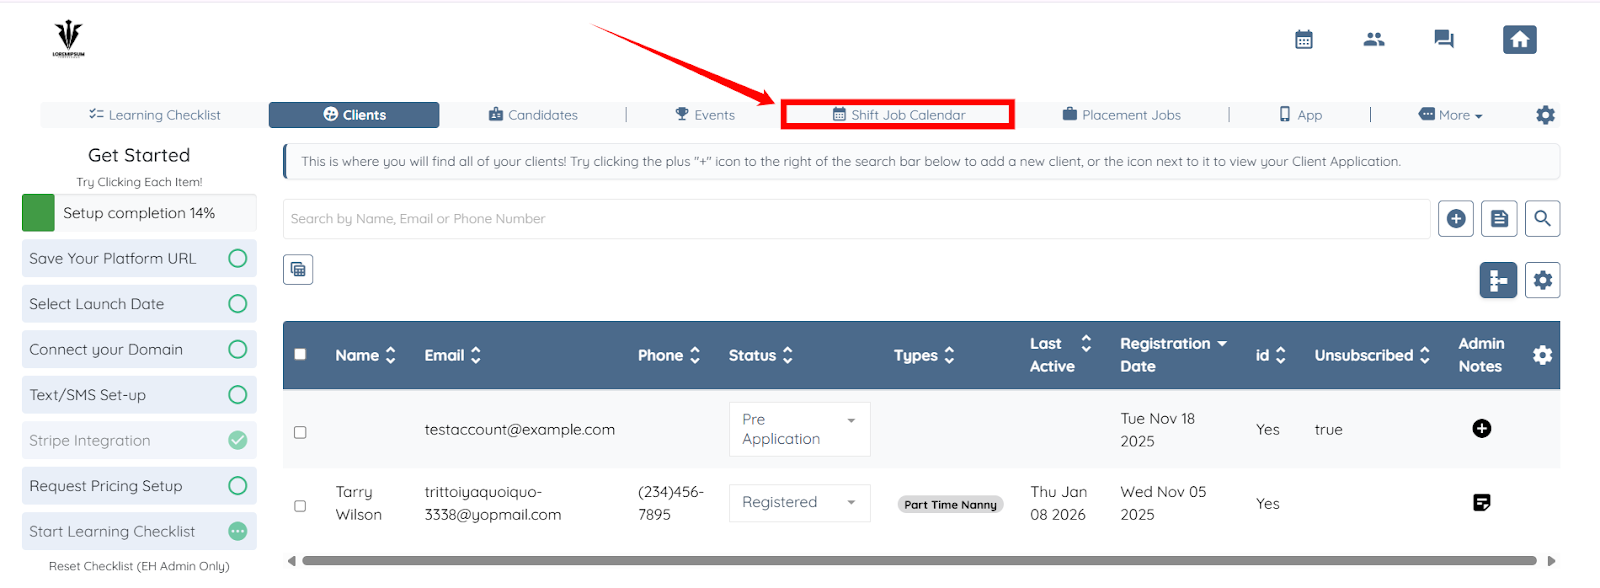
Step 1: Log in to your agent dashboard and click the Shift Job Calendar in the top navigation bar.
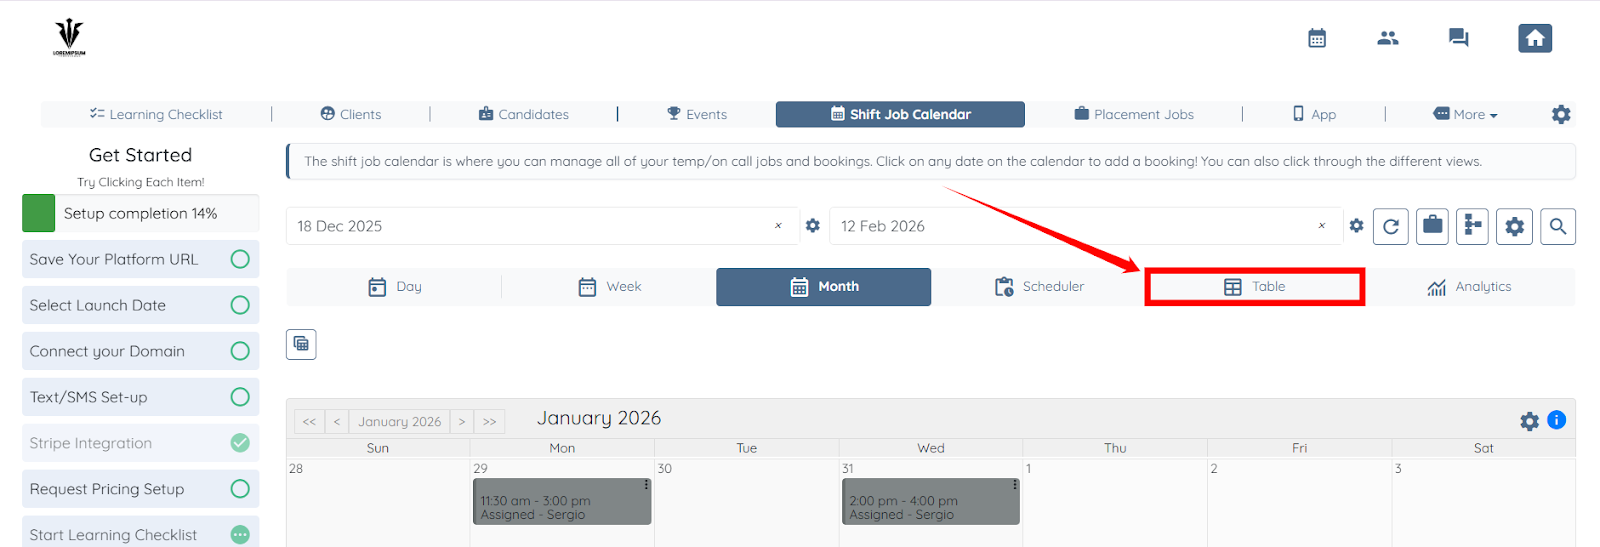
Step 2: Click the Table button to access the table view.
Step 3: Select the start date and end date for which you want to create the invoice.
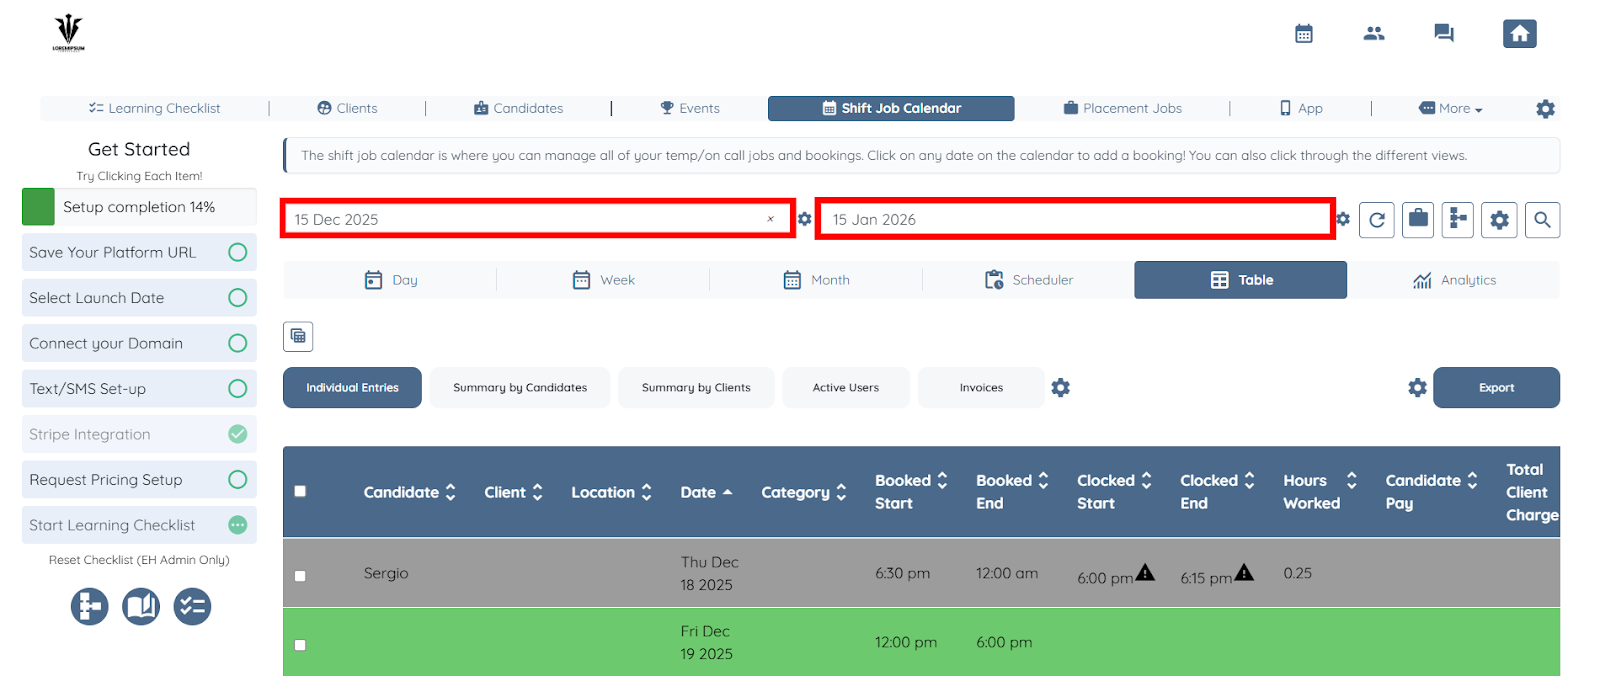
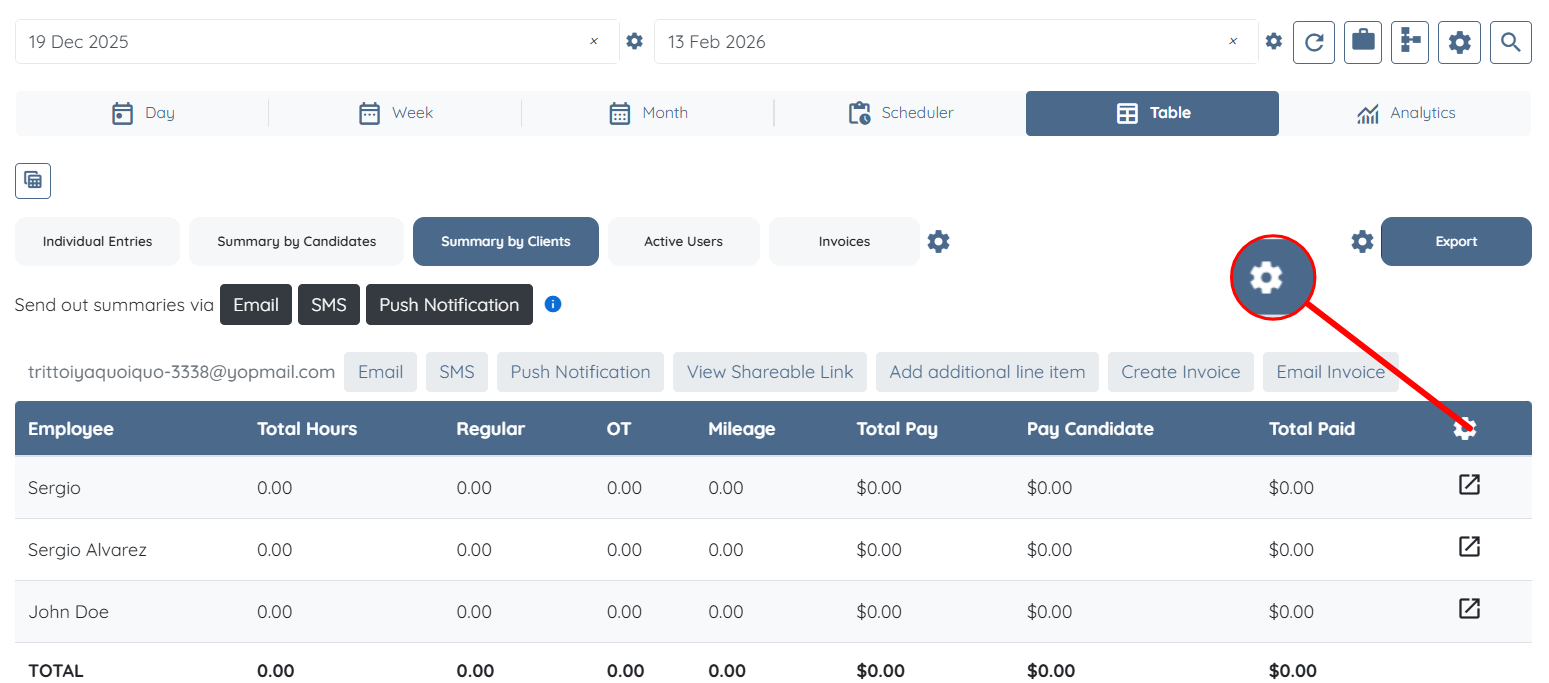
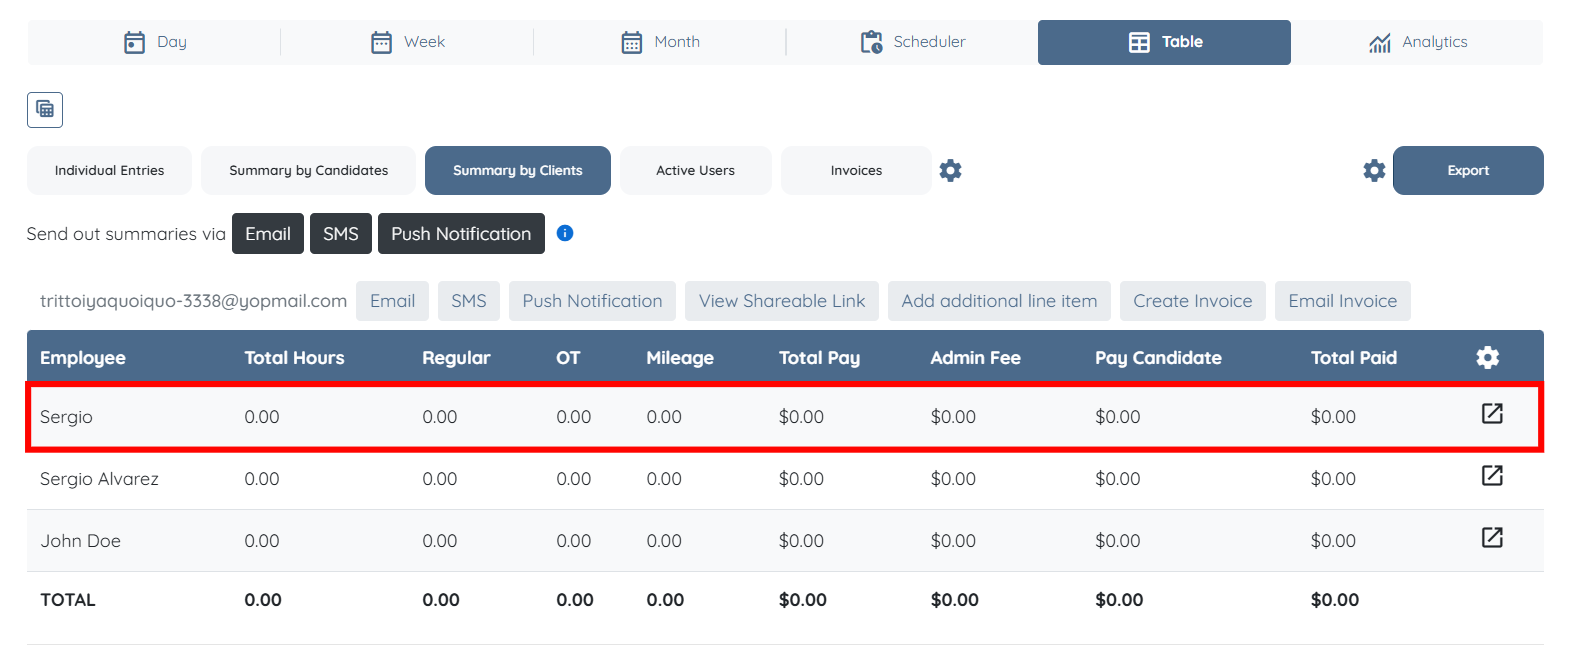
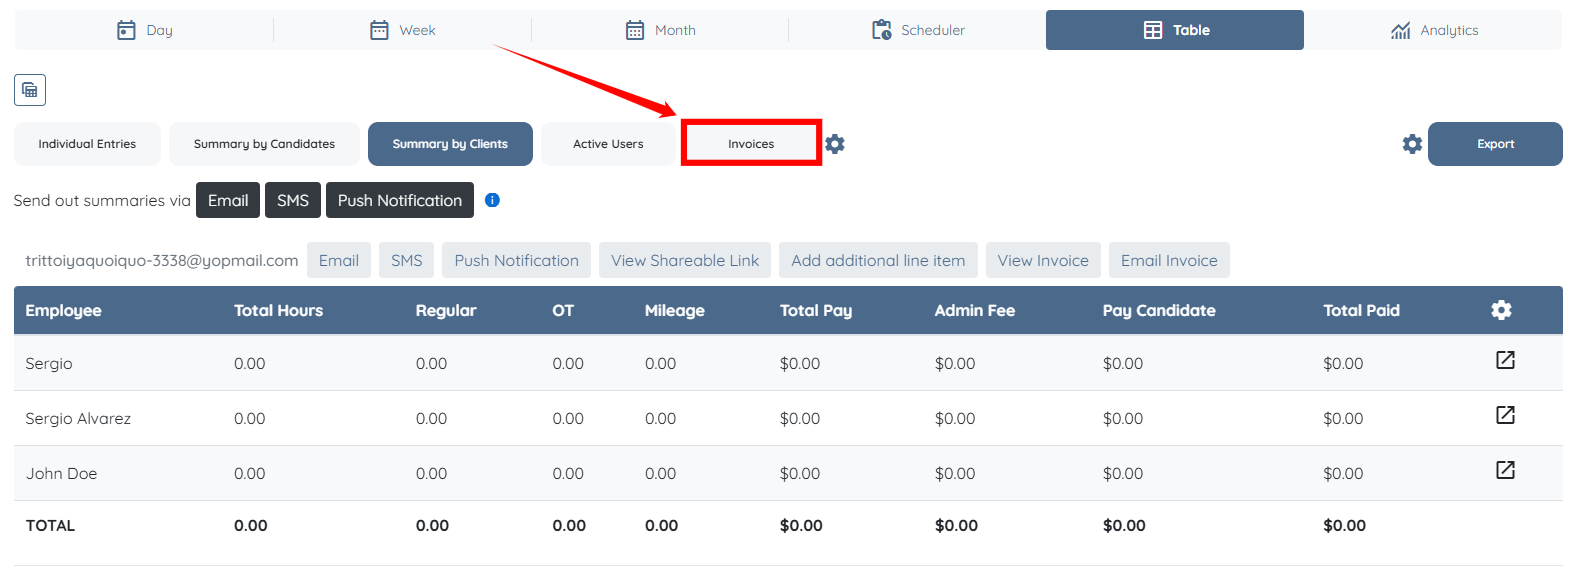
Step 4: Click the Summary by Clients button as shown in the screenshot below.
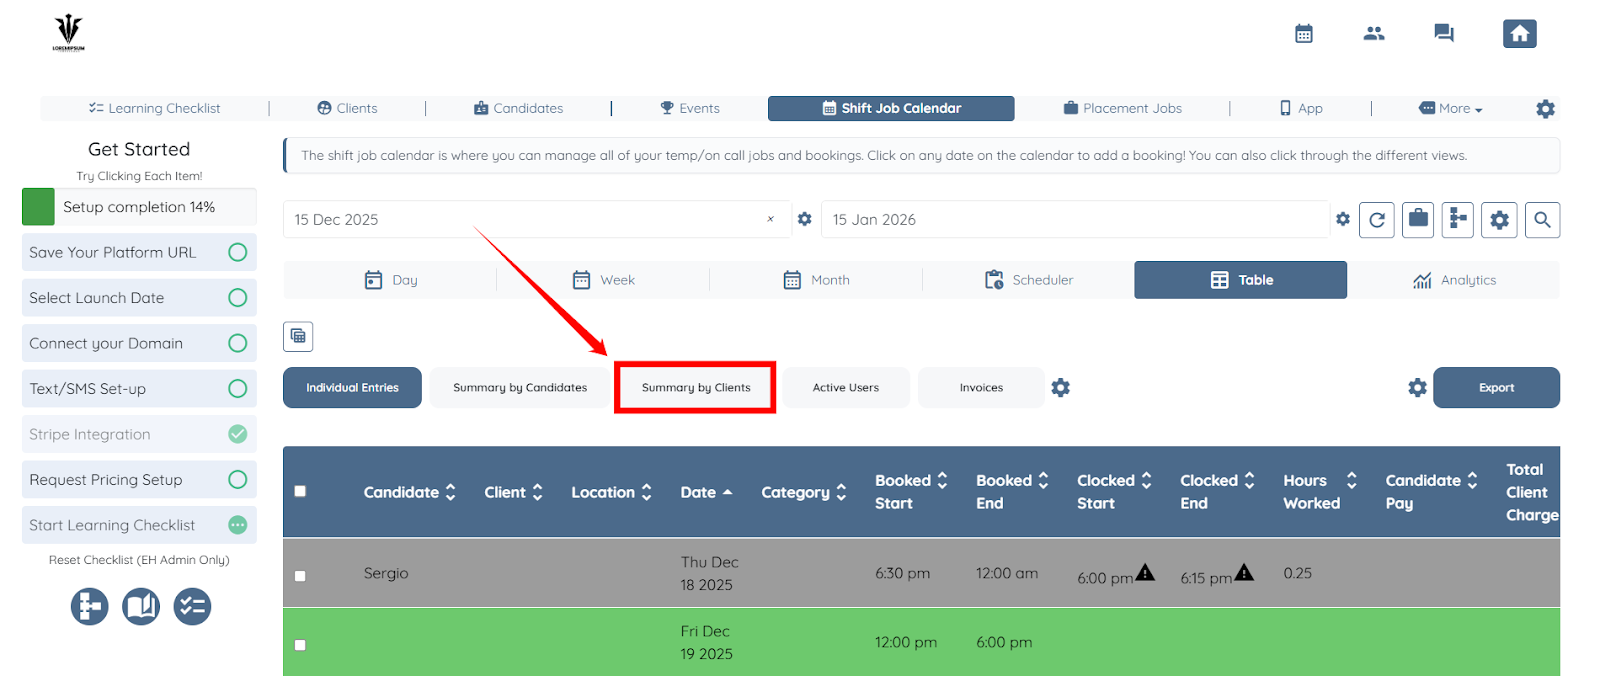
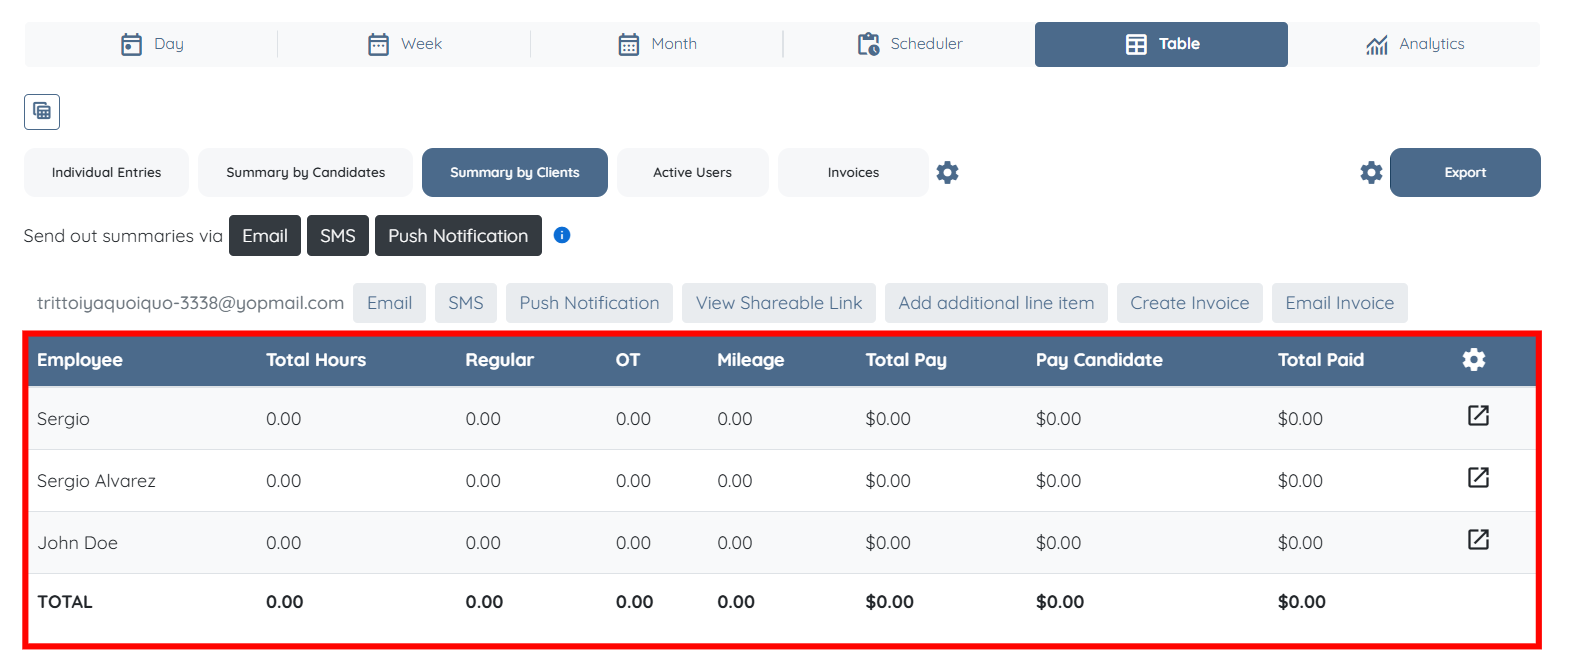
From this view, you can review the shift job summaries of all candidates associated with each client.
Configure overtime settings to control how overtime hours are calculated and included in shift job charges and invoices.
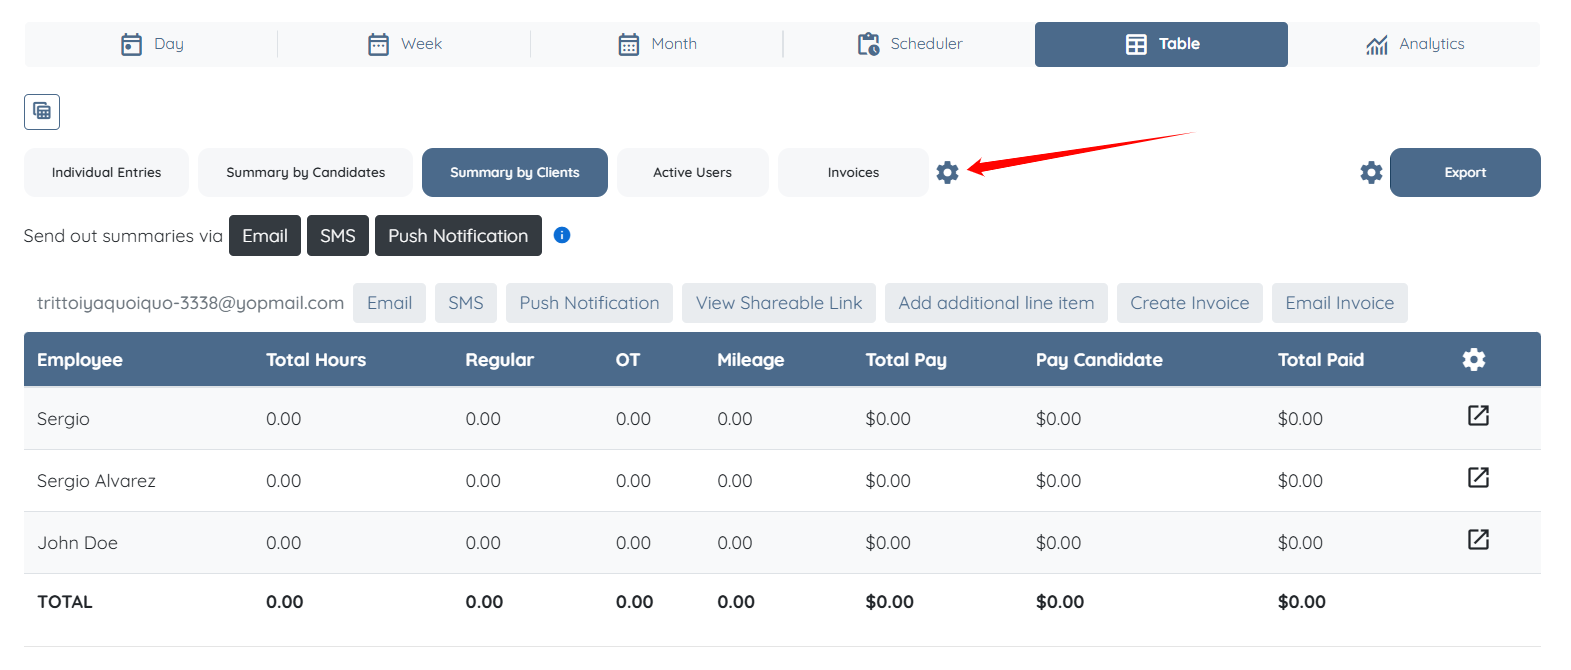
Step 1: In the Table view, click the Gear icon, as shown in the screenshot.
Step 2: Check the Include overtime calculation in shift job charge checkbox if you want overtime to be included in the overall shift job charges.
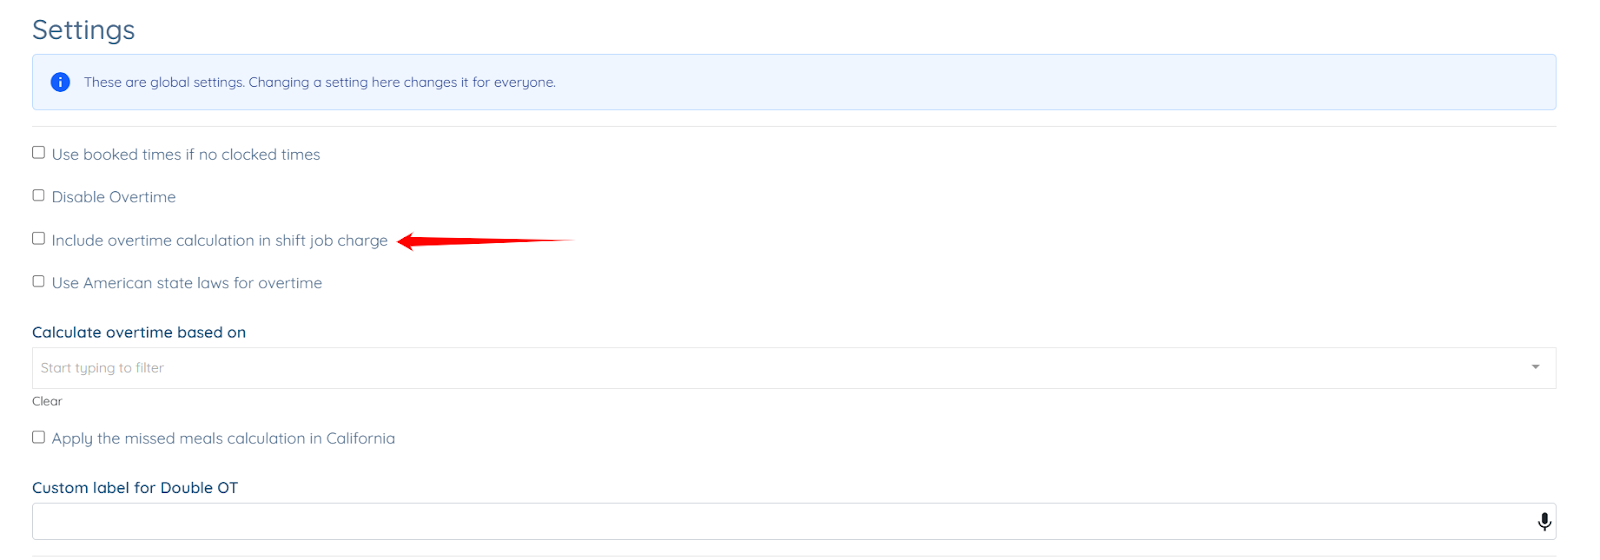
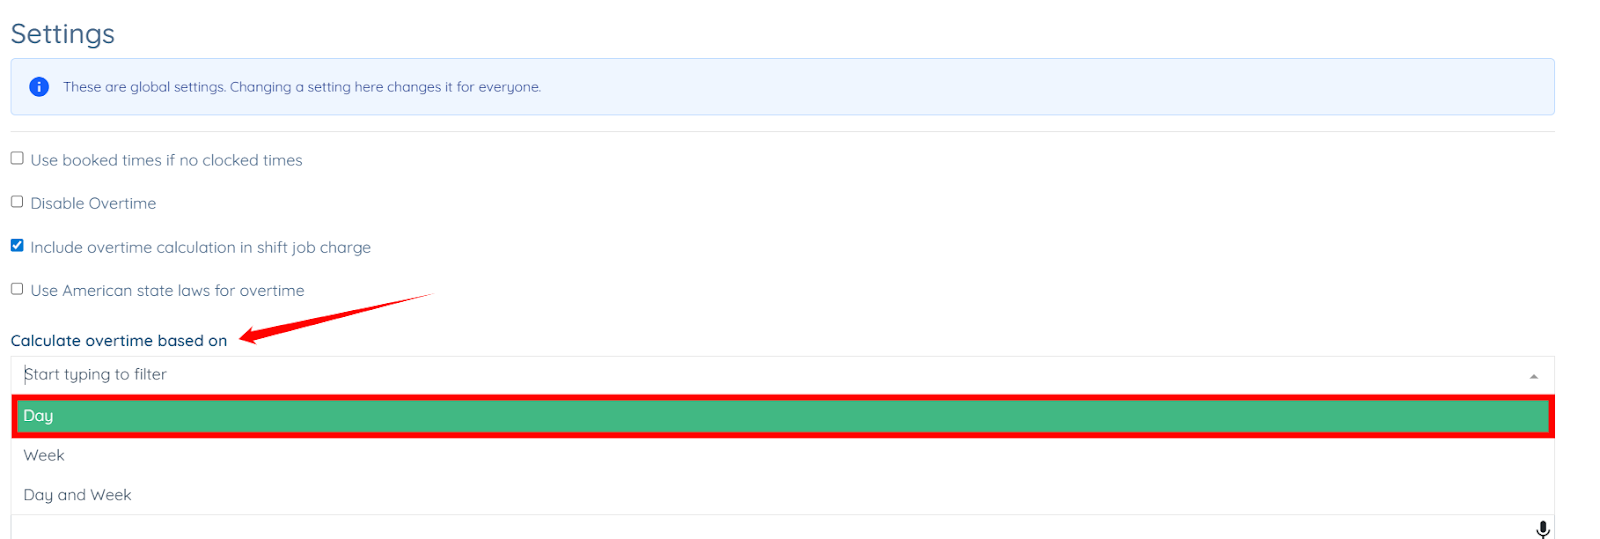
Step 3: Select how you want to calculate overtime - on a daily, weekly, or both daily and weekly.
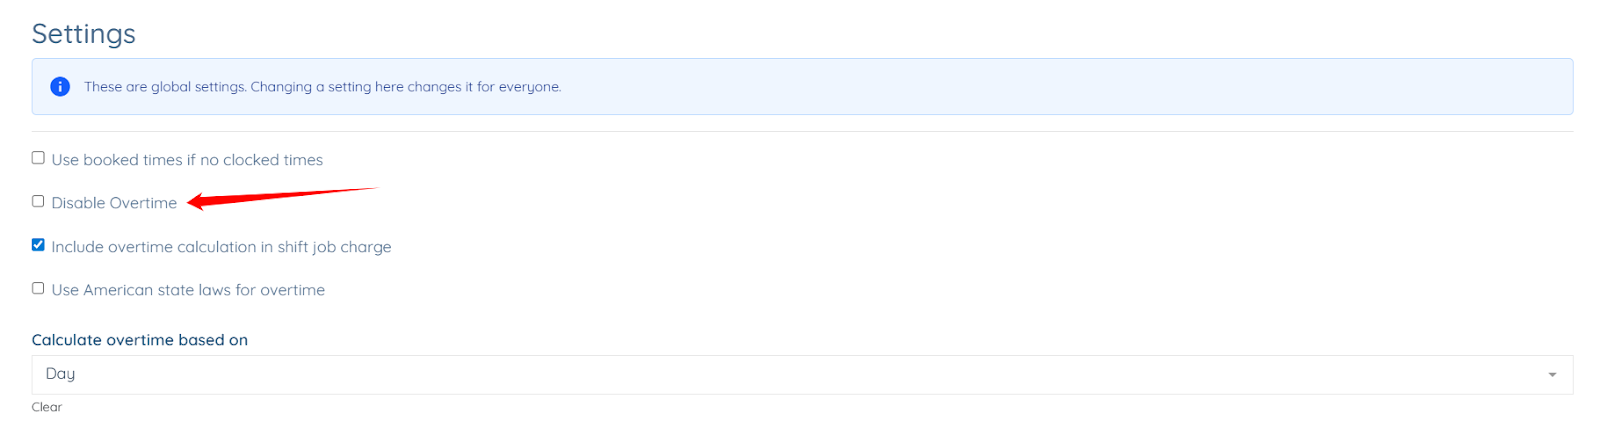
Step 4: You can also disable overtime if you require by checking the Disable Overtime checkbox.
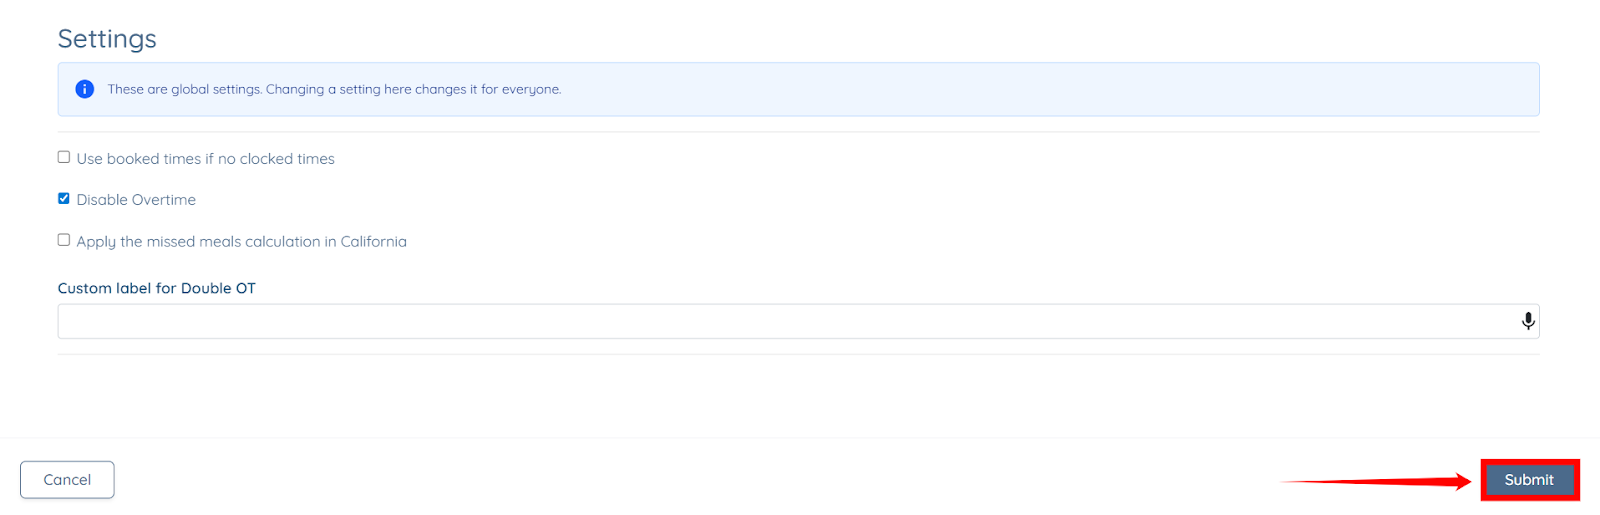
Step 5: After you add or remove all the required settings, click the Submit button to confirm the changes.
Customize what information appears in the client summary table, which aggregates all shifts completed by candidates for a client within the selected date range. You can adjust column visibility, fees, and displayed details to review invoice data before creating or sending invoices.
Step 1: In the Table view, click the Gear icon, as shown in the screenshot.
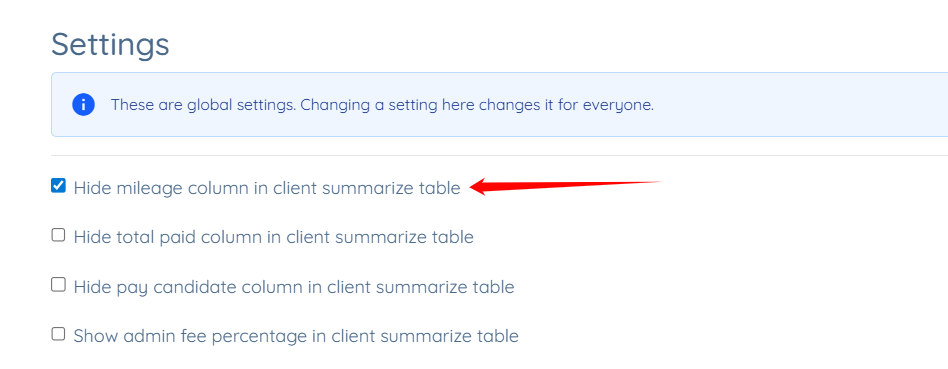
Step 2: You can hide specific columns from the client summarize table, as shown in the screenshot below, by checking the relevant checkbox.
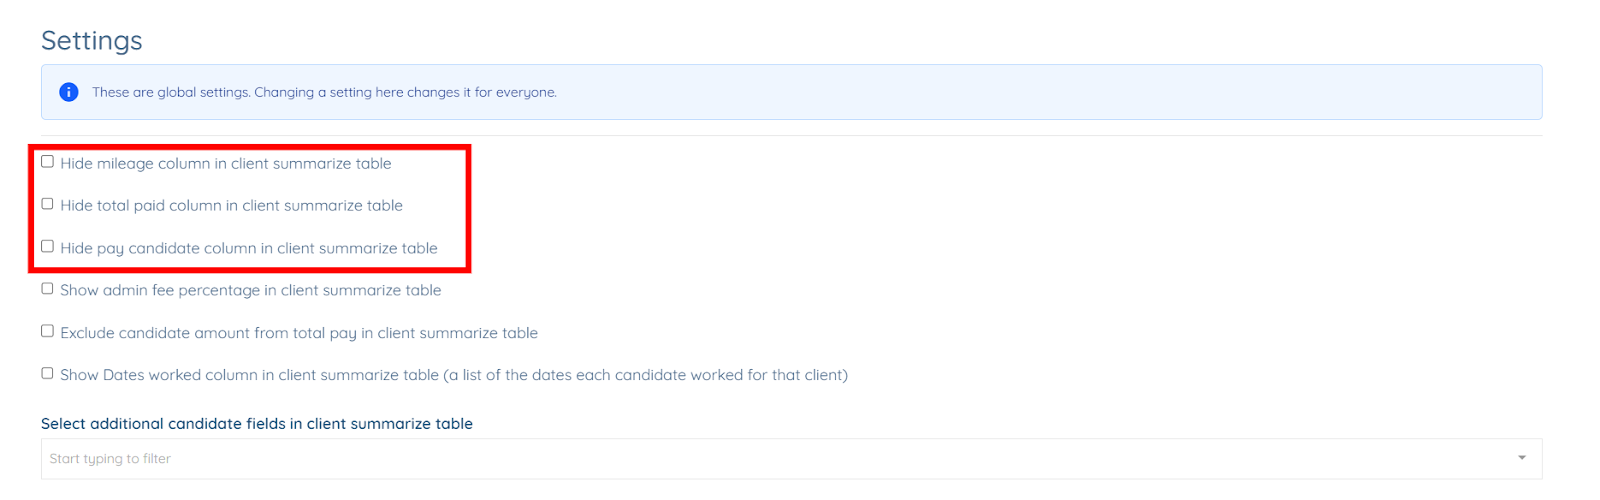
For example, check the Hide mileage column in client summarize table checkbox to hide Mileage column from the table.
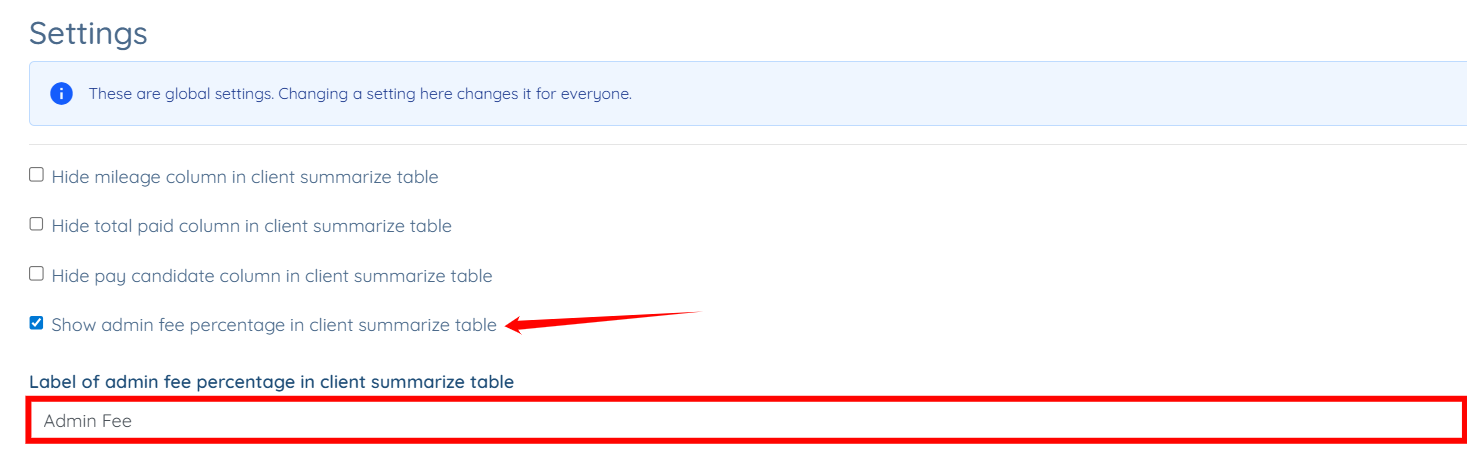
Step 3: Check the Show admin fee percentage in client summarize table checkbox and enter the admin fee label that will appear in the client summarize table if you want the admin fee to be displayed in the client summarize table.
Step 4: Check the Include admin fee percentage in client summarize invoice checkbox if required.
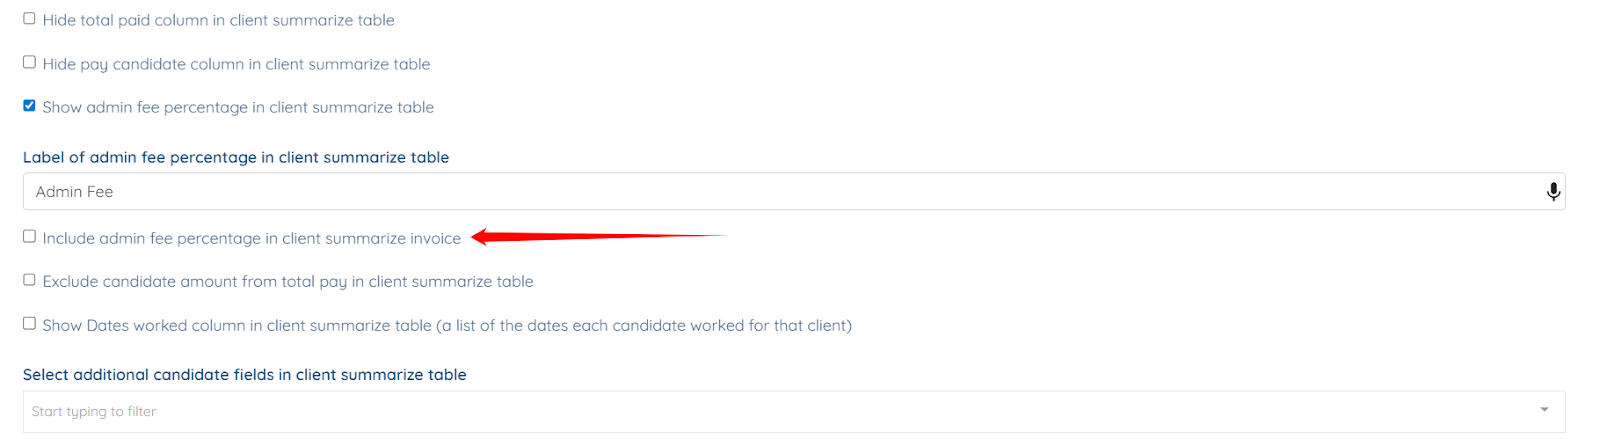
Step 5: Similarly, check the Exclude candidate amount from total pay in client summarize table checkbox if required.
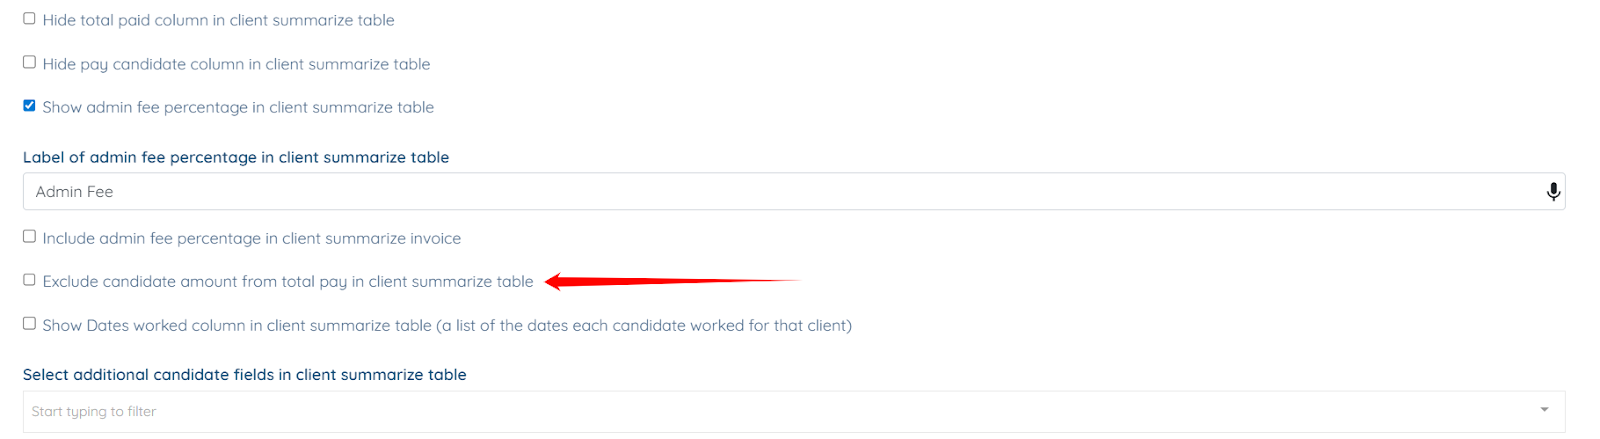
Step 6: Check the Show Dates worked column in client summarize table (a list of the dates each candidate worked for that client) checkbox, if you want to add the Show Dates Worked column in the client summarize table.

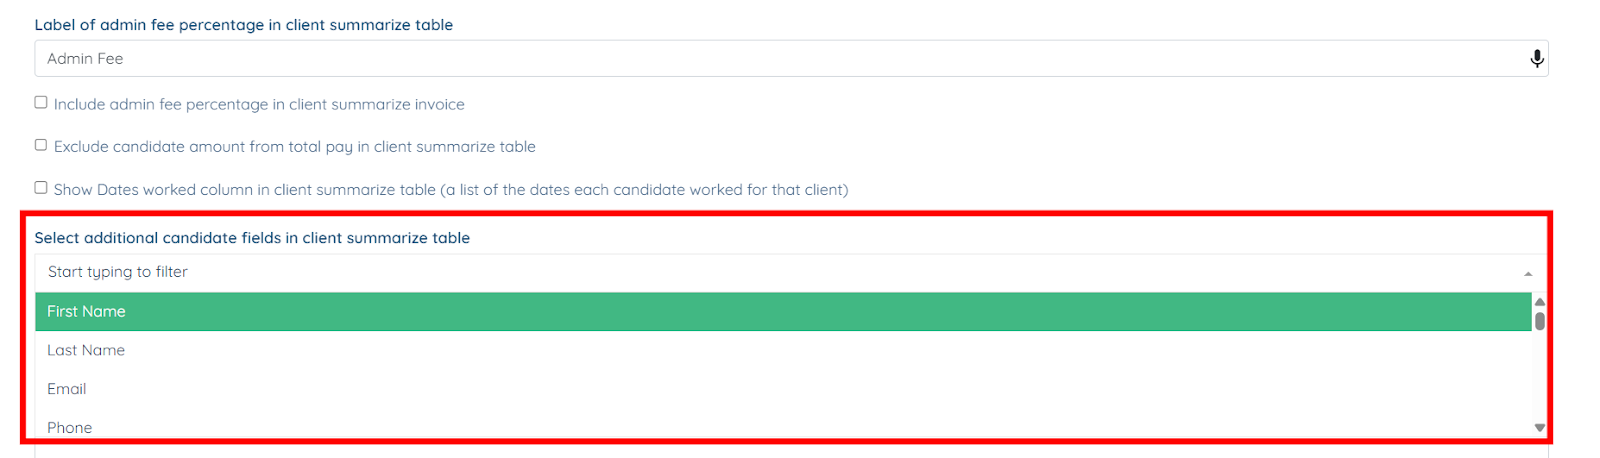
Step 7: You may also select and add additional candidate fields to the client summary table from the field as shown.
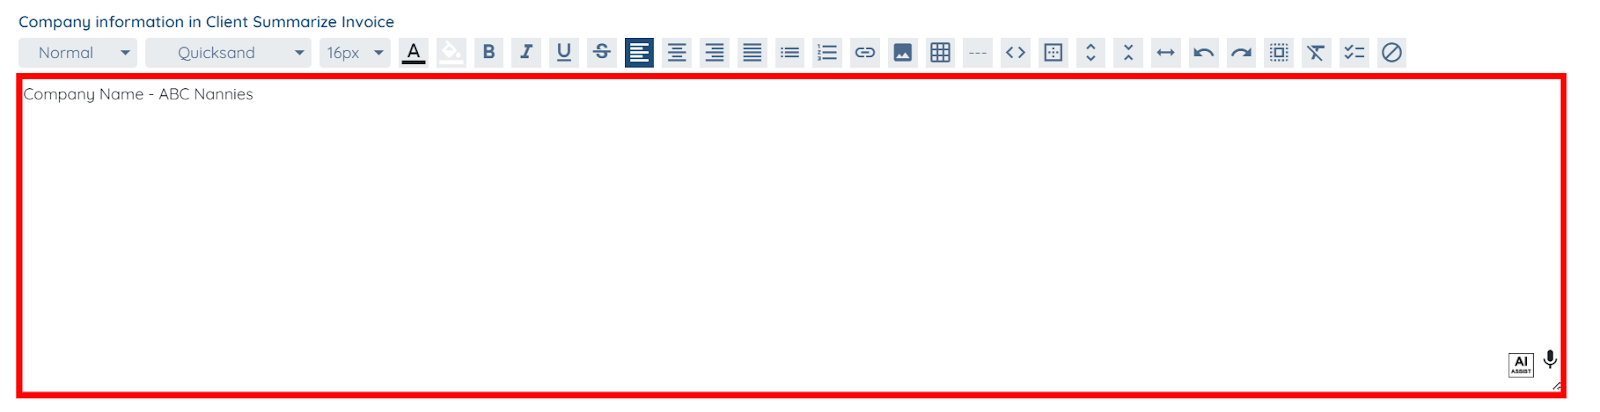
Step 8: Next, you have to add the Company Information using the text editor that appears in the Client Summarize Invoice.

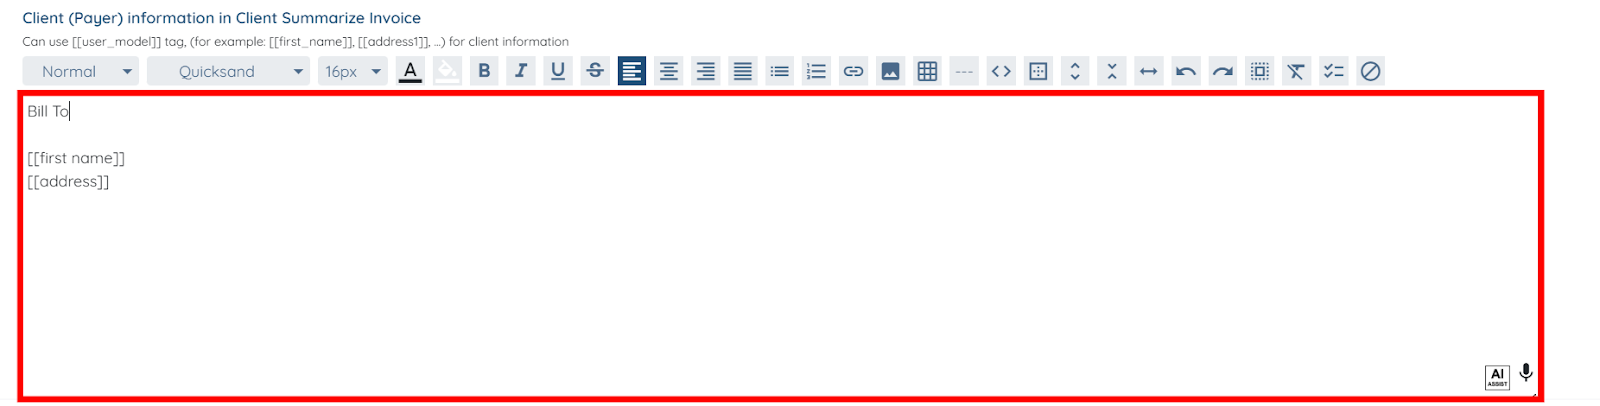
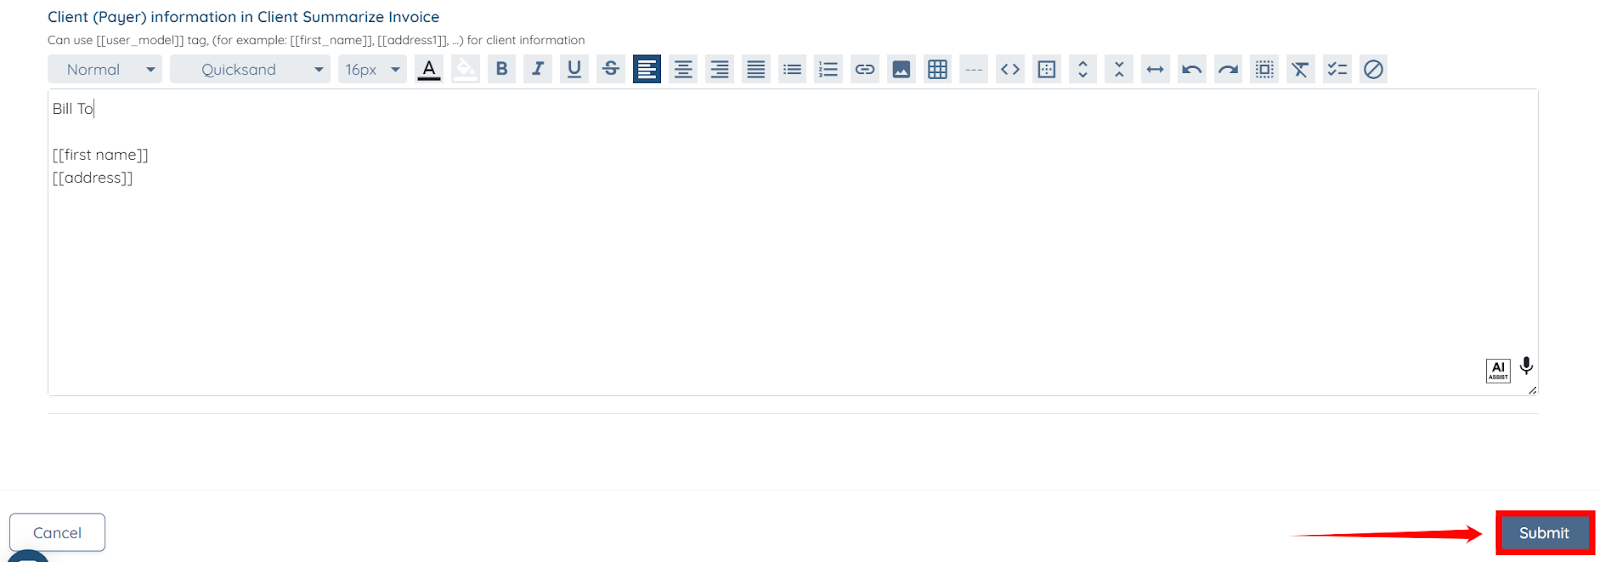
Step 9: Next, you can add the Payer information, which will be displayed in the Client Summarize Invoice.
Step 10: Click the Submit button to proceed after you have made all the required changes.
Customize the shift job breakdown table, which provides a detailed view of the individual shifts completed by candidates for a client. You can control which fields and job statuses are included in the shift job summary.
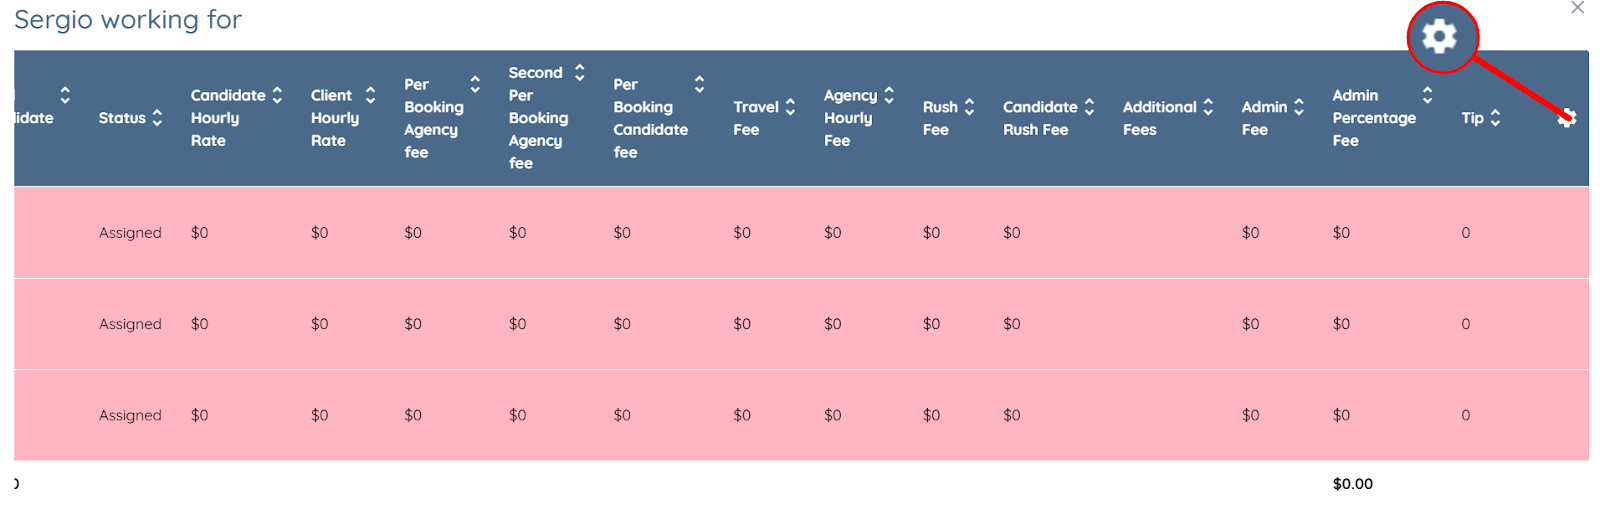
Step 1: In the Table view, click any candidate shift job summary.
Step 2: Scroll to the right and click the Gear icon, as shown in the screenshot below.
Step 3: You can now drag and drop fields to adjust their order in the table, and you can also add new fields or remove existing ones as needed.
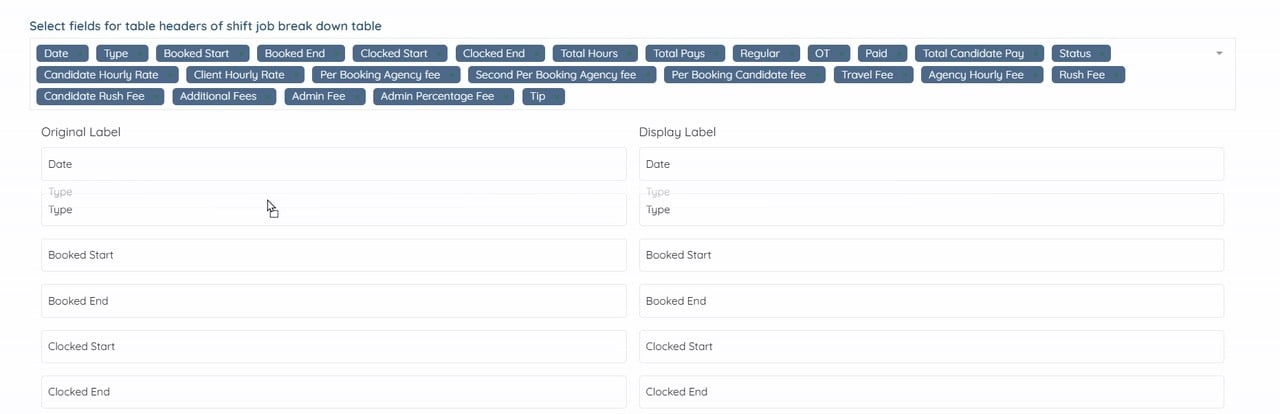
Step 4: Scroll down to the Select job statuses to display in the shift job break down table field and click the box beneath it to activate the dropdown list.
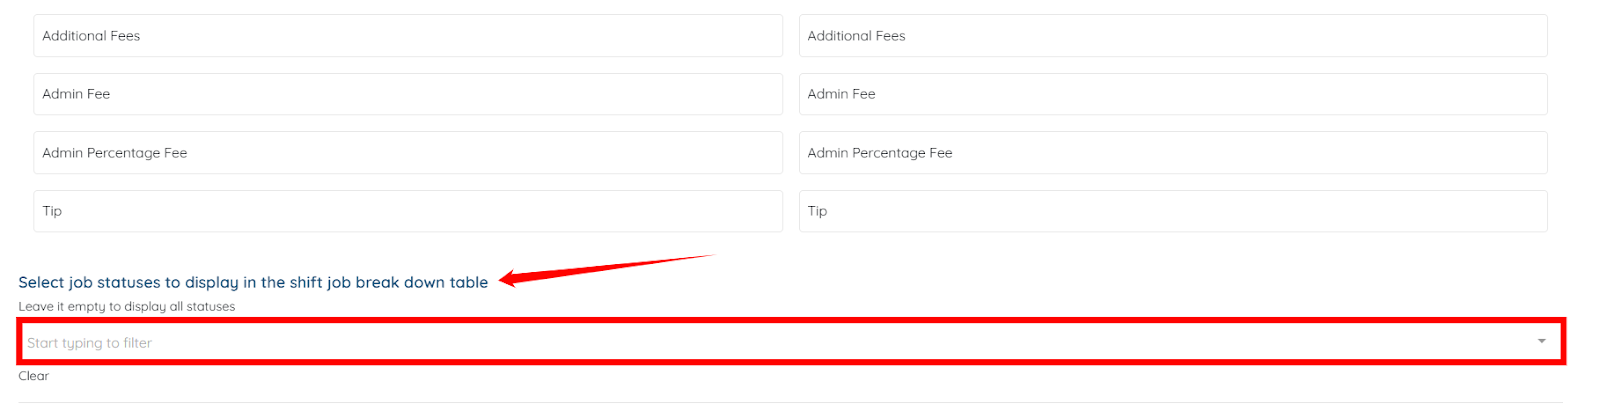
Step 5: Select the Completed job status from the list to display only the jobs that candidates have completed in the Client Summarize Table.

Step 6: Click the Submit button to confirm the changes.

Create an invoice from the summarized shift job data and save it to the system.
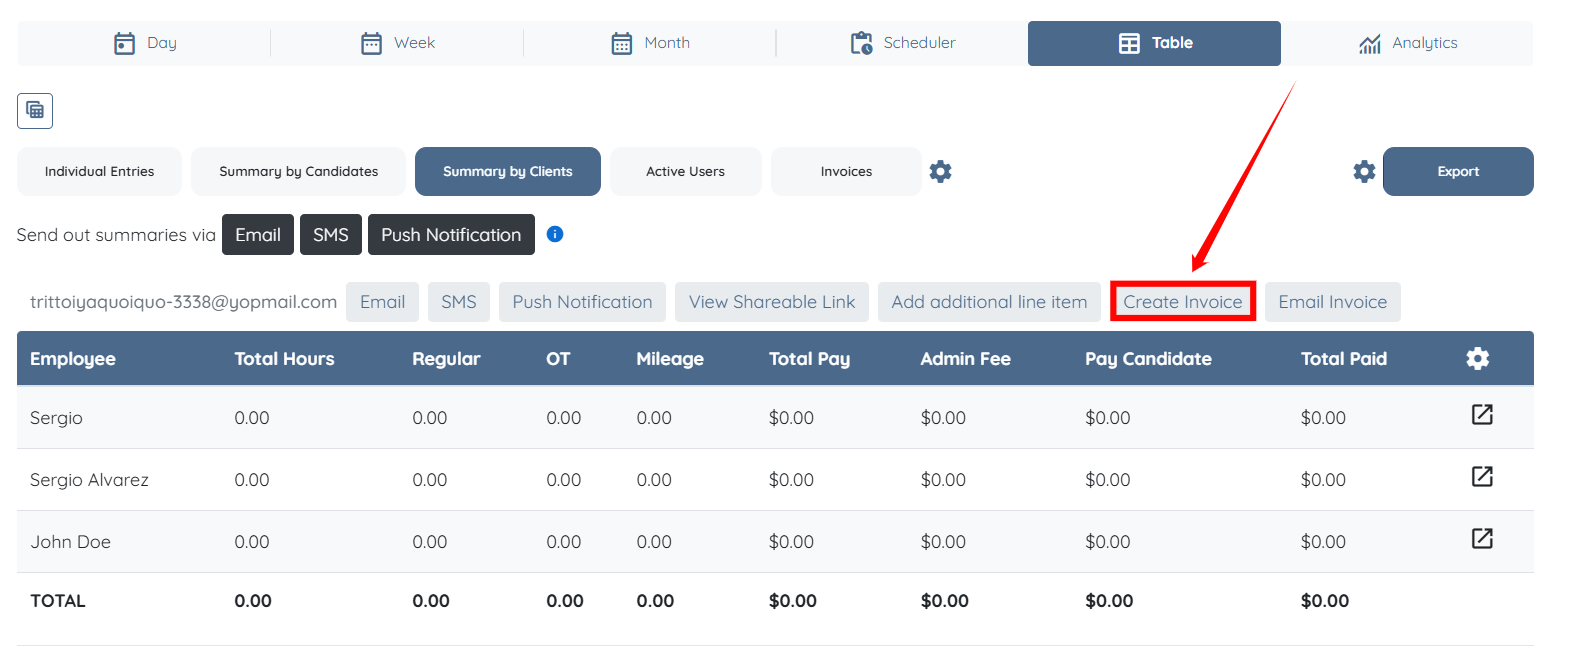
Step 1: In the Table view, click the Create Invoice button.
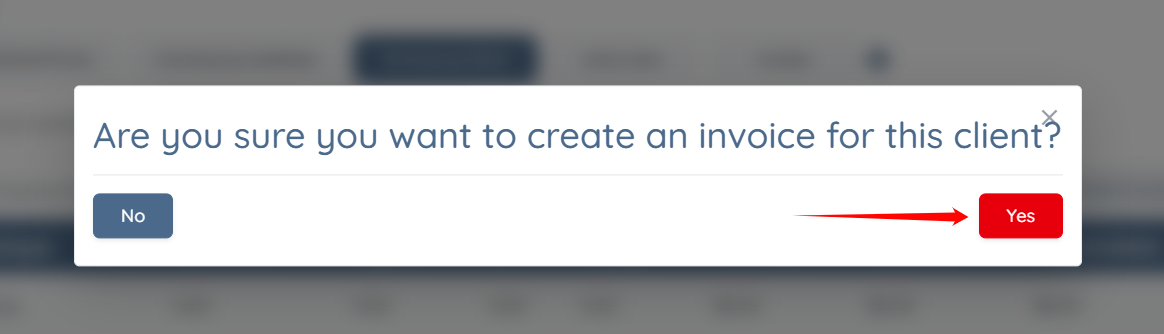
Step 2: Click the Yes button to proceed.
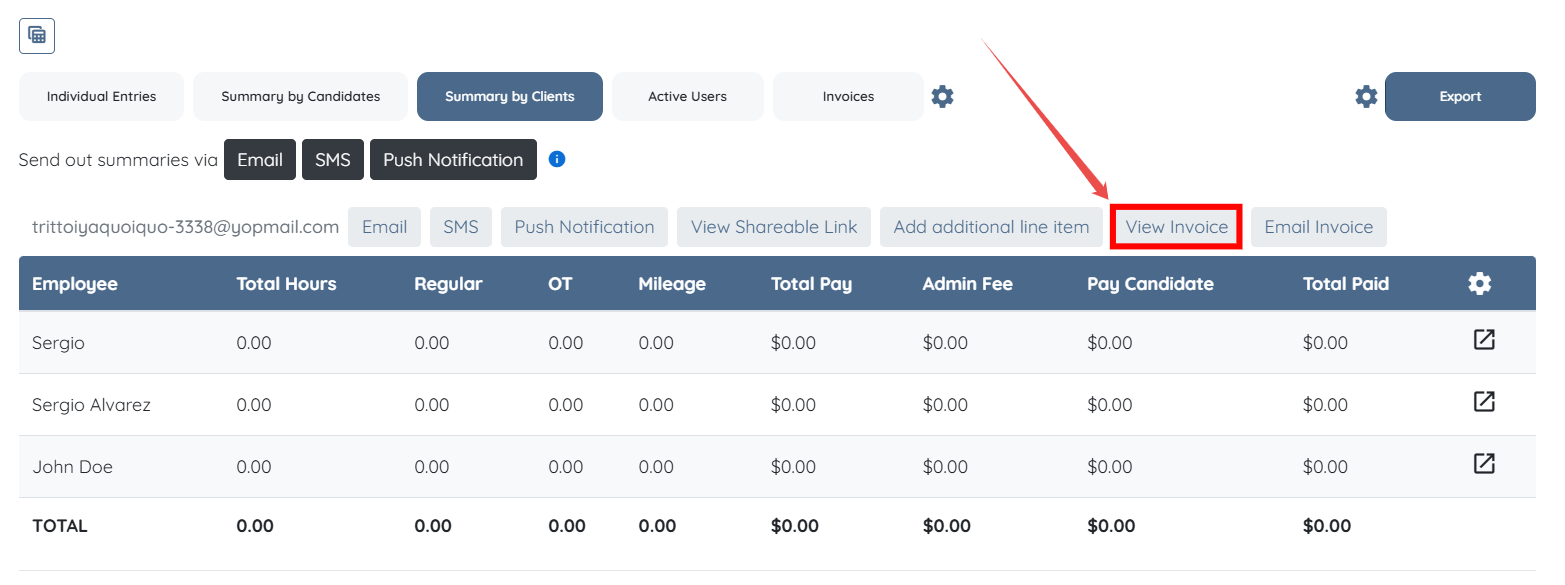
Step 3: Click the View Invoice button to open and view the invoice you created.
The created invoice will display all the details and be saved under Invoices.

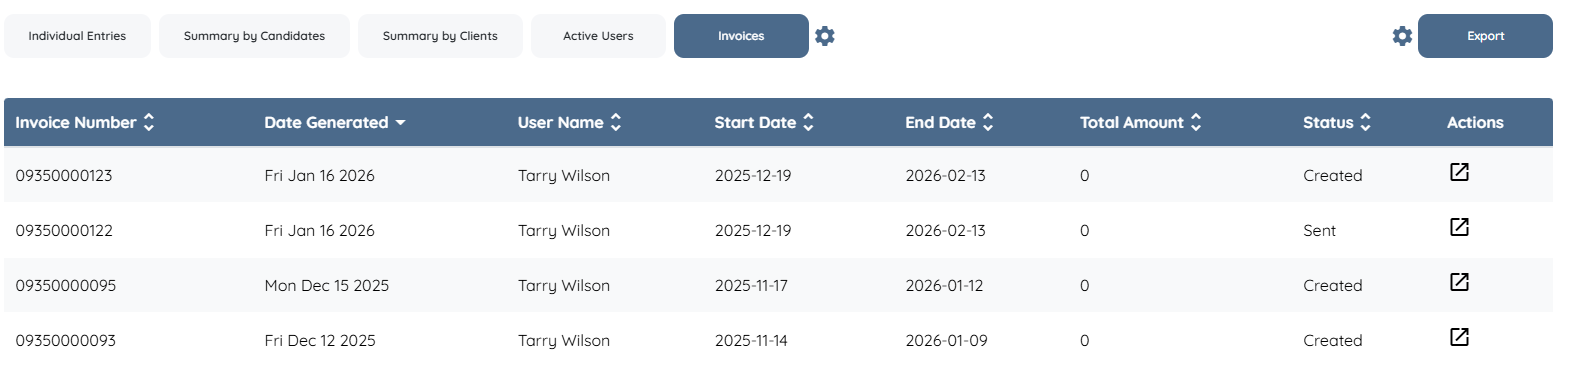
Step 4: You can access the created invoices by clicking the Invoices button.
Here, you can view all invoices and see their status.
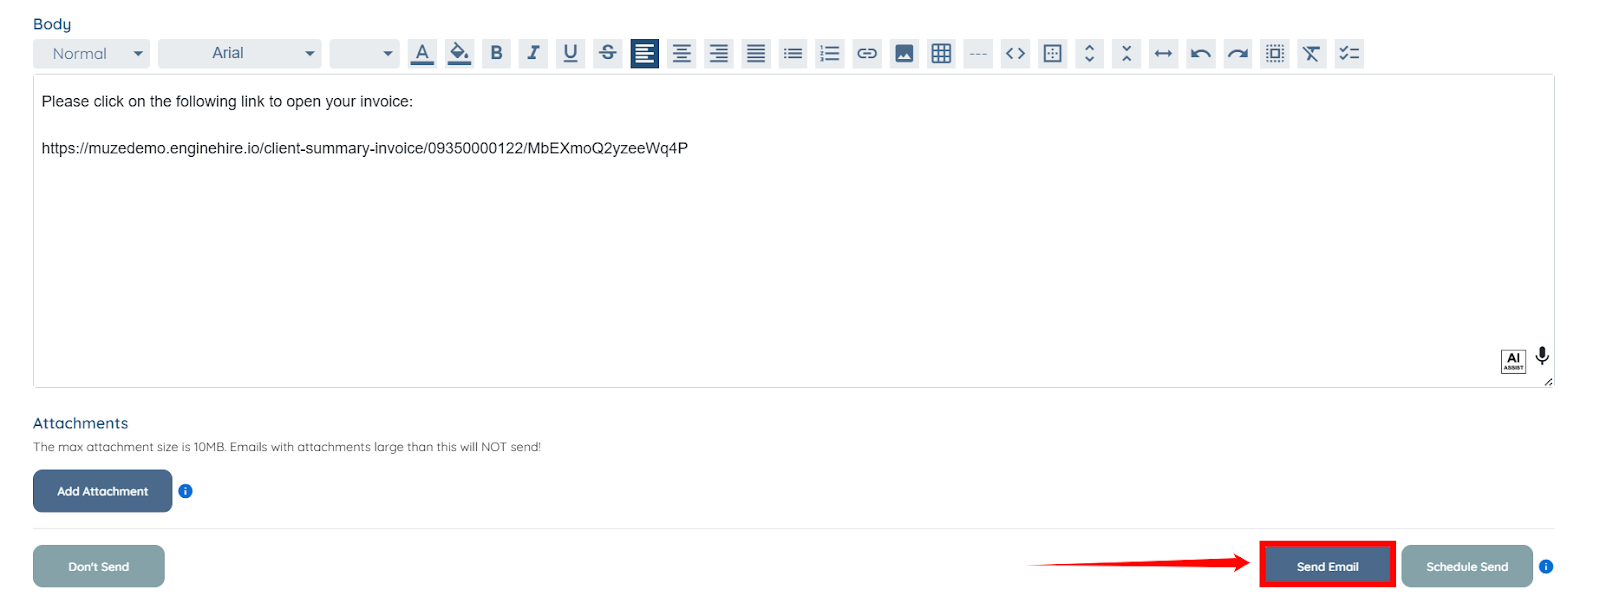
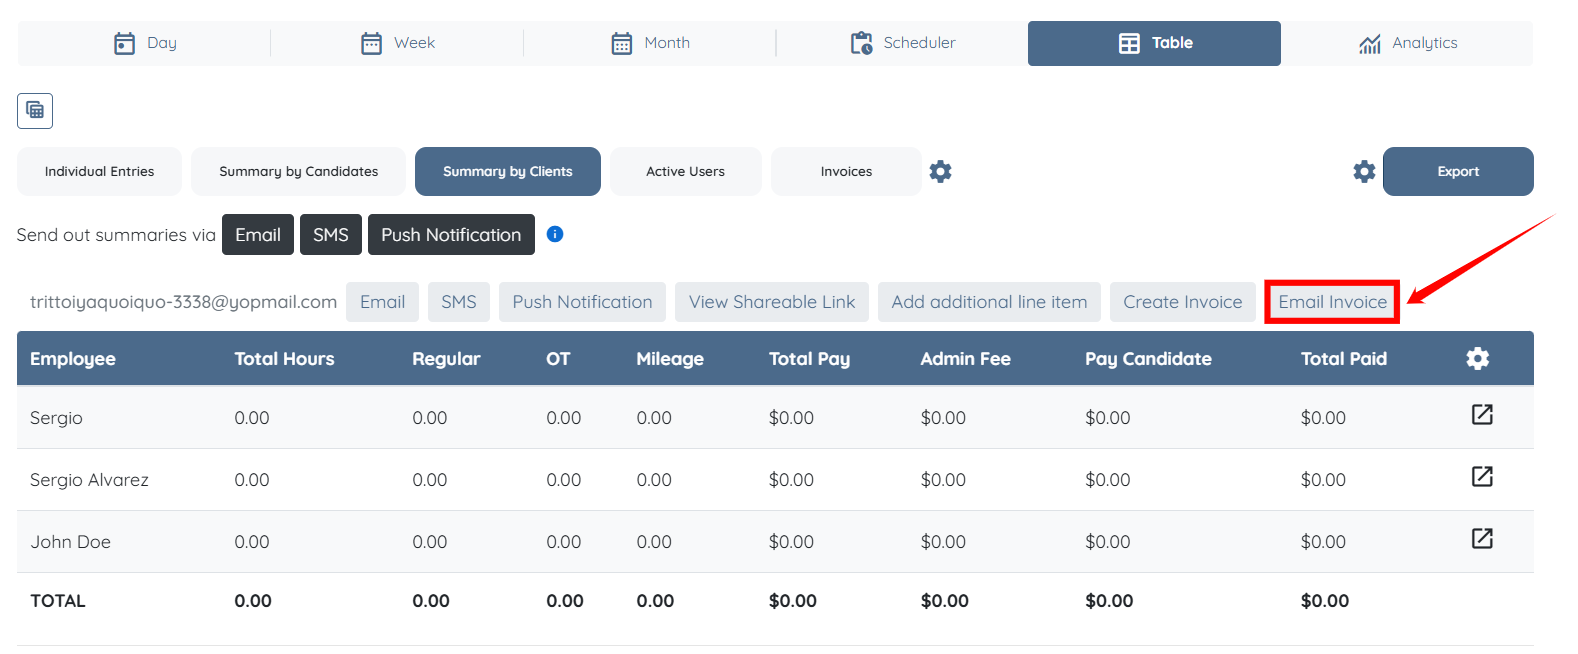
Send the invoice to the client as a payment link using the Email Invoice button.
Step 1: In the Table view, click on the Email Invoice button.
Step 2: The system will automatically select the email template you created to send the invoice.
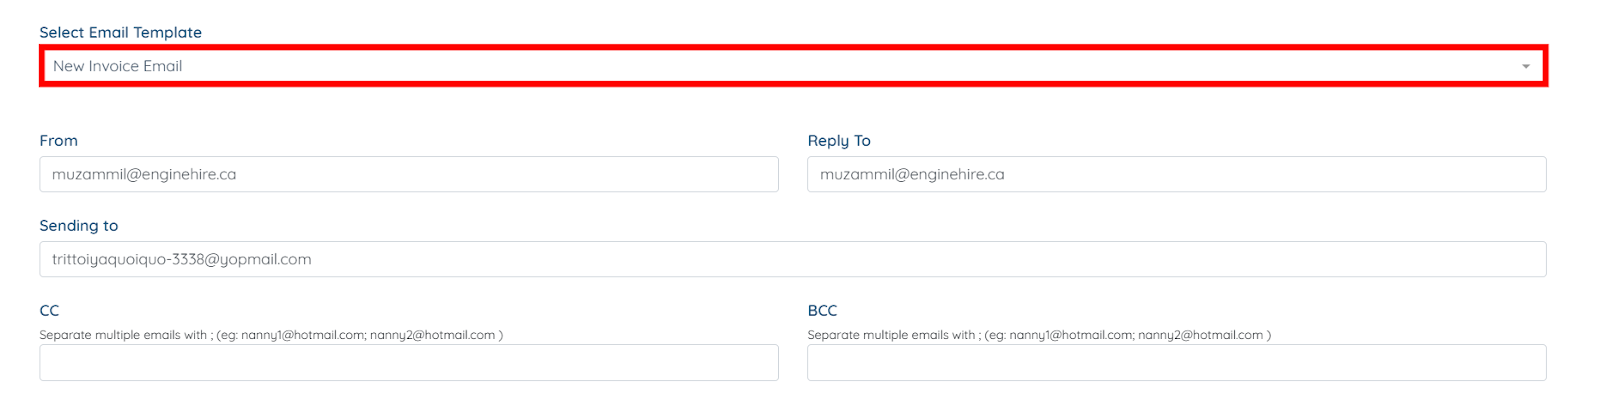
Step 3: Scroll down and click the Send Email button to proceed.