Let’s get started 🚀
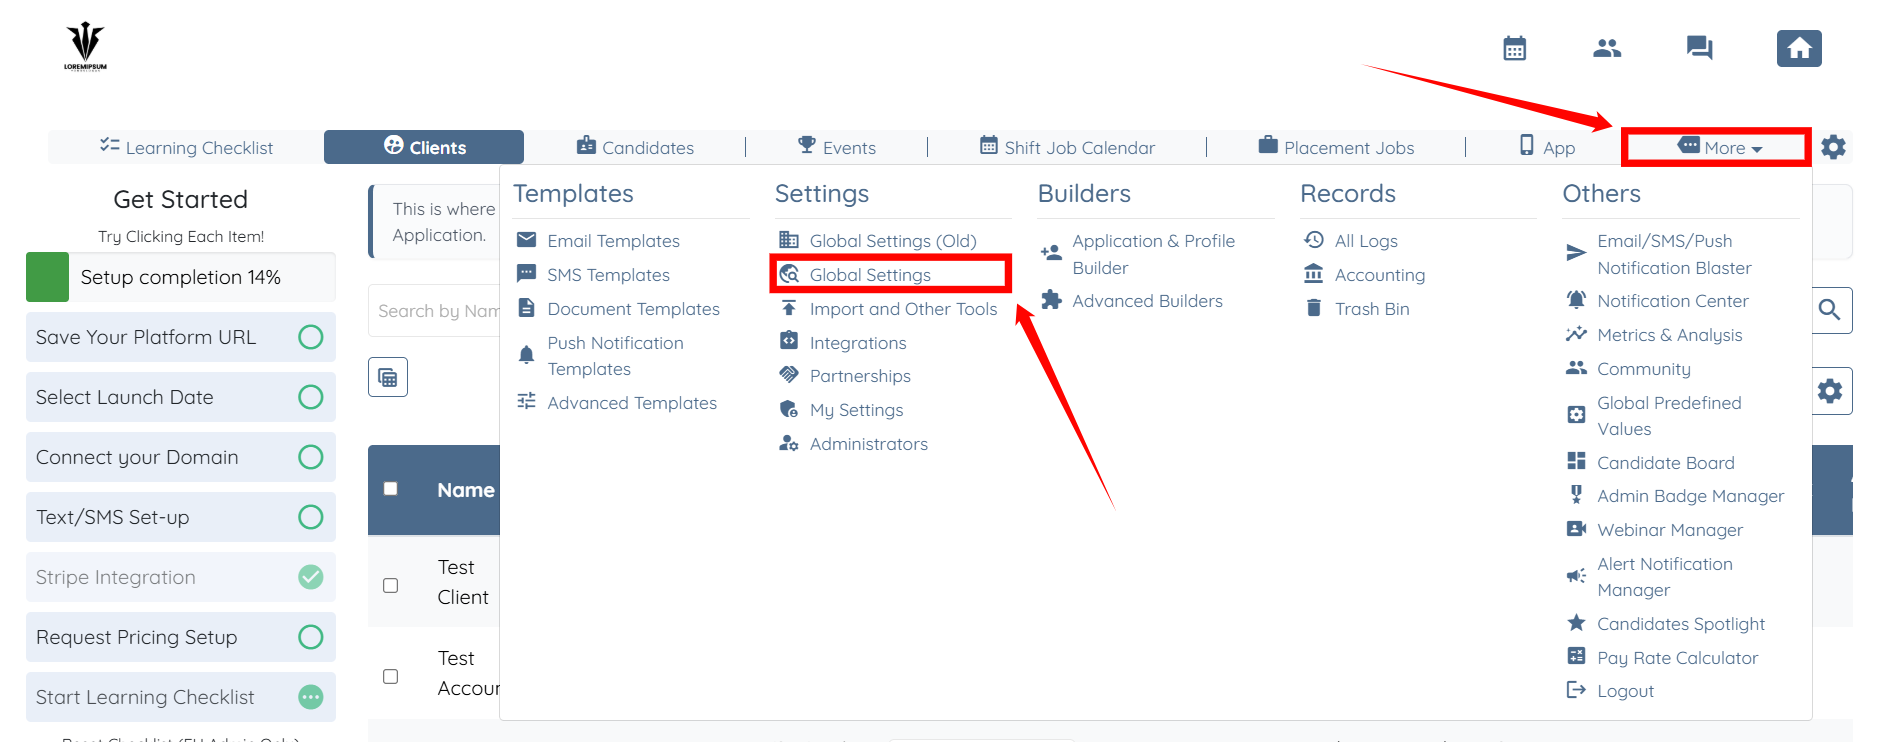
Step 1: Log in to your agent dashboard, then click More > Global Settings, as shown in the screenshot below.
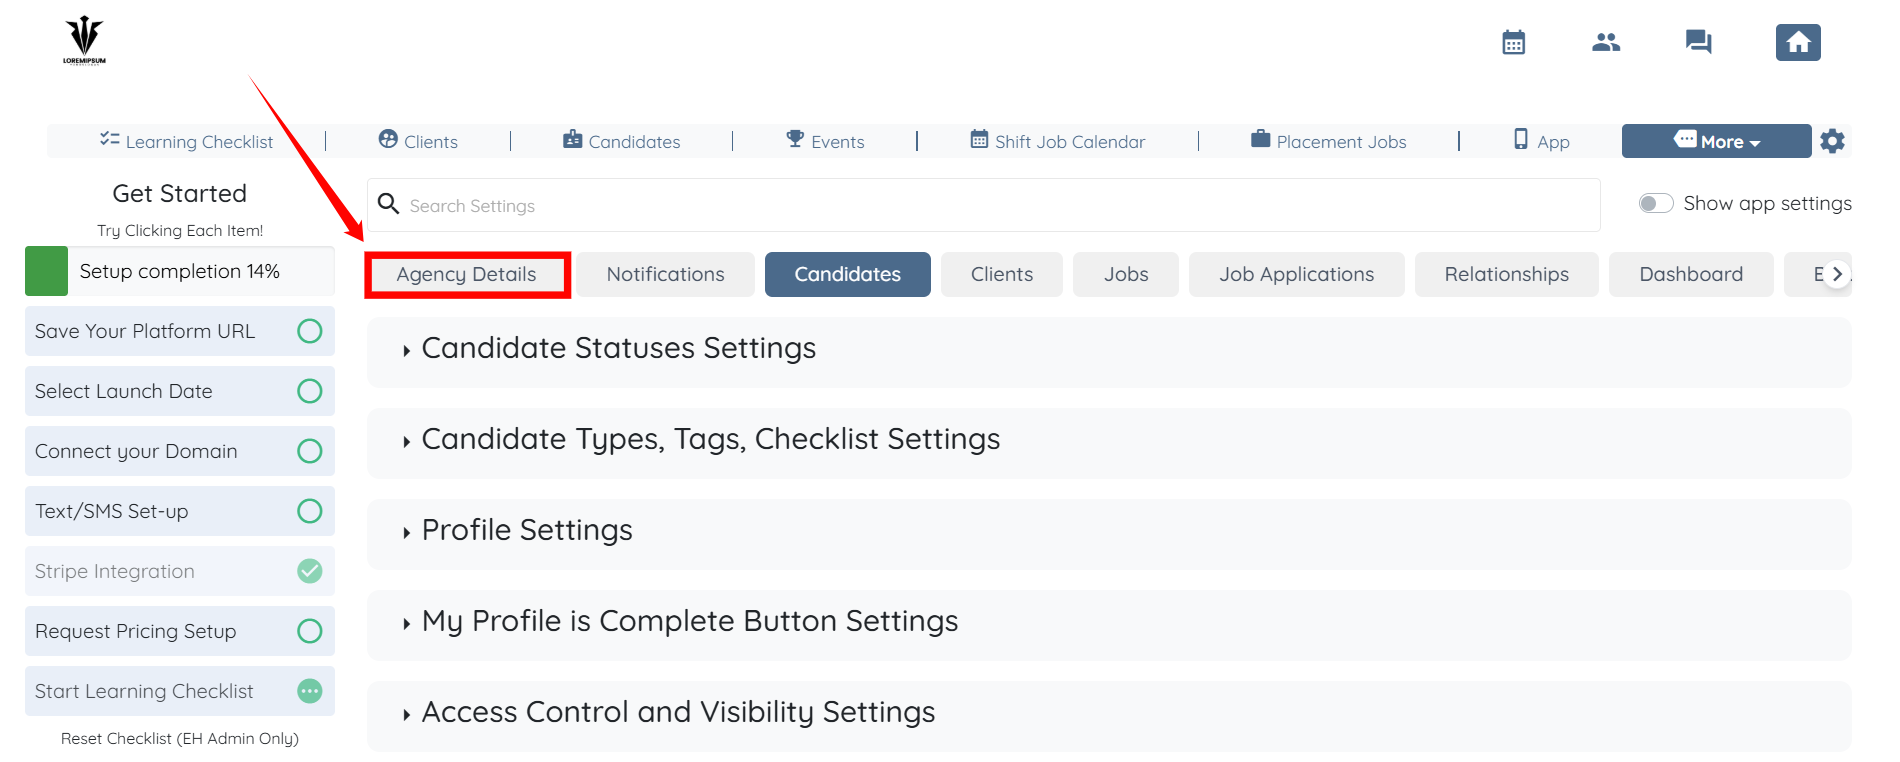
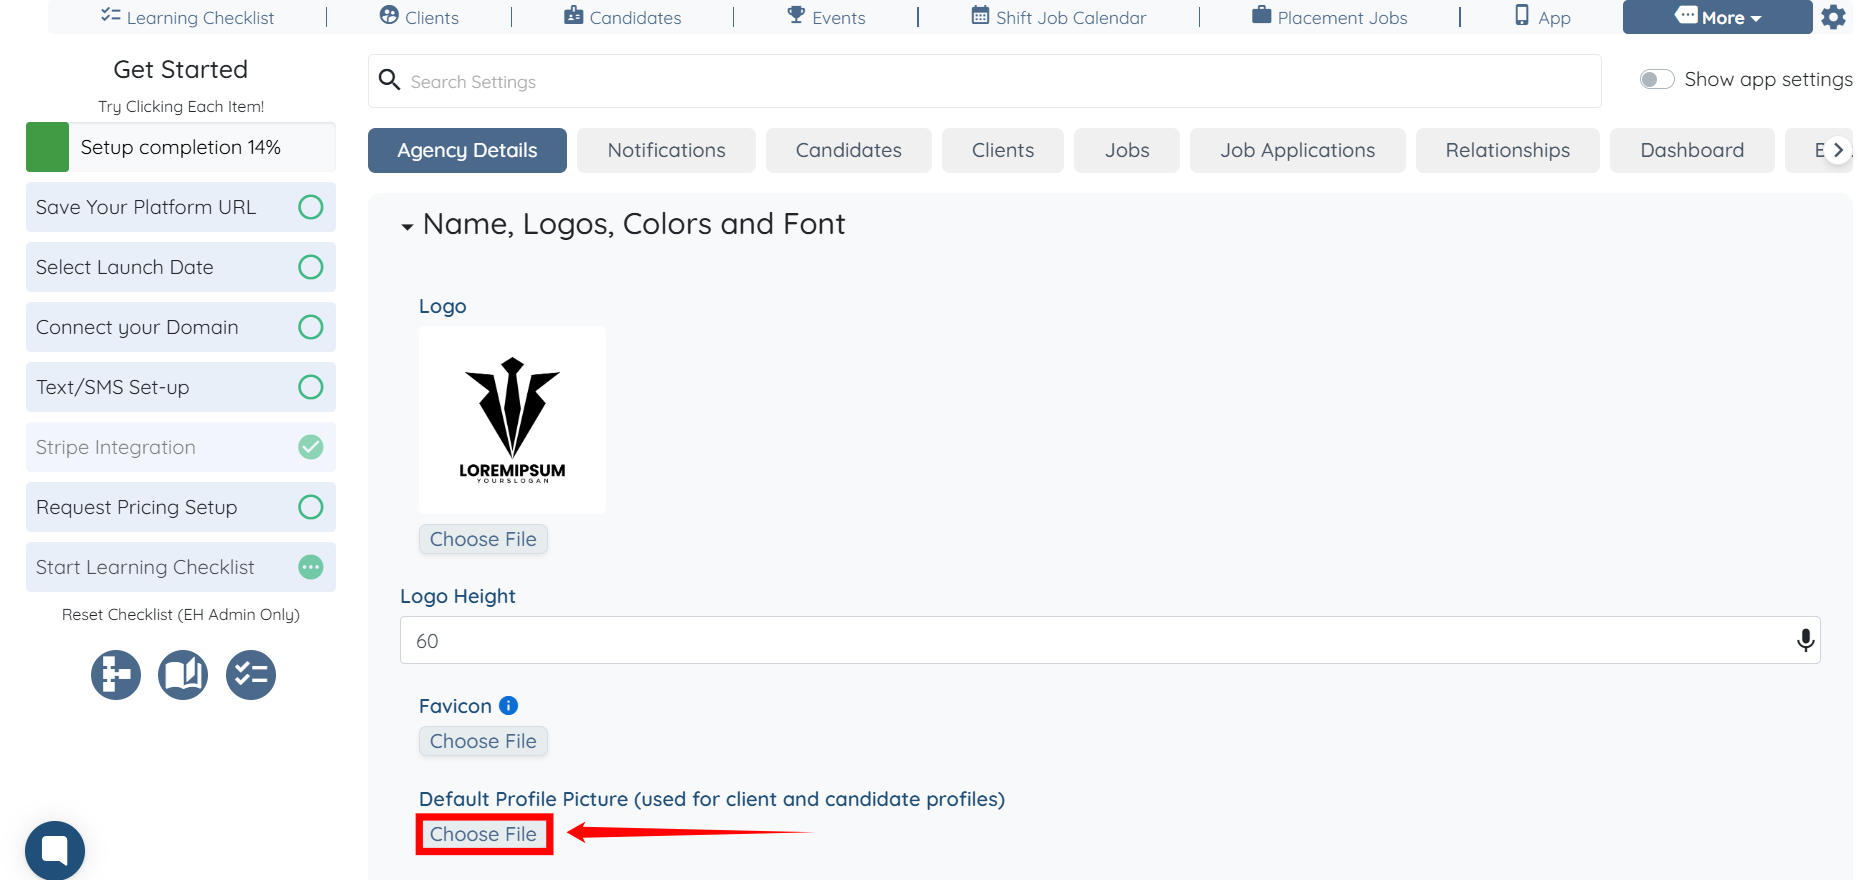
Step 2: Click on the Agency Details tab from the available tabs.
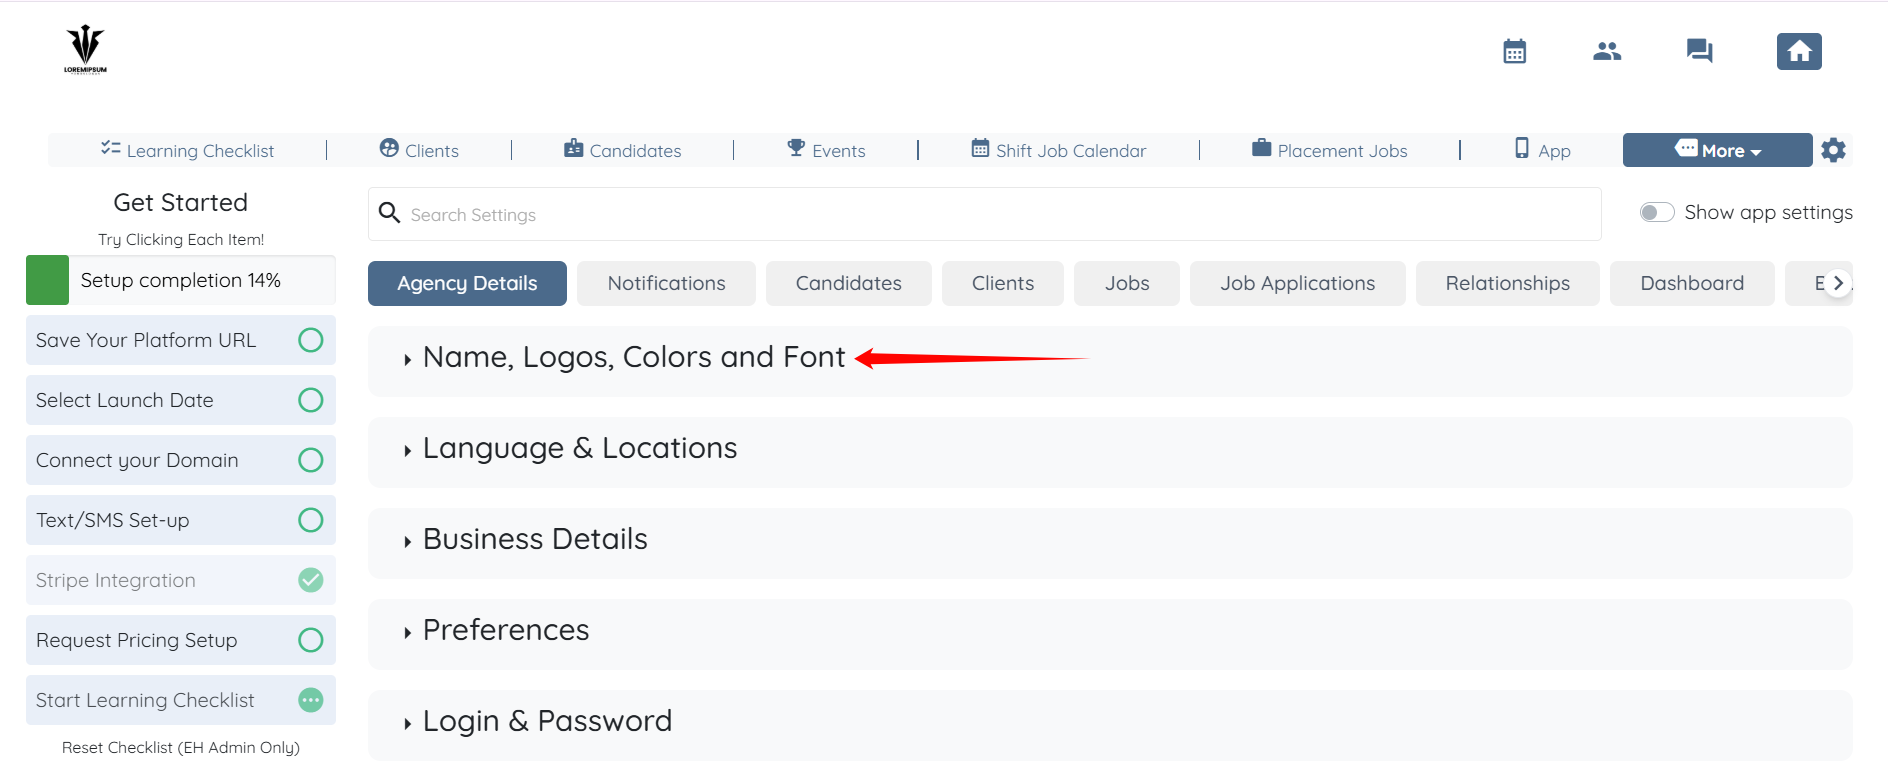
Step 3: Click the Name, Logos, Colors, and Font option to expand it and view its details.
Step 4: Under the Default Profile Picture (used for client and candidate profiles) heading, click the Choose File button.
Step 5: Choose the image you want to upload as the default profile image, and click the Submit button to save your changes.

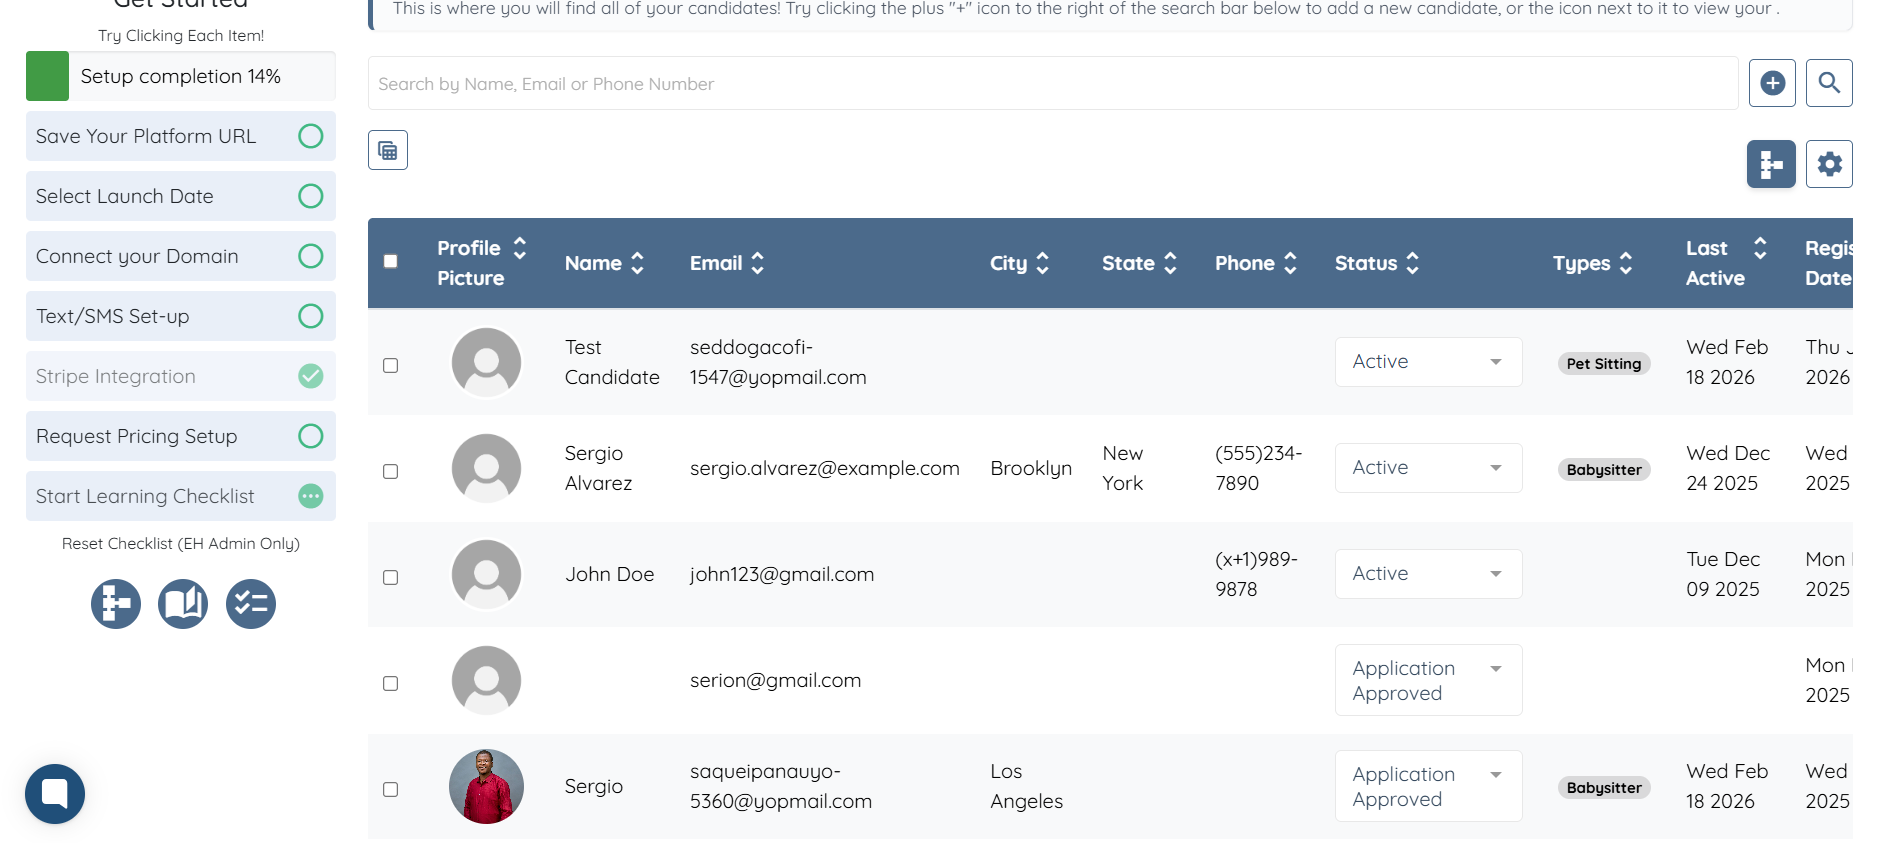
The default profile image has been successfully updated and will now display on all candidate and client profiles that do not have a profile picture.