Lets get started 🚀
Follow the steps below to activate and customize the chat feature:
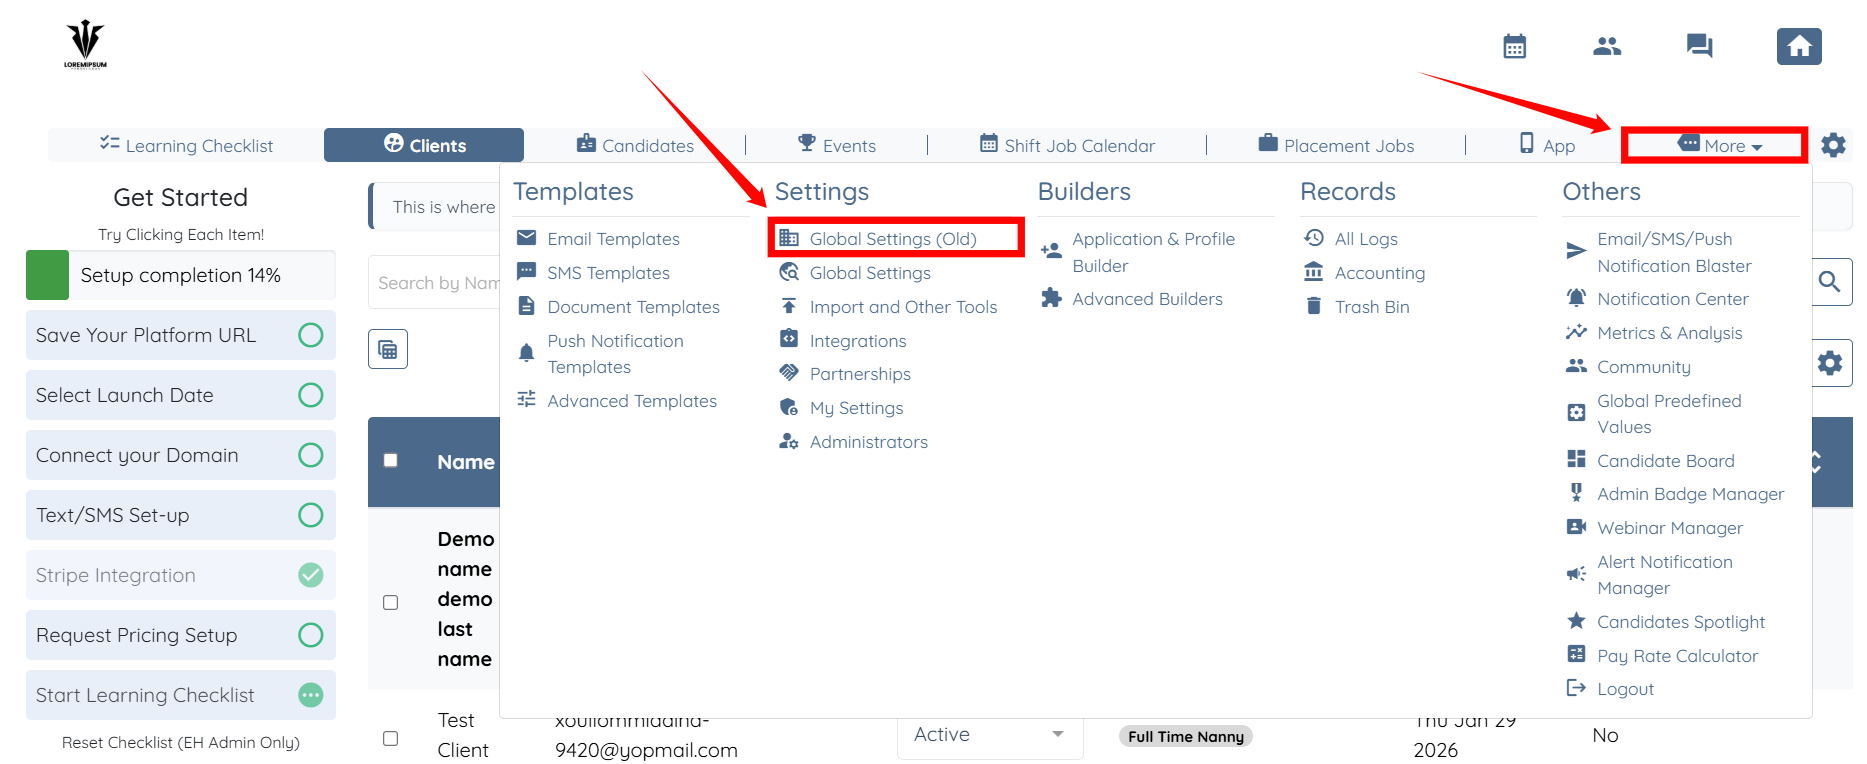
Step 1: Log in to your agent dashboard and click More > Global Settings (old) as shown in the screenshot below.
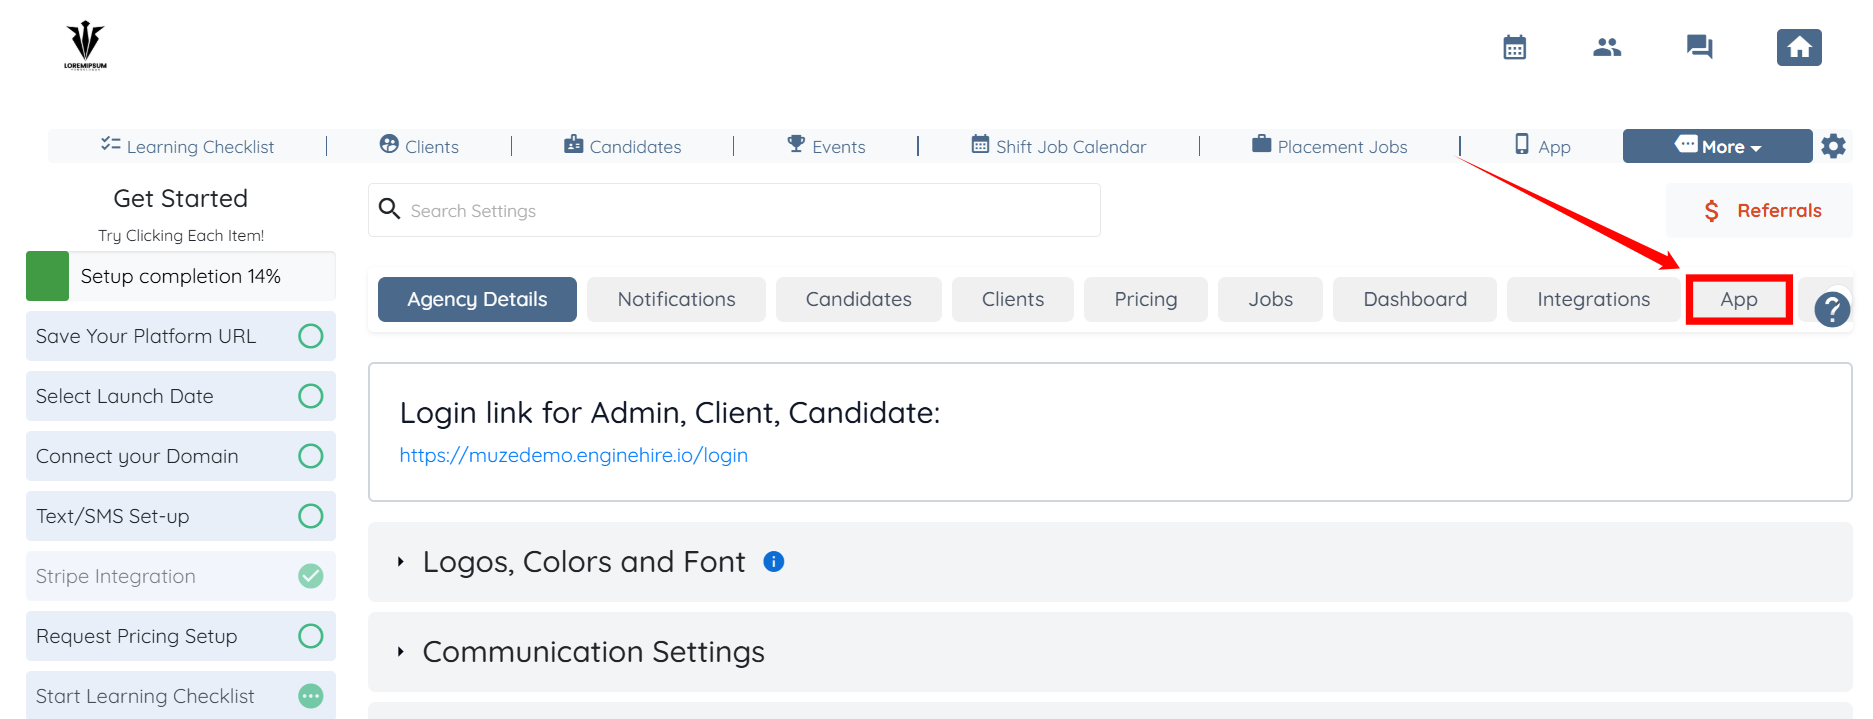
Step 2: From the available tabs, click the App tab.
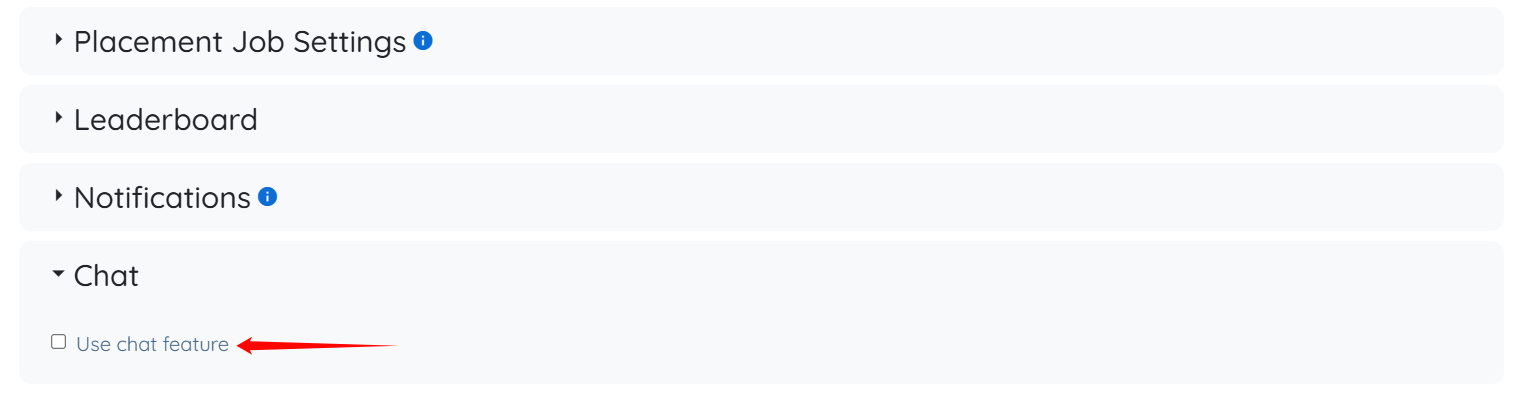
Step 3: Scroll down and click the Chat option to view and expand its details.

Step 4: Check the Use chat feature checkbox to enable the chat functionality.
Step 5: Here, you can add a customized message according to your agency’s preferences, which will be displayed to candidates and clients when there are no chats available on their side.
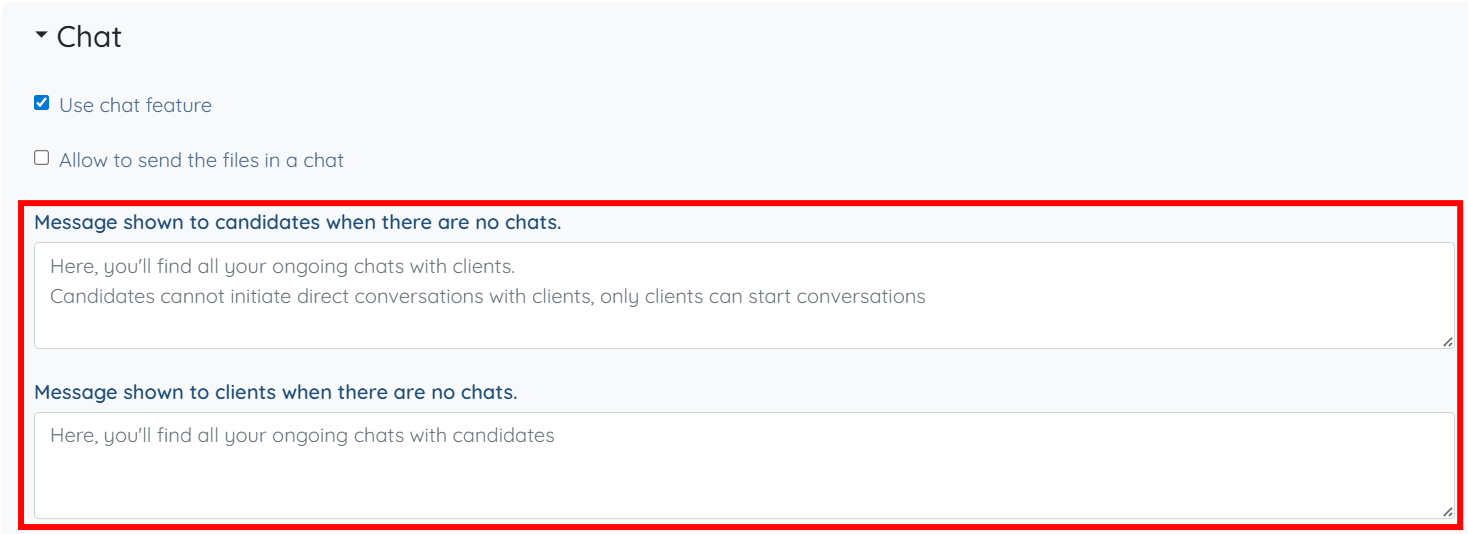
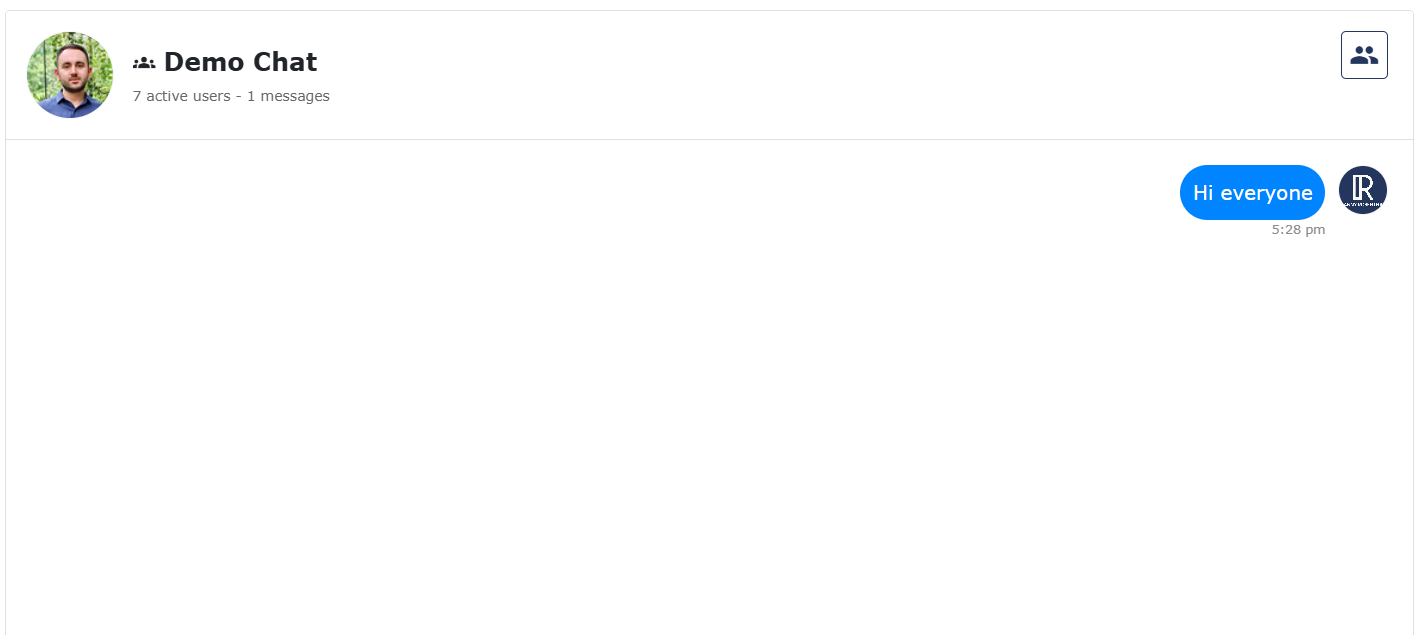
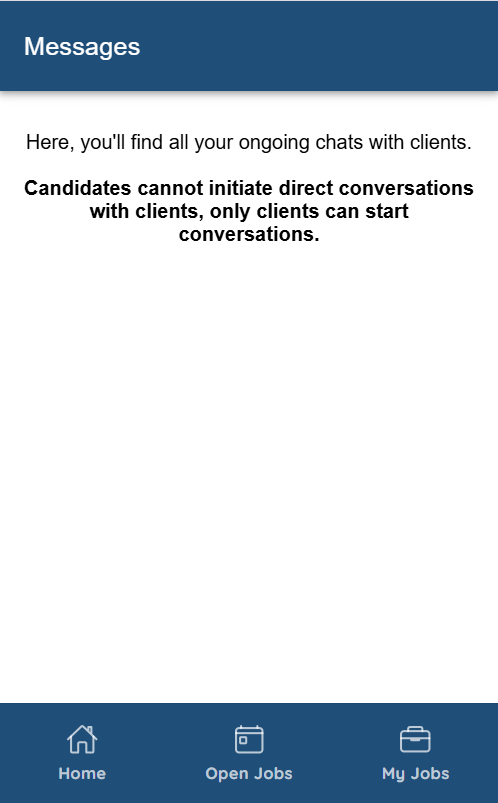
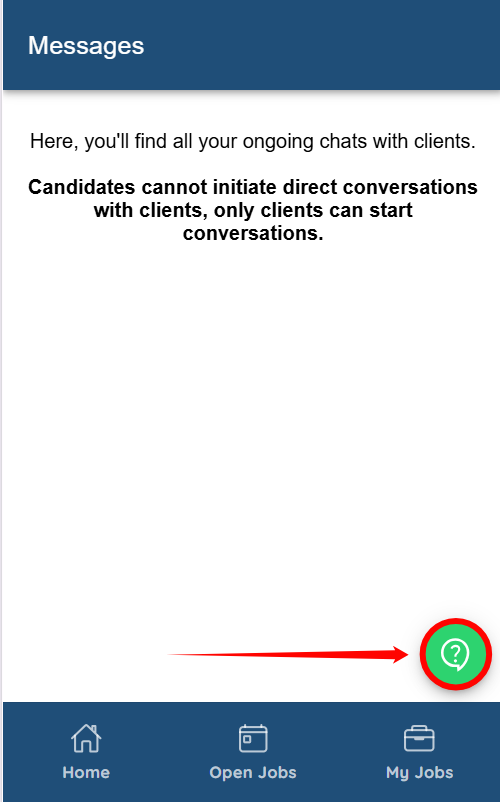
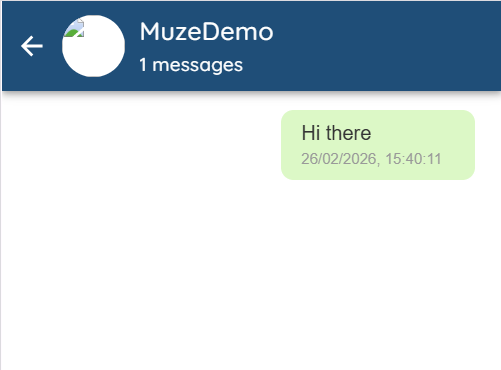
If no custom message is added, the default system message will be displayed. The screenshot below shows how this appears on the candidate side when there are no active chats.
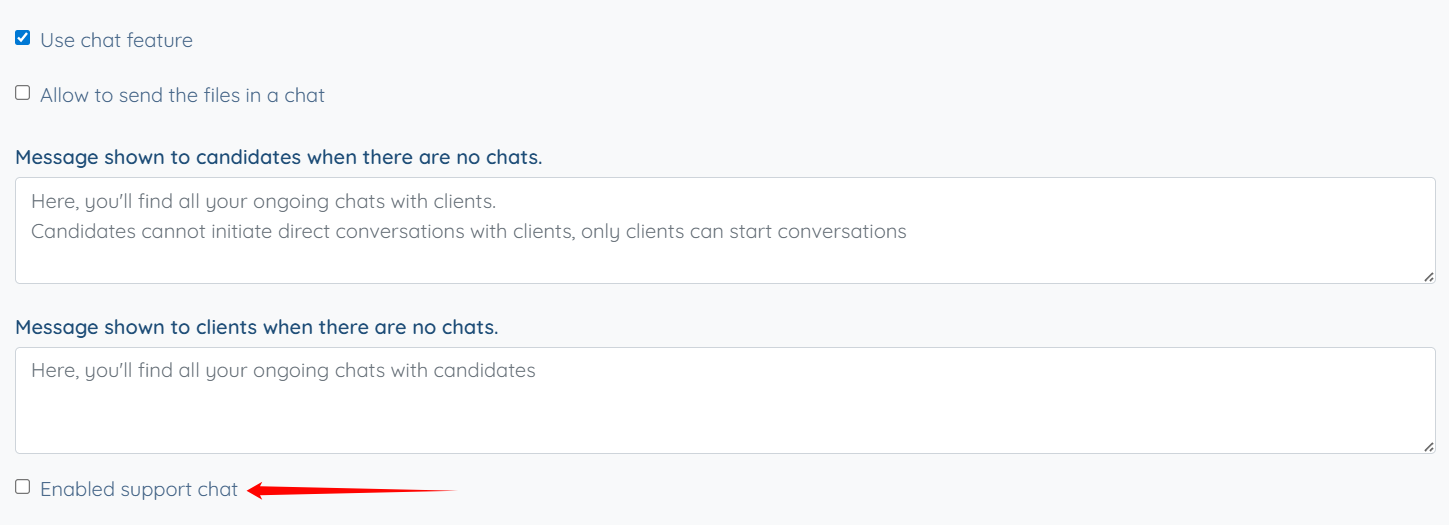
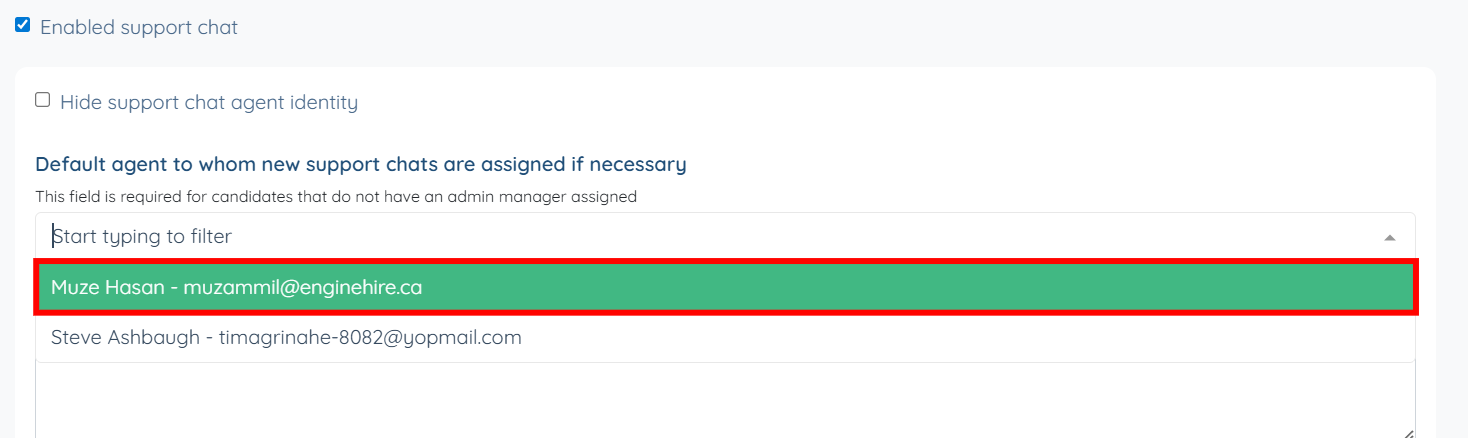
Step 6: Check the Enabled support chat checkbox if you want the candidates or clients to directly contact the agency.
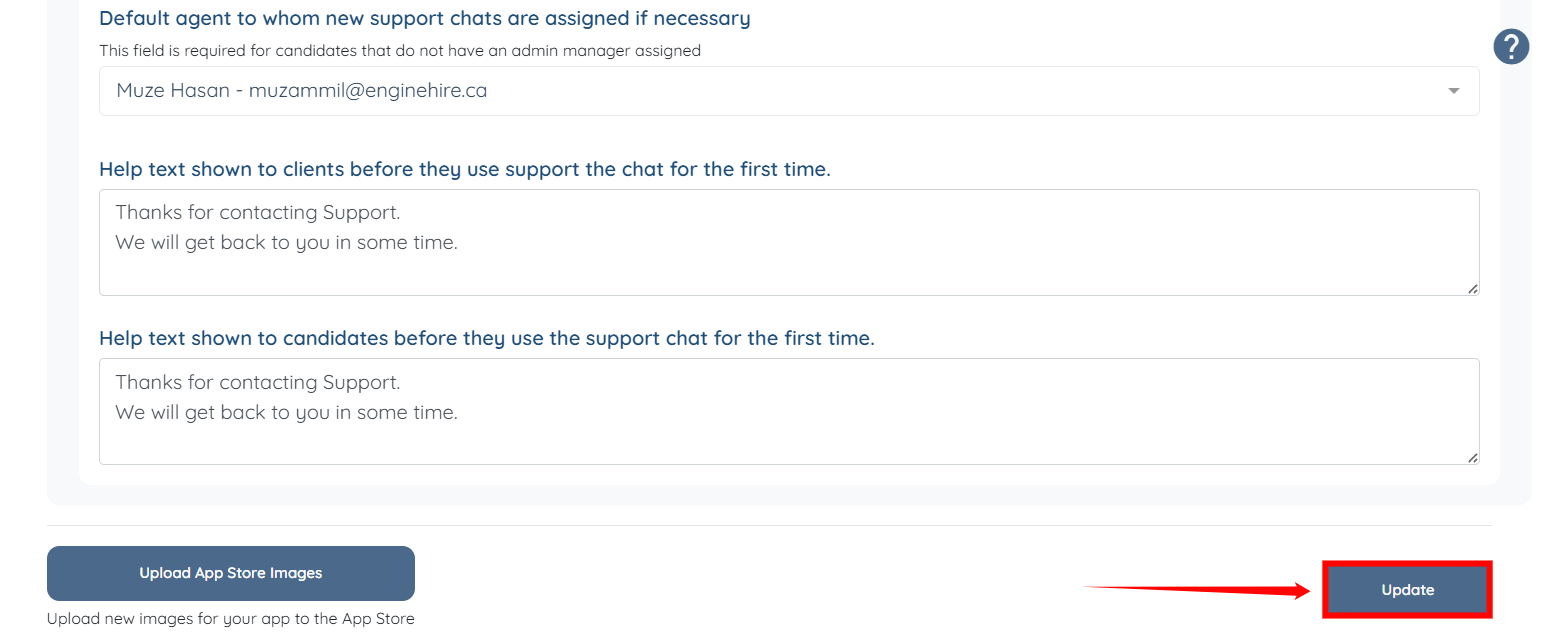
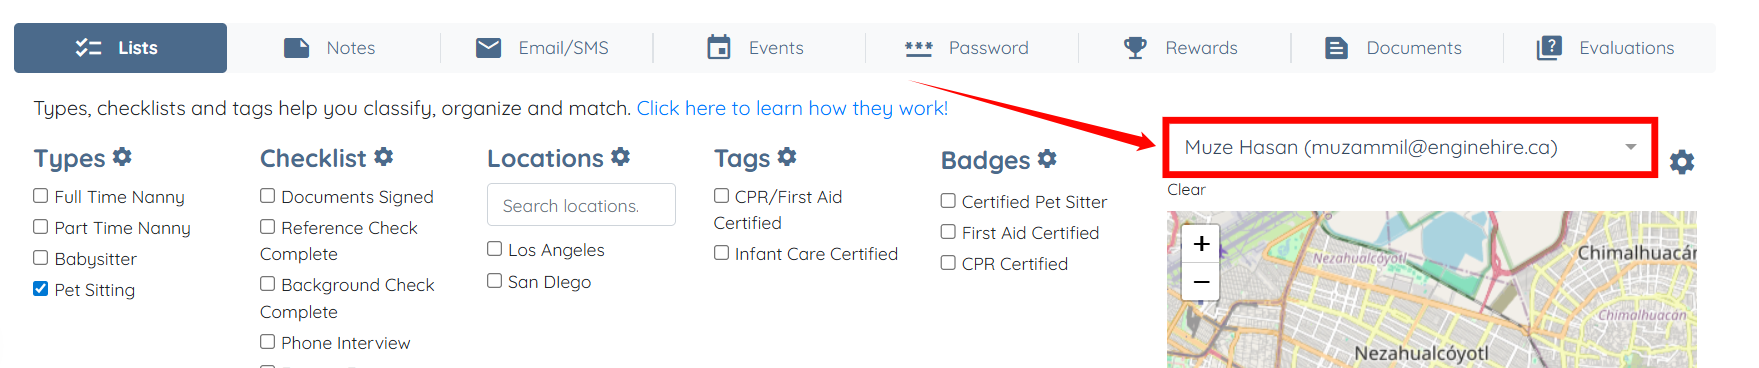
Step 7: Choose the Default Agent from the dropdown menu.

Step 8: Add a Help Text message that will be shown before candidates or clients initiate a support chat for the first time.
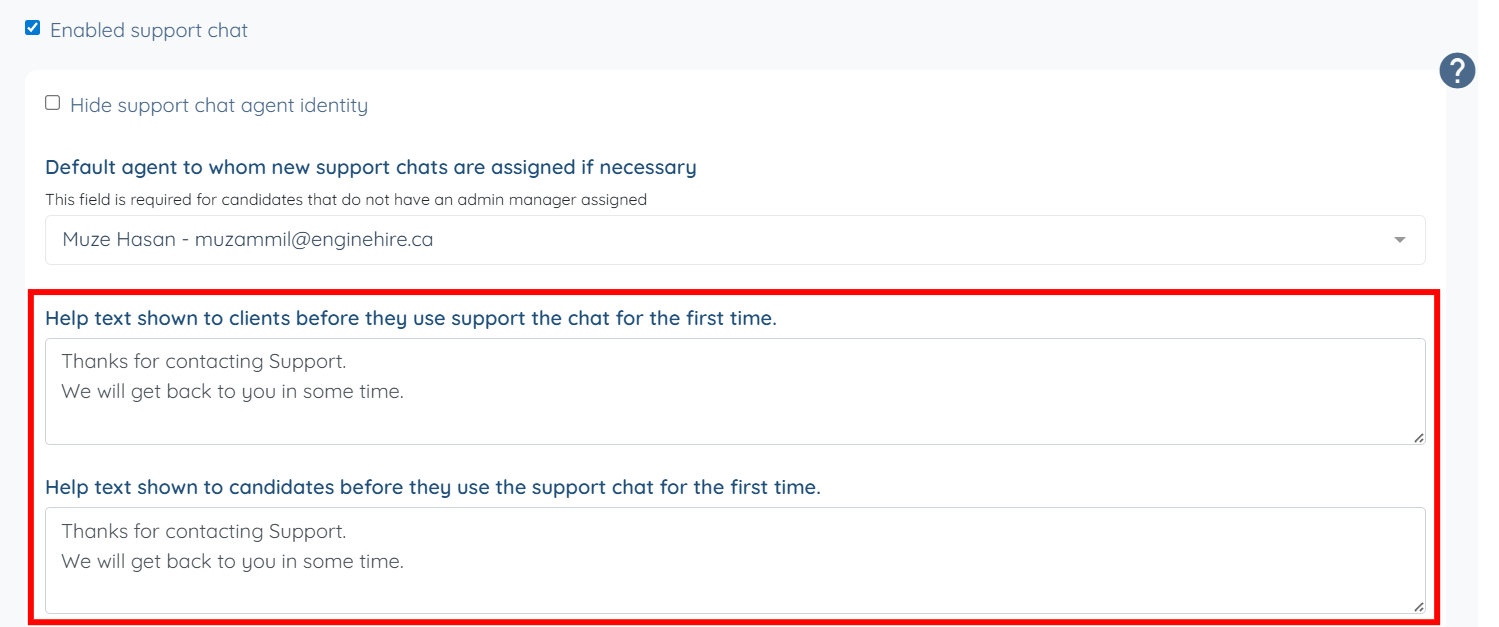
Step 9: Click the Update button to save the changes.
You can assign a specific manager to a candidate or client to ensure support chats are directed appropriately.
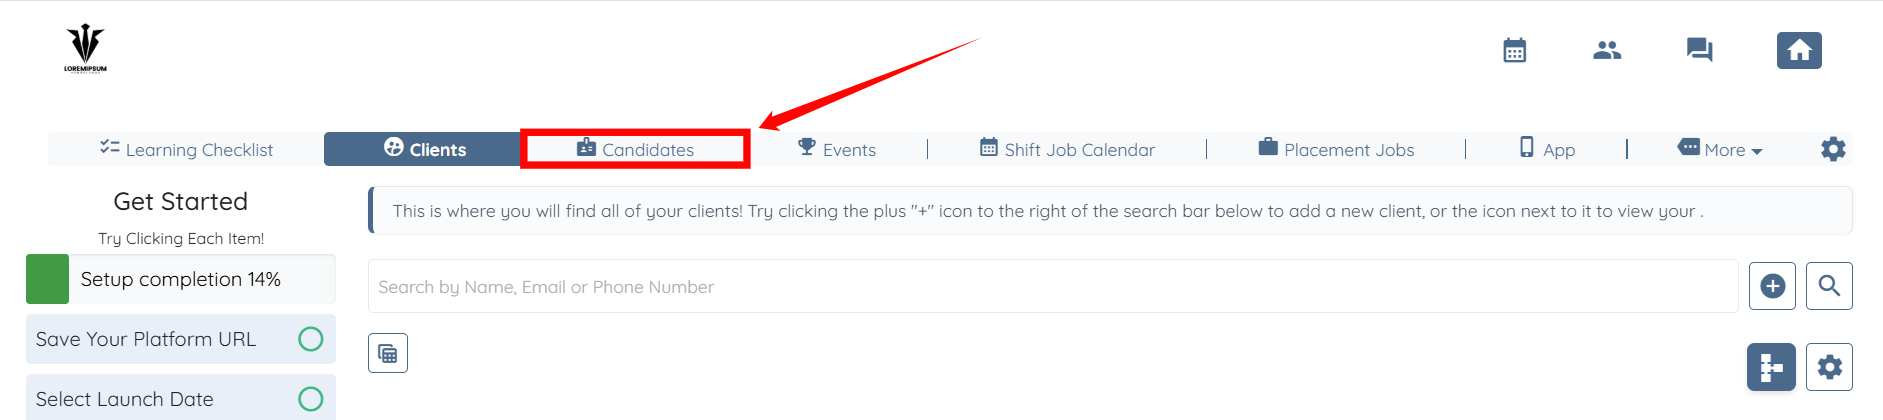
Step 1: On your agent dashboard, click Candidates in the navigation bar.
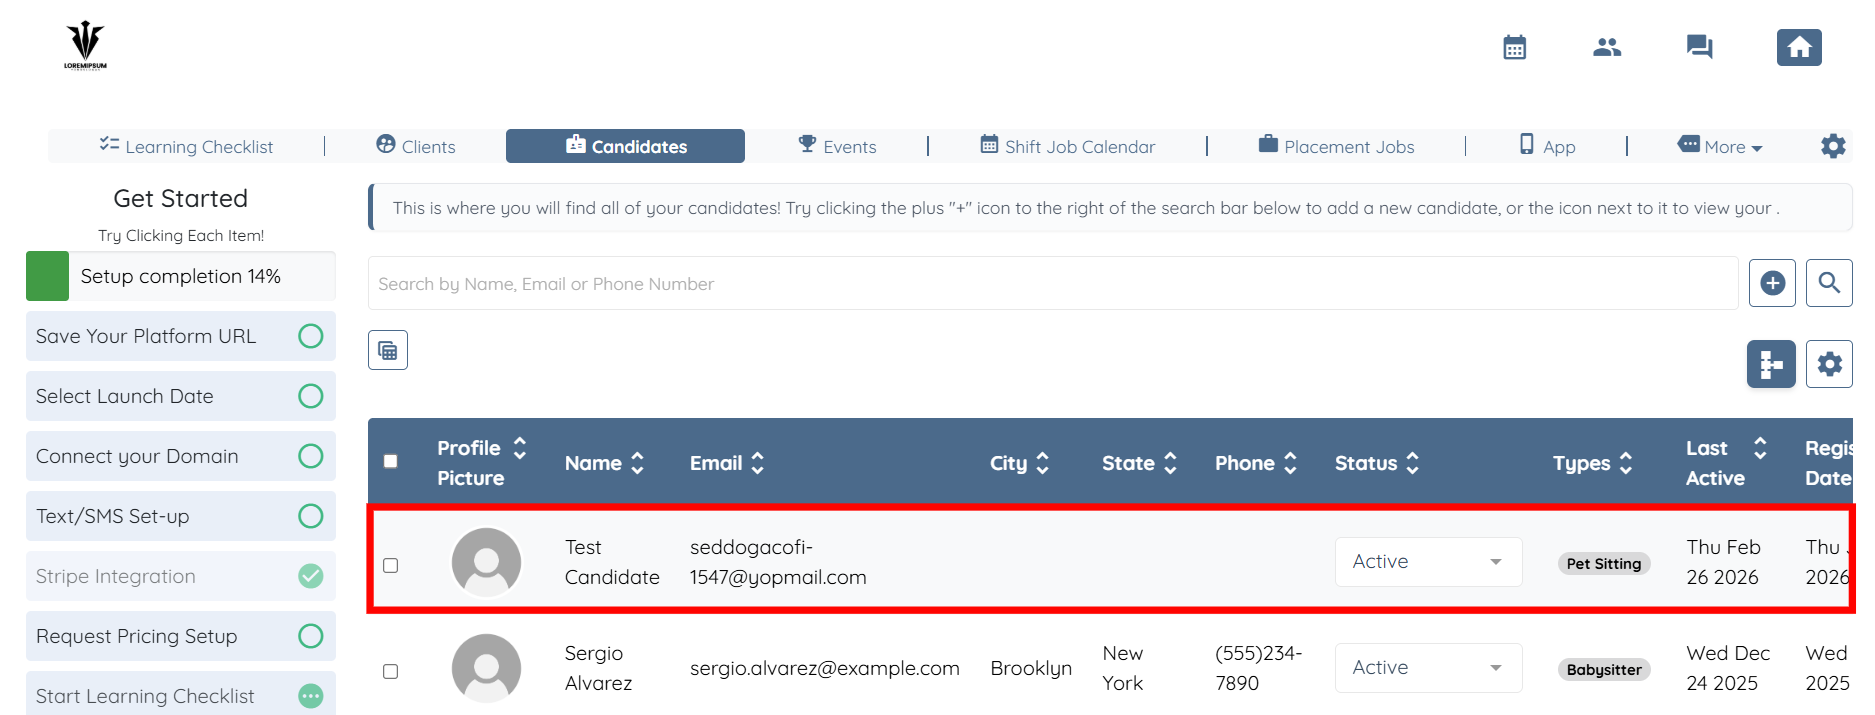
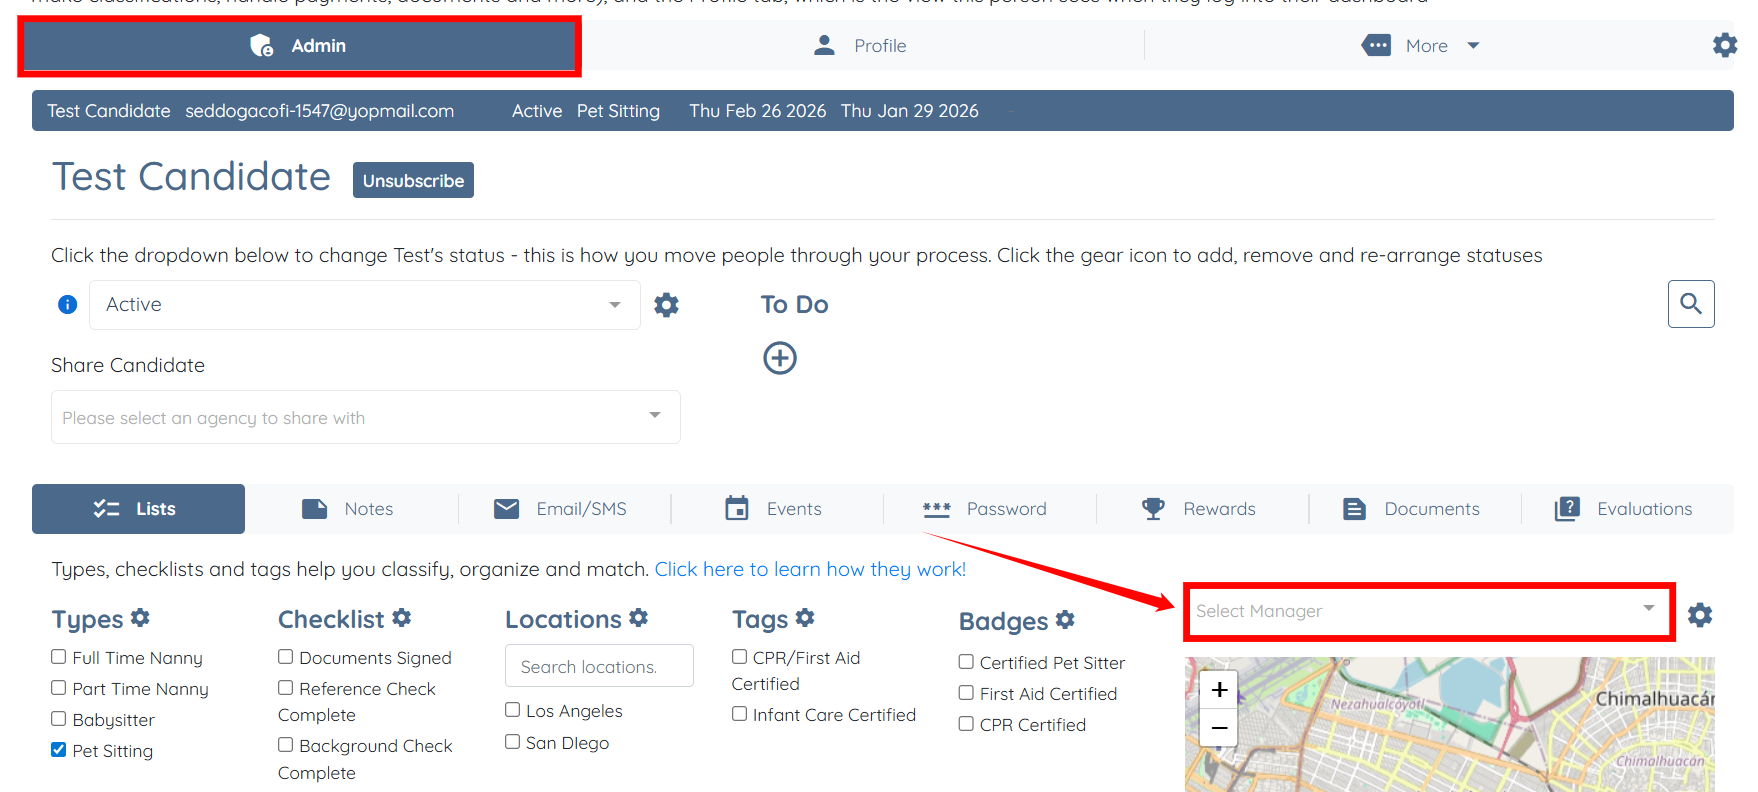
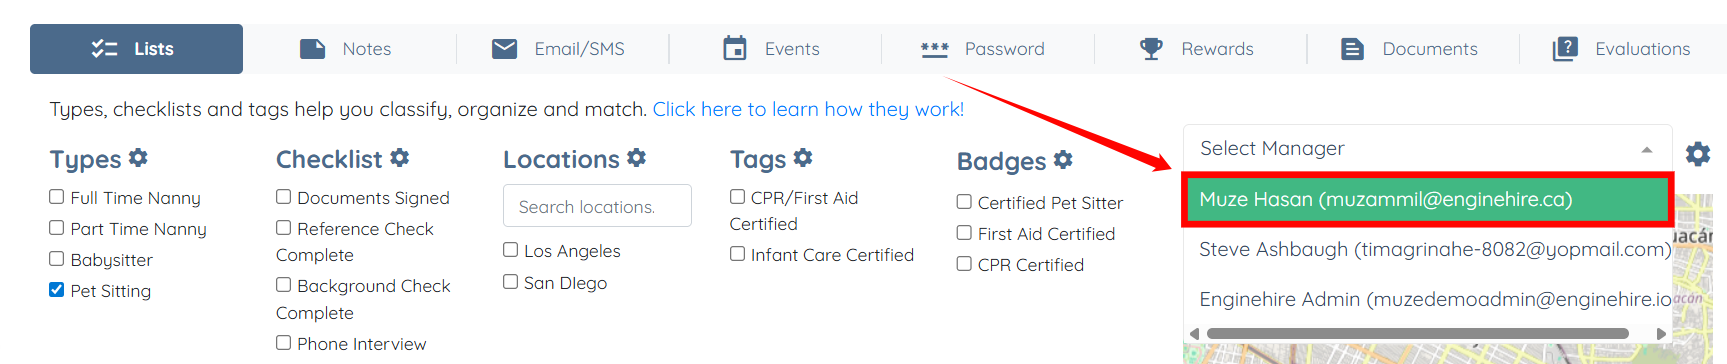
Step 2: Select the candidate to whom you want to assign a manager.Step 3: Under the Admin tab, click the box shown in the screenshot below.
Step 4: Choose the manager you want to assign.
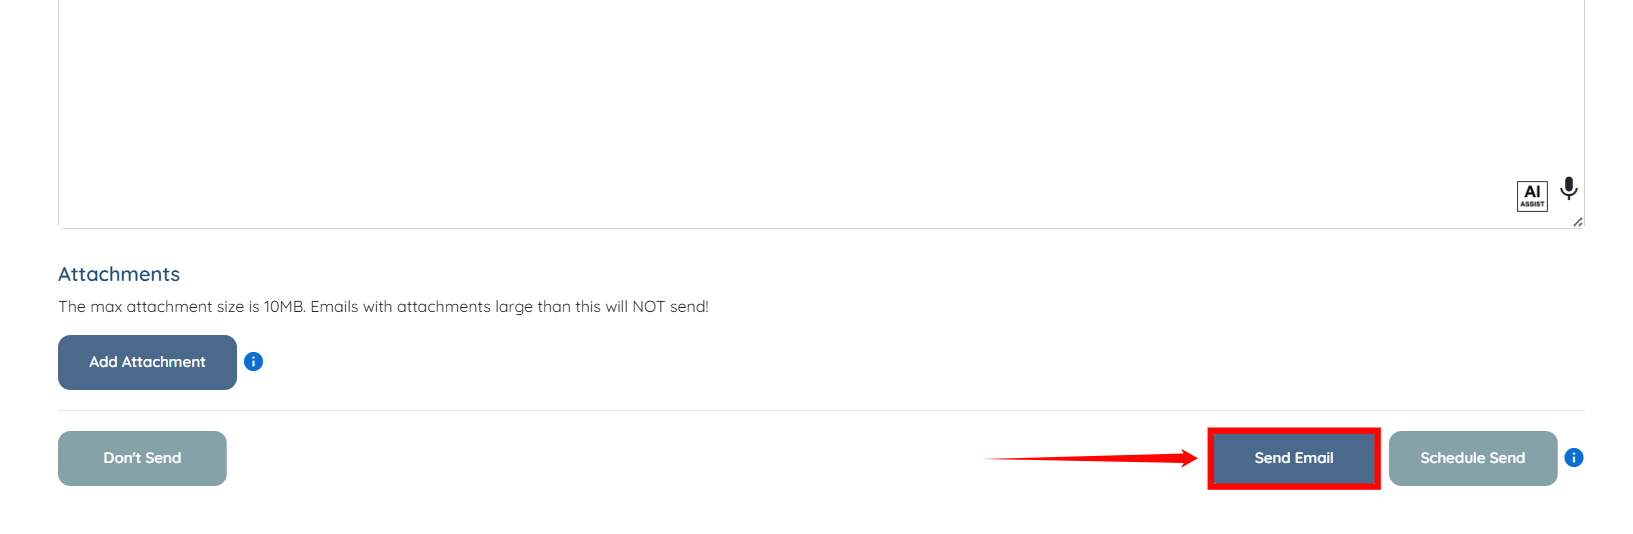
Step 5: (Optional) Scroll down and click the Send Email button to send the notification to the candidate via email.
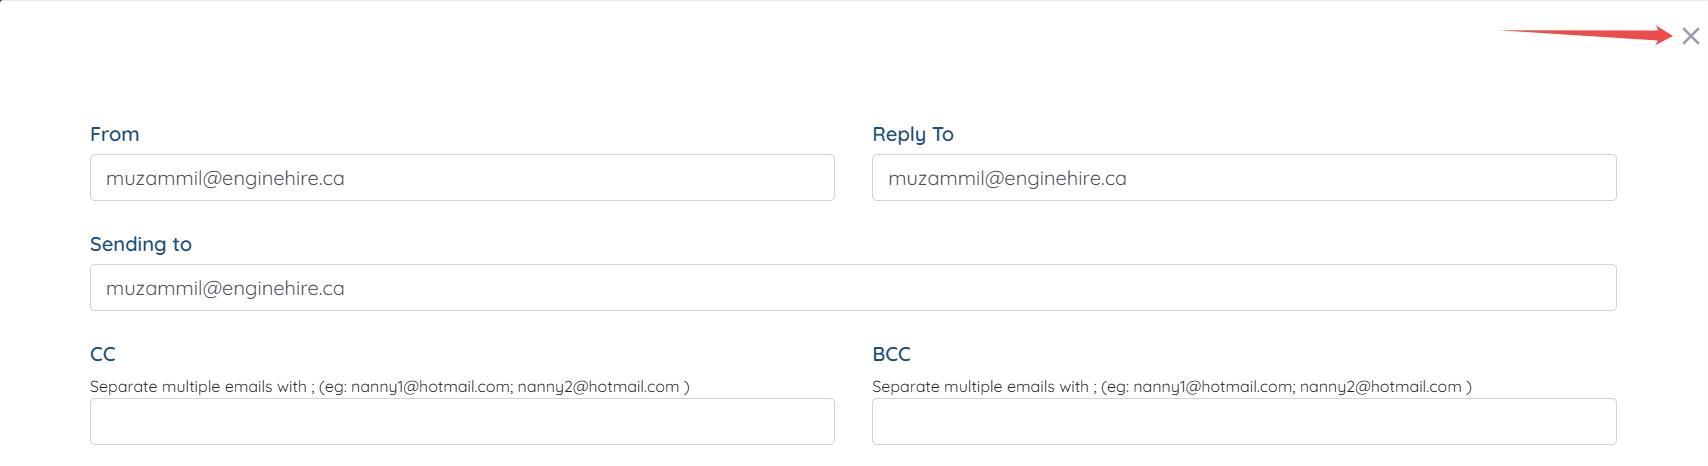
Step 6: Close the panel by clicking the cross icon located on the right-hand side.
The selected manager will now be assigned to the candidate. Future support chats will be routed accordingly.
Once chat is enabled, candidates and clients can start conversations directly from the app.
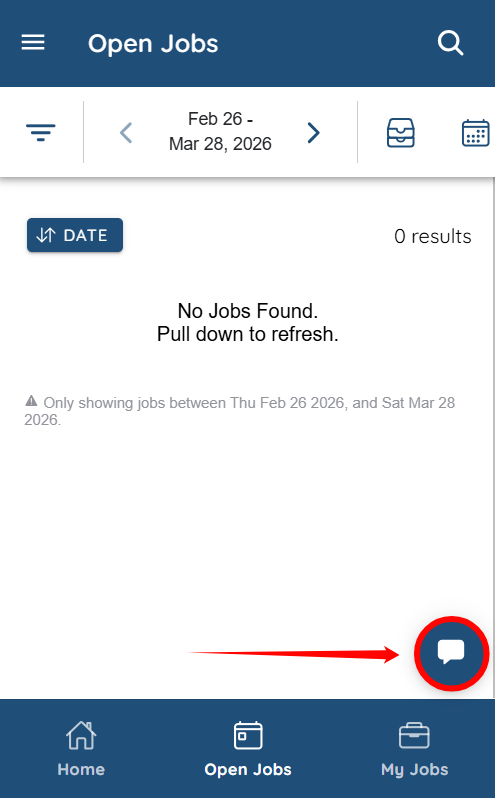
Step 1: Log in to your app and click the chat icon located at the bottom-right corner of the screen.
Step 2: Click the green icon to initiate a conversation.
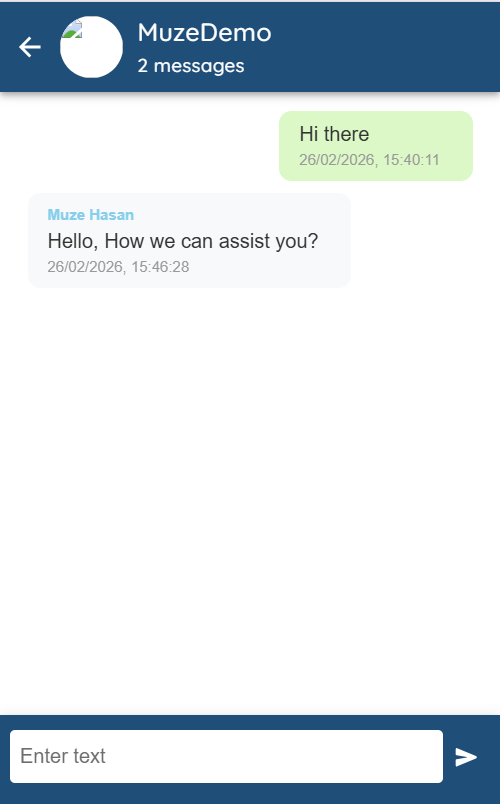
Step 3: Type your message and press Enter to send it.
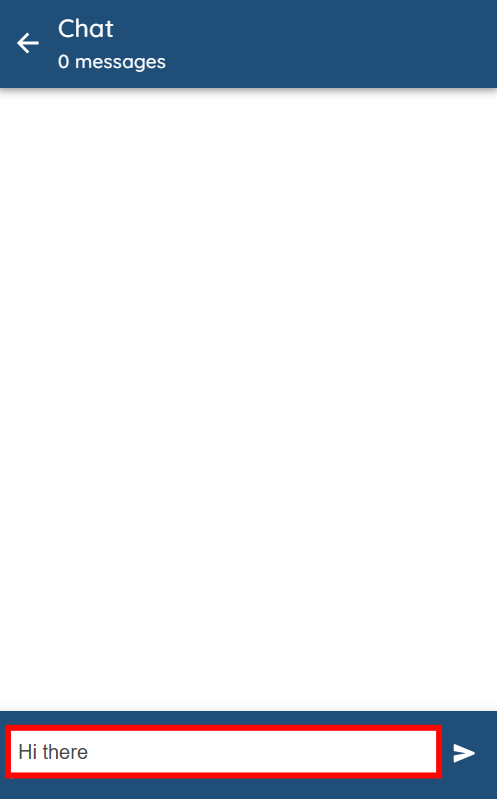
The message will be delivered instantly to the agency.
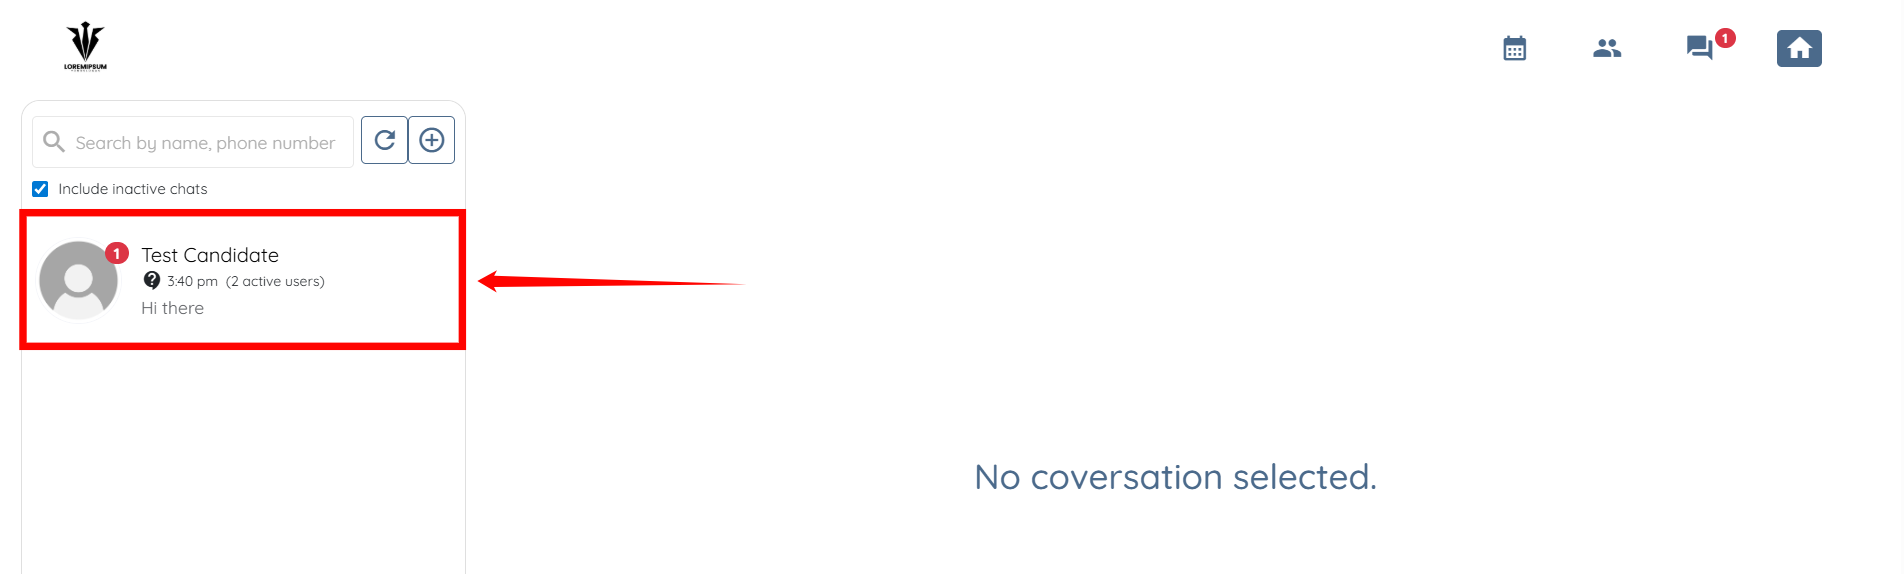
Step 4: The agency or admin can check for any messages by clicking the messages icon located at the top right-hand corner of the screen.
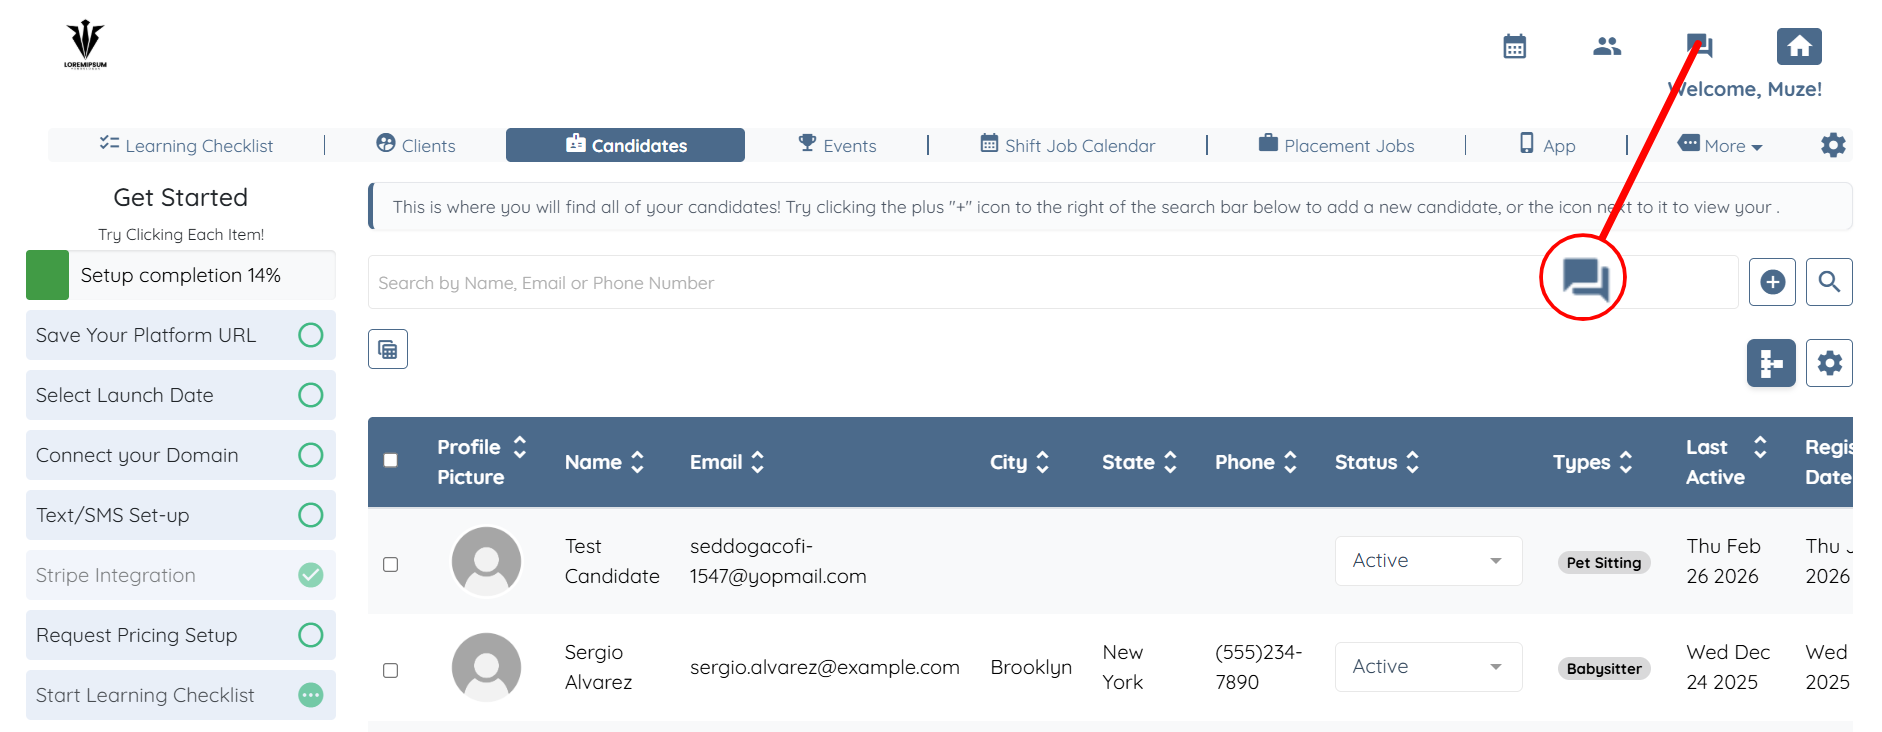
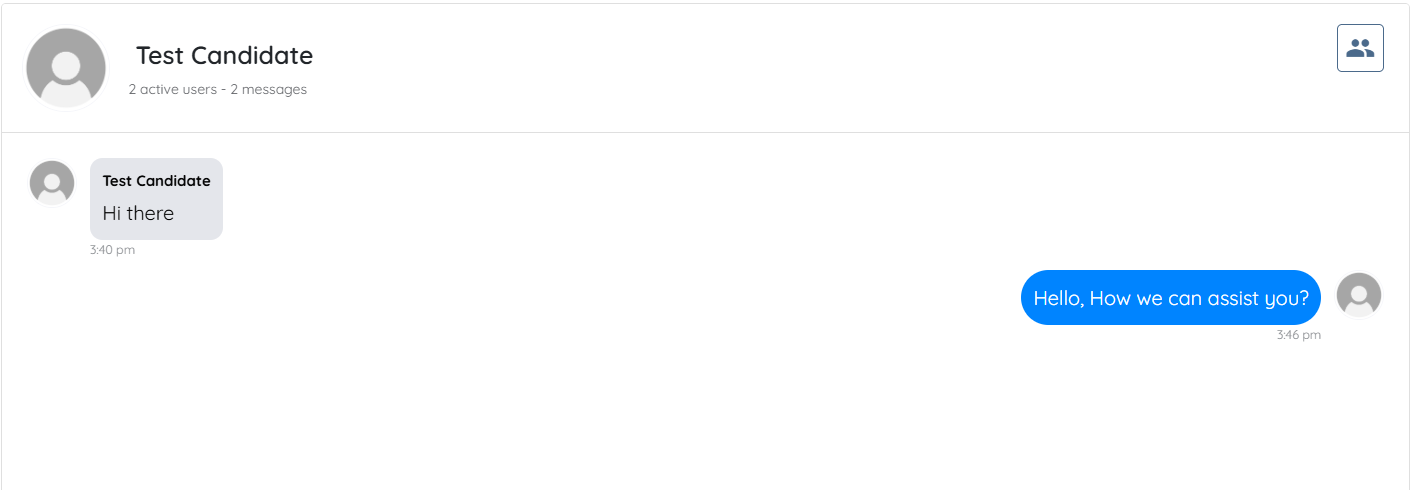
Step 5: Click the active chat to open it and view the message.
Step 6: Type your message and press Enter to reply to the conversation.
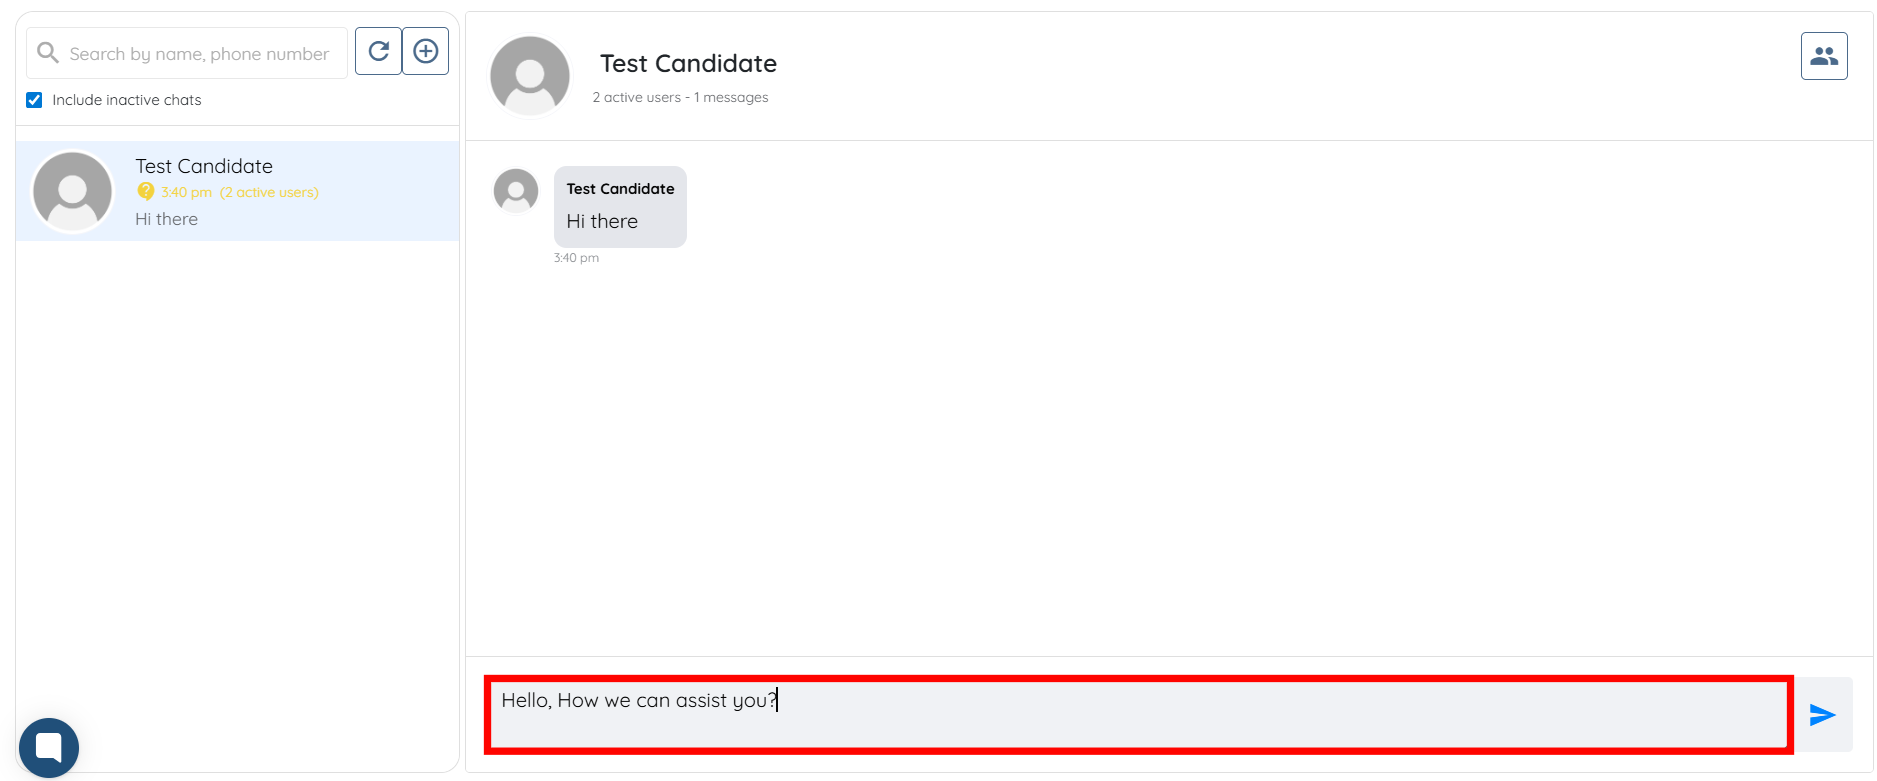
The message will be sent successfully in real time.
And the sender successfully receives it in the app.
You can initiate either private chats or group conversations depending on your communication needs. This allows direct one-to-one messaging or discussions involving multiple participants.
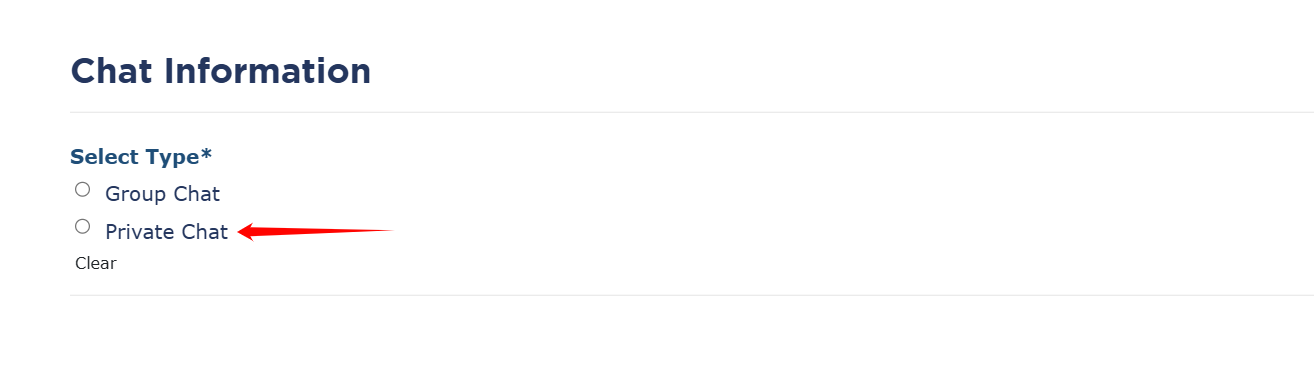
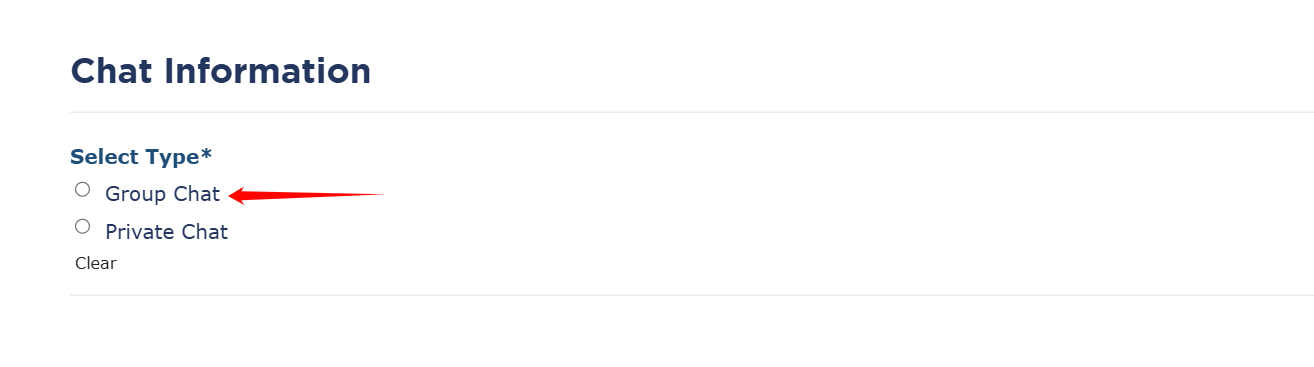
Step 1: In the Messages section, click the + icon to open the Chat Information panel.

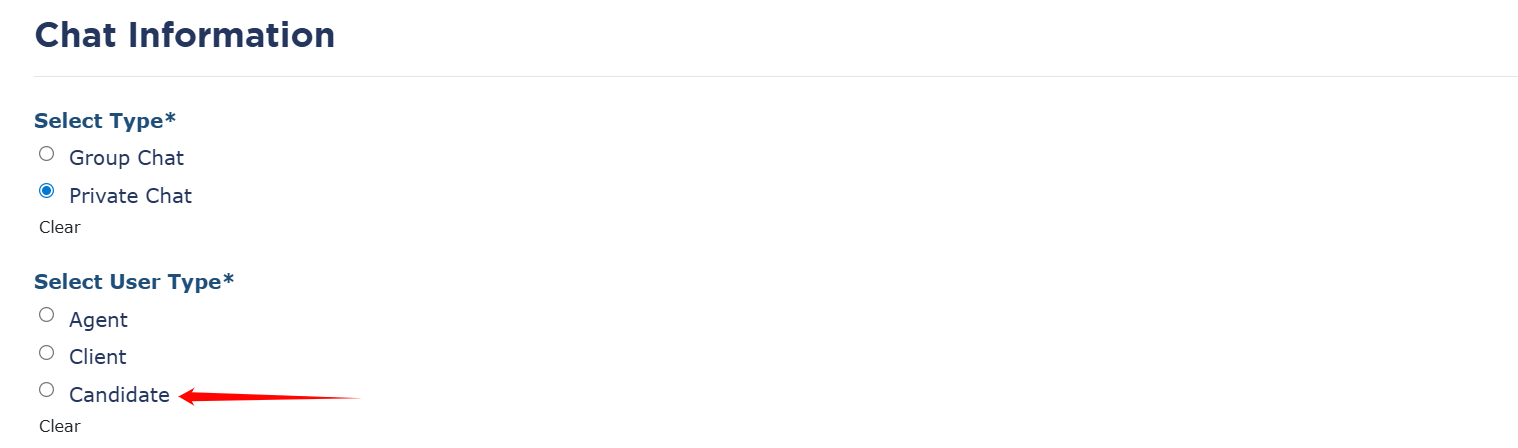
Step 2: Click the Private Chat radio button.
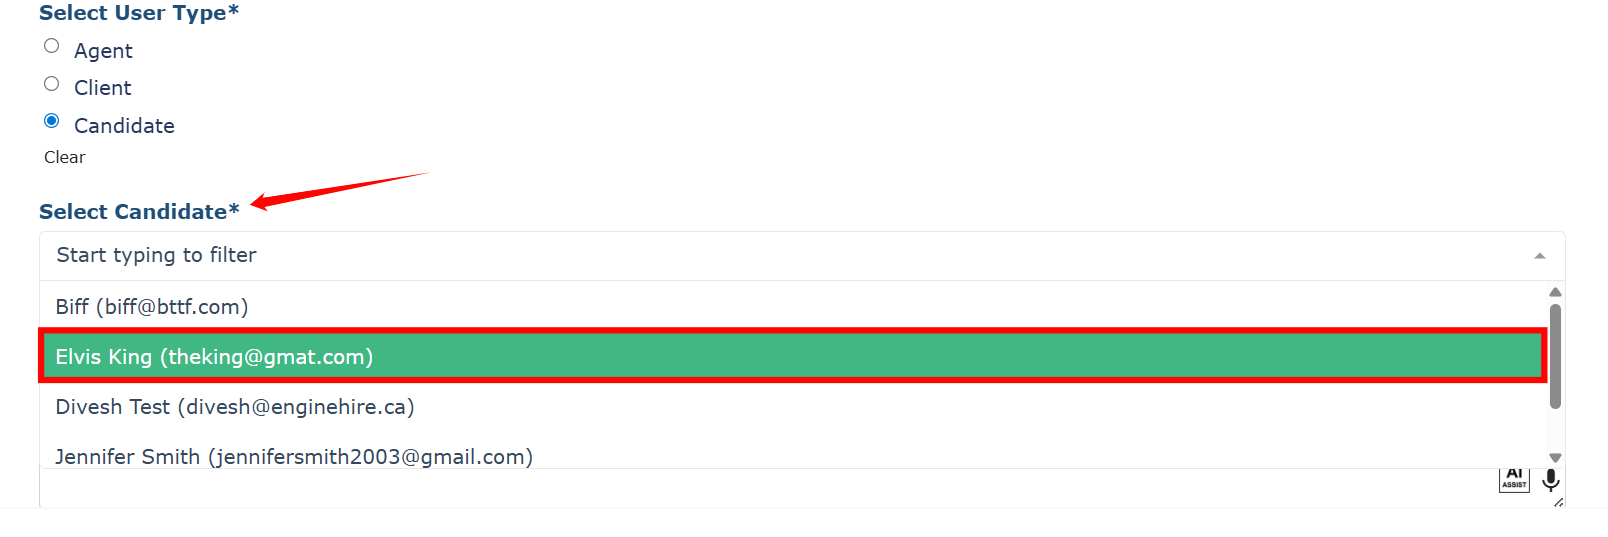
Step 3: Select the type of user you want to start a private chat with.
Step 4: Select the user from the dropdown list.
Step 5: Type the message you want to send, and then click the Send button.
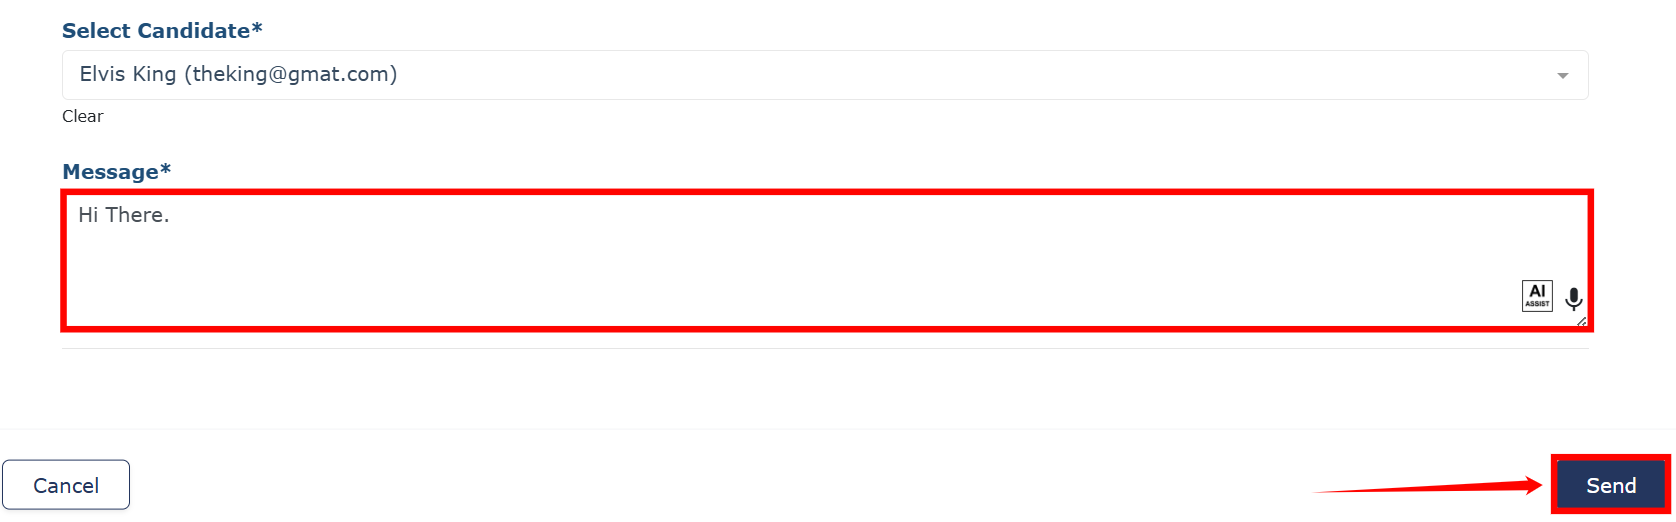
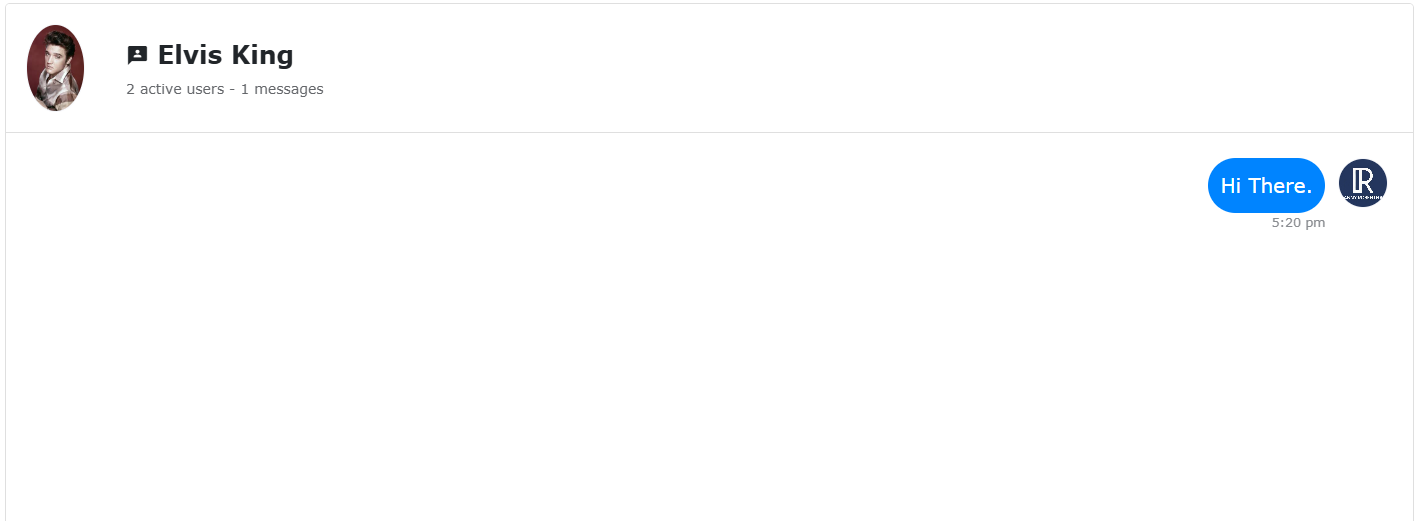
The message will be sent successfully.
Step 1: Follow the same Step 1 as outlined in the Private Chat section.
Step 2: Click the Group Chat radio button.
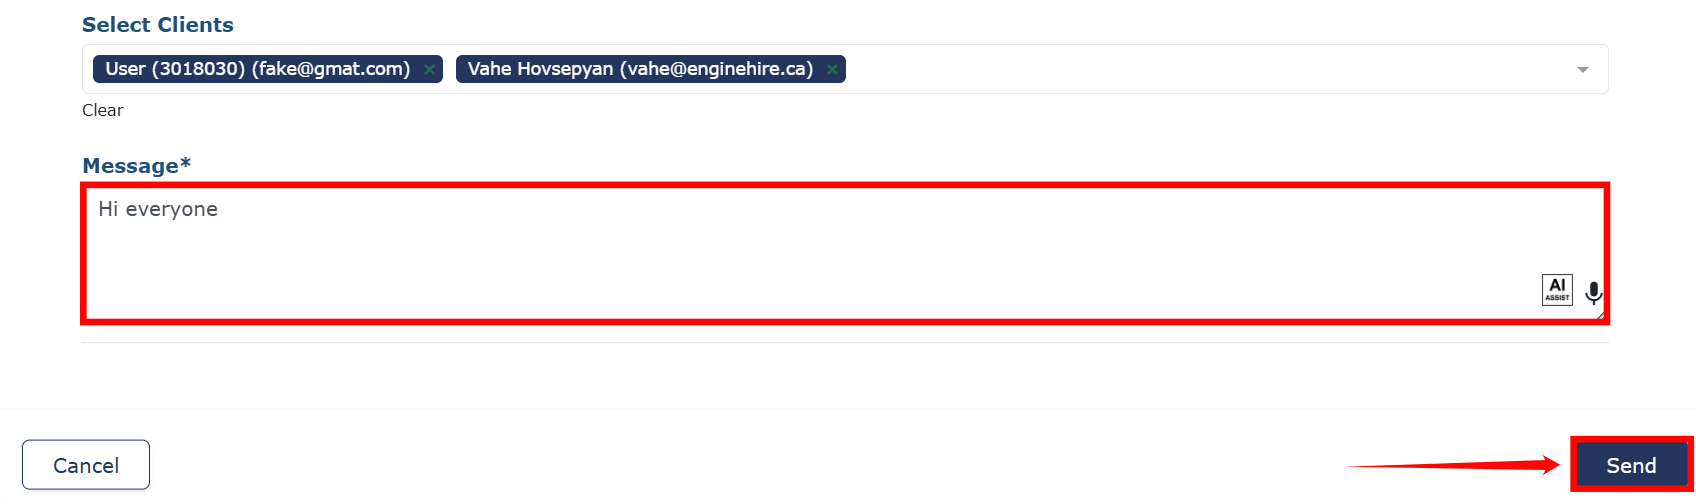
Step 3: Enter the chat name and select the agents, candidates, and clients you want to add to your group chat.

Step 4: Type the message and click the Send button.
Your group chat will be created successfully.