Let’s get started 🚀
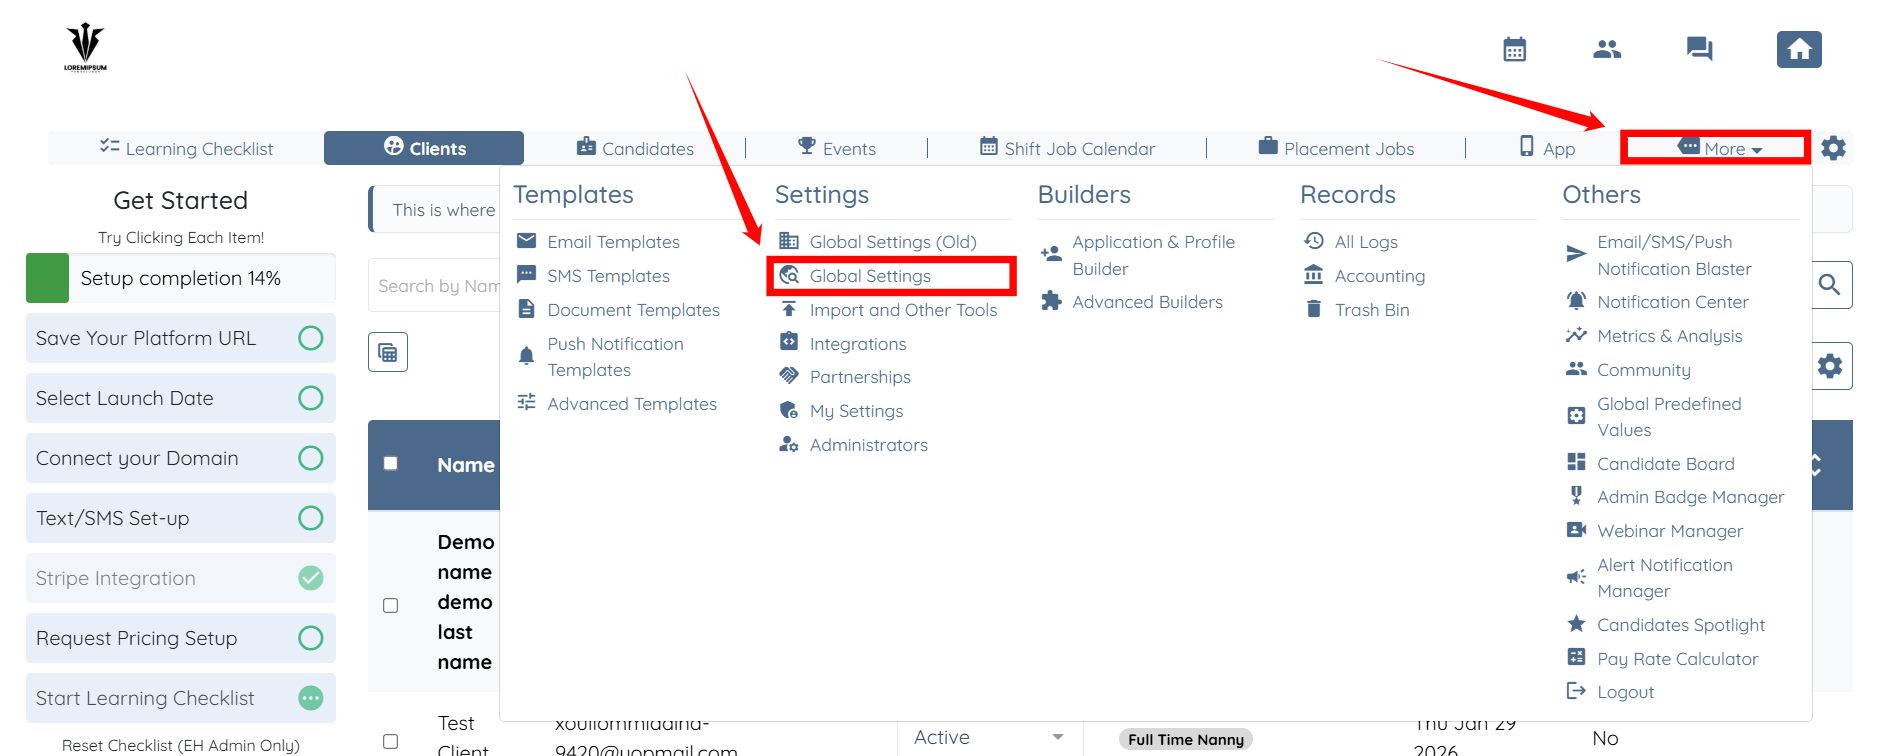
Step 1: Log in to your agent dashboard and click More > Global Settings, as shown in the screenshot below.
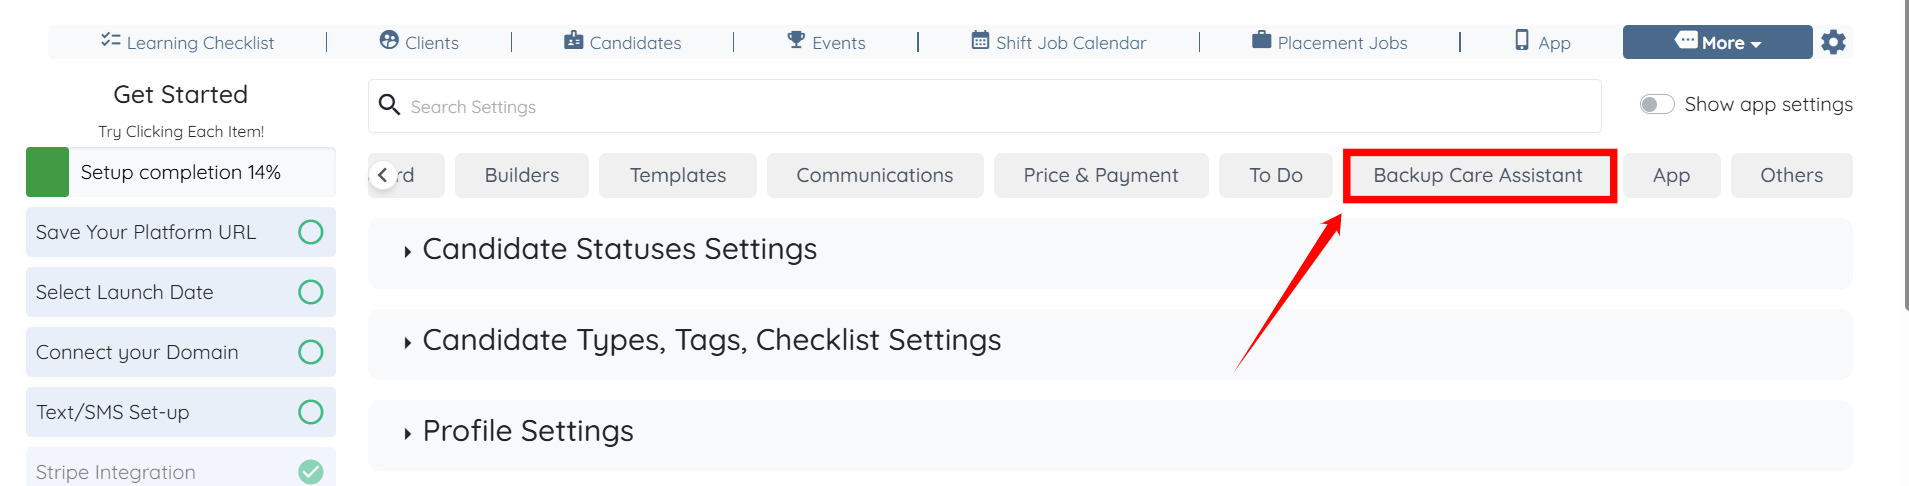
Step 2: Scroll the tabs to the left and click the Backup Care Assistant tab.
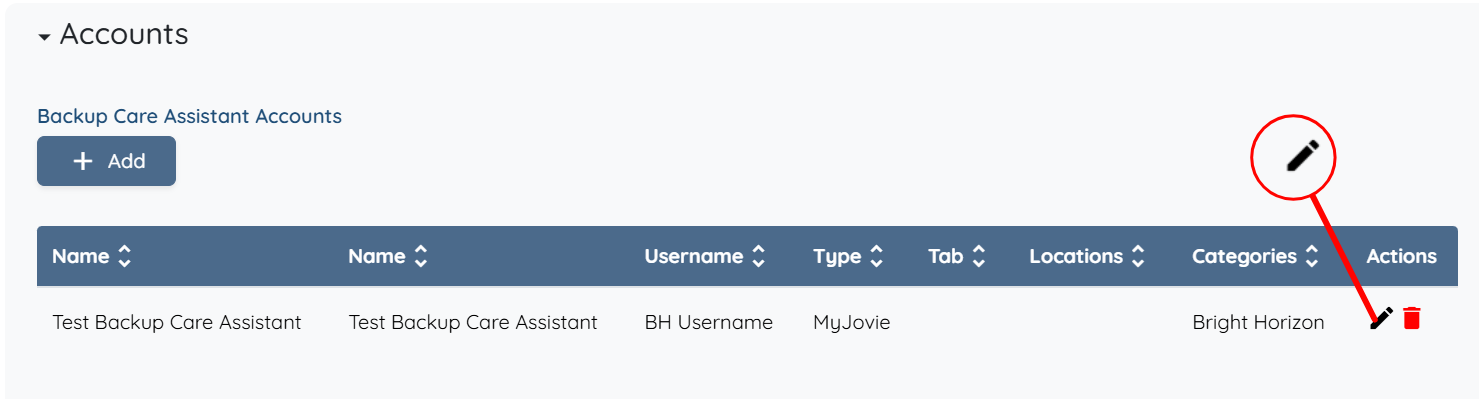
Step 3: Click the Accounts option to view the connected MyJovie accounts.

Step 4: Click the pencil icon under the Actions column for the account where you want to configure the location mapping.
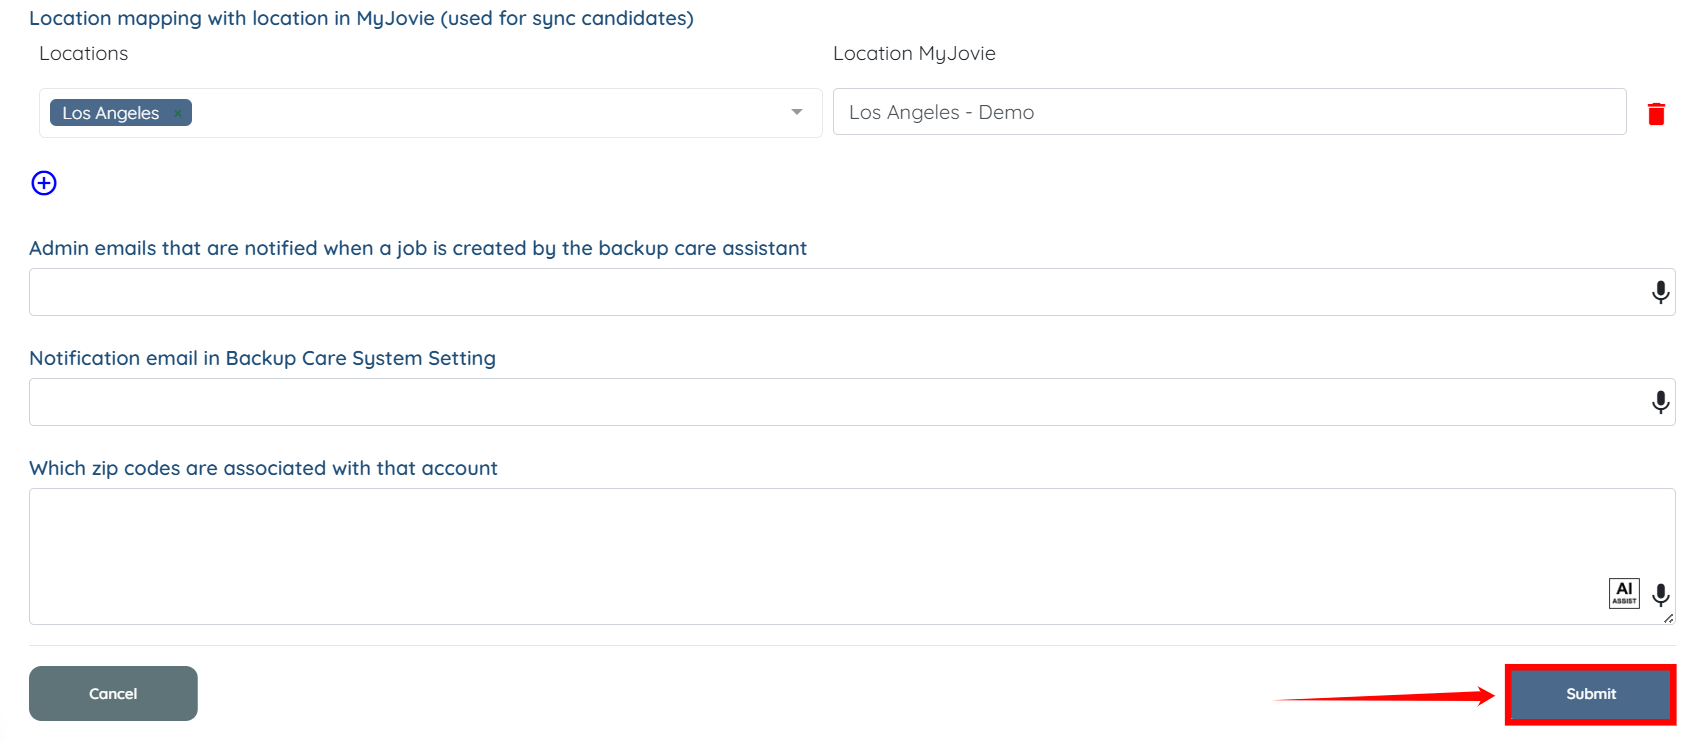
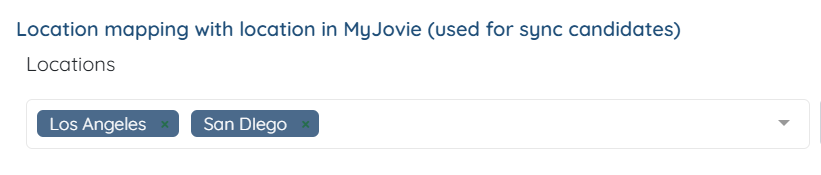
Step 5: Scroll to the Location mapping with location in MyJovie (used for sync candidates) option and click on the plus icon to add a new mapping.

Step 6: From the dropdown list, select the Enginehire location that you want to map.


You can map more than one Enginehire location to a single MyJovie location if needed.
Step 7: Enter the MyJovie location that want to map to the selected Enginehire location.

Step 8: Click the Submit button to save the mapping configuration.