Let’s get started 🚀
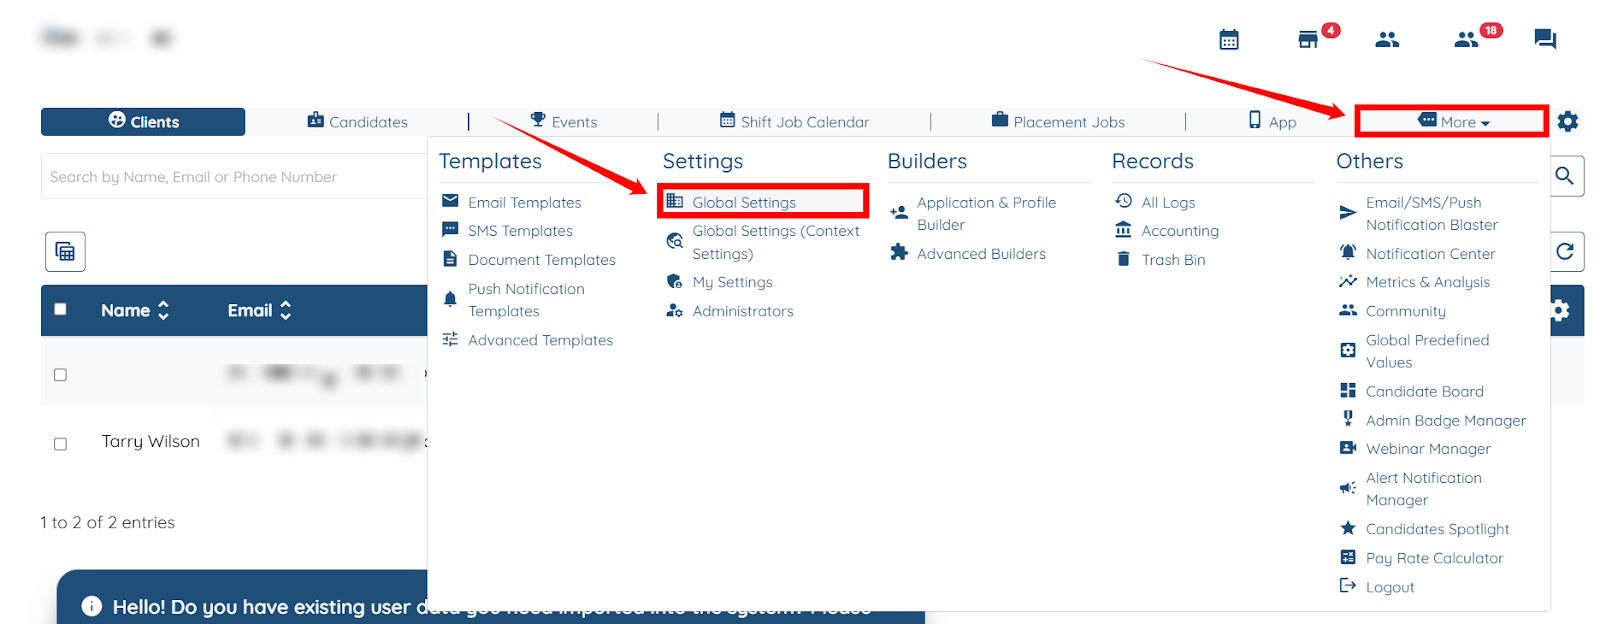
Step 1: Log in to your agent dashboard, then navigate to More > Global Settings, as shown in the screenshot below.
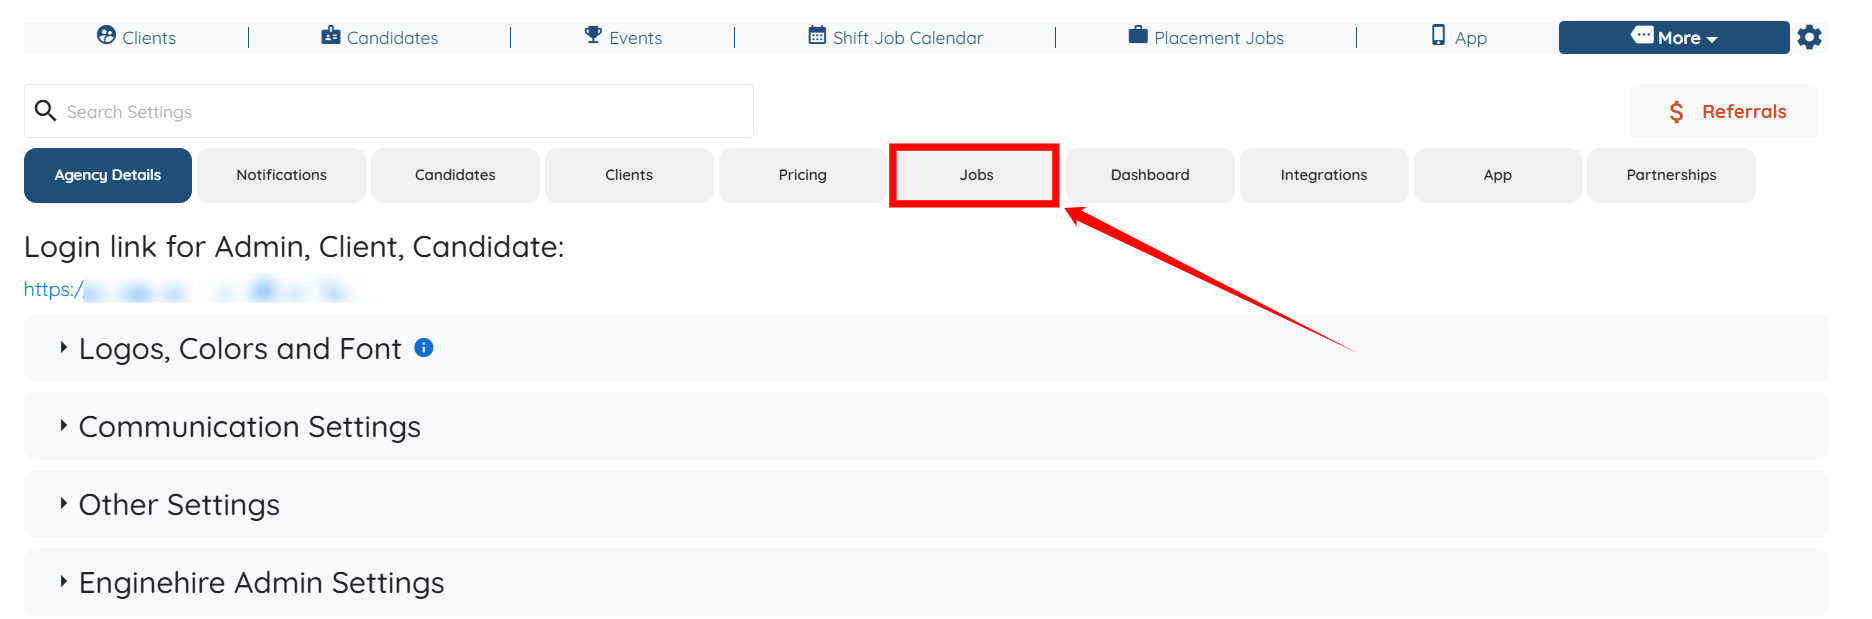
Step 2: Click the Jobs tab in the list of all available tabs.
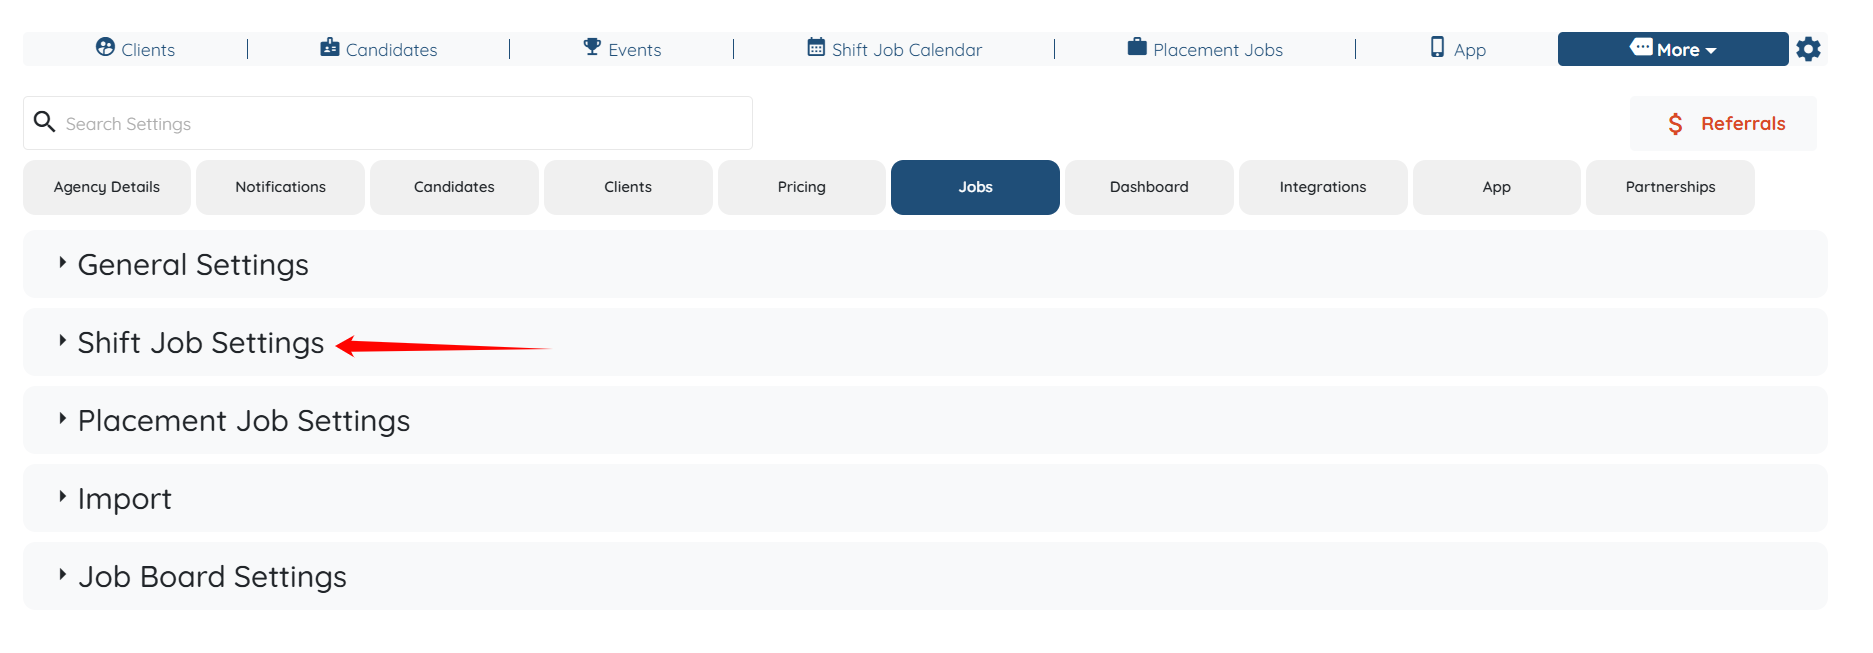
Step 3: Click the Shift Job Settings option to expand its details.
Step 4: Click the Miscellaneous tab from the list of all available tabs.

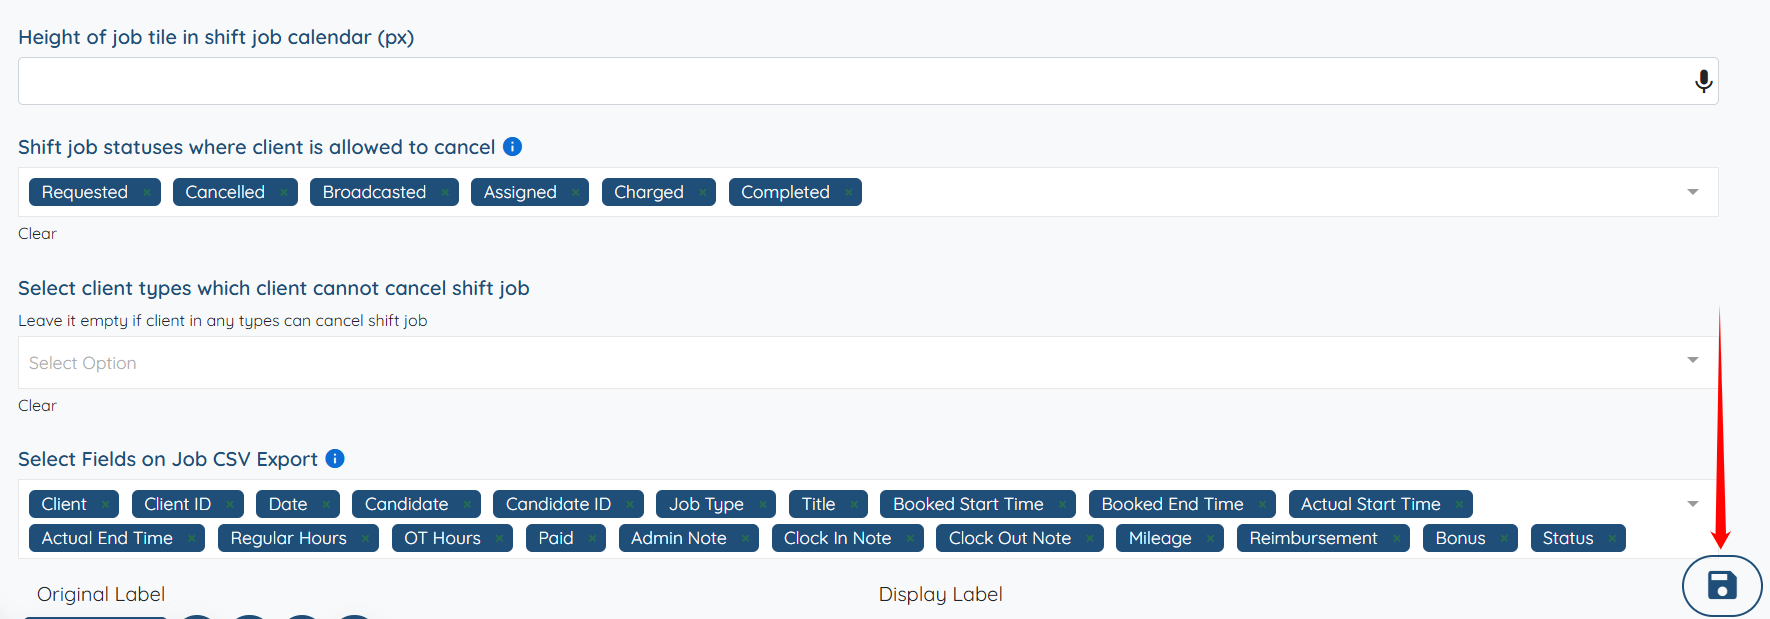
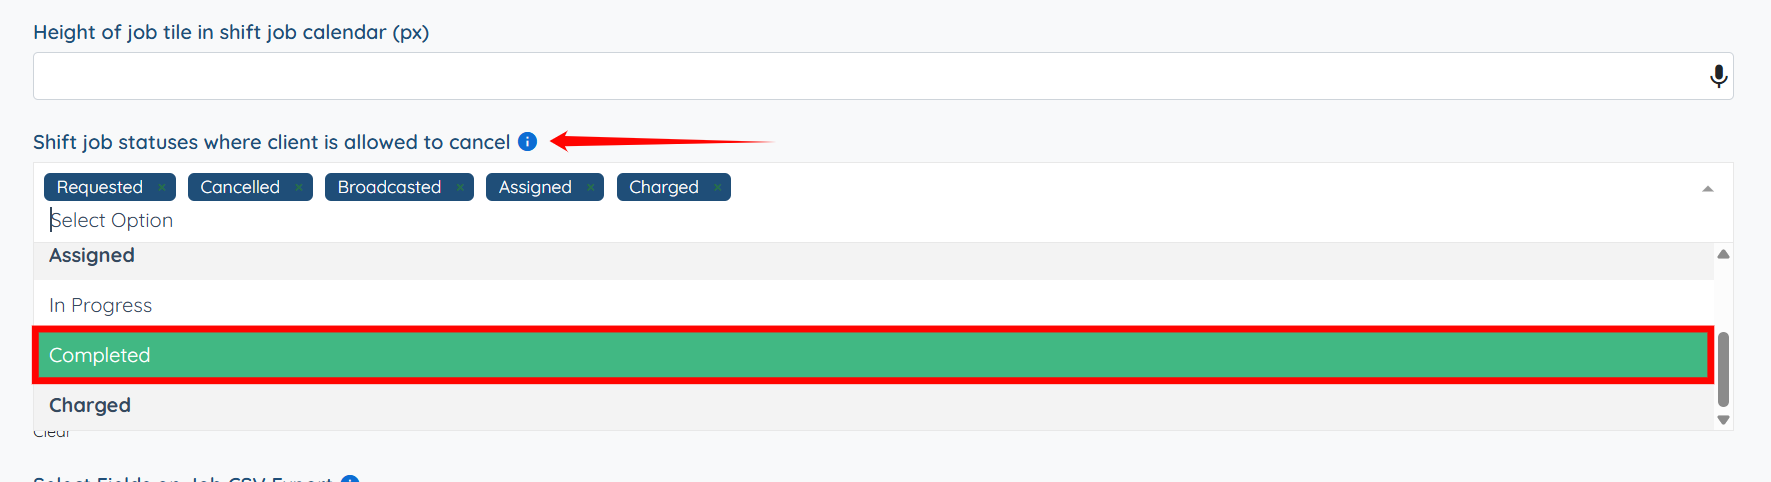
Step 5: Scroll down to the “Shift job statuses where client is allowed to cancel” field and select the job status that allows the client to cancel the job.
Step 6: Click the Save icon to confirm the changes.