Let’s get started 🚀
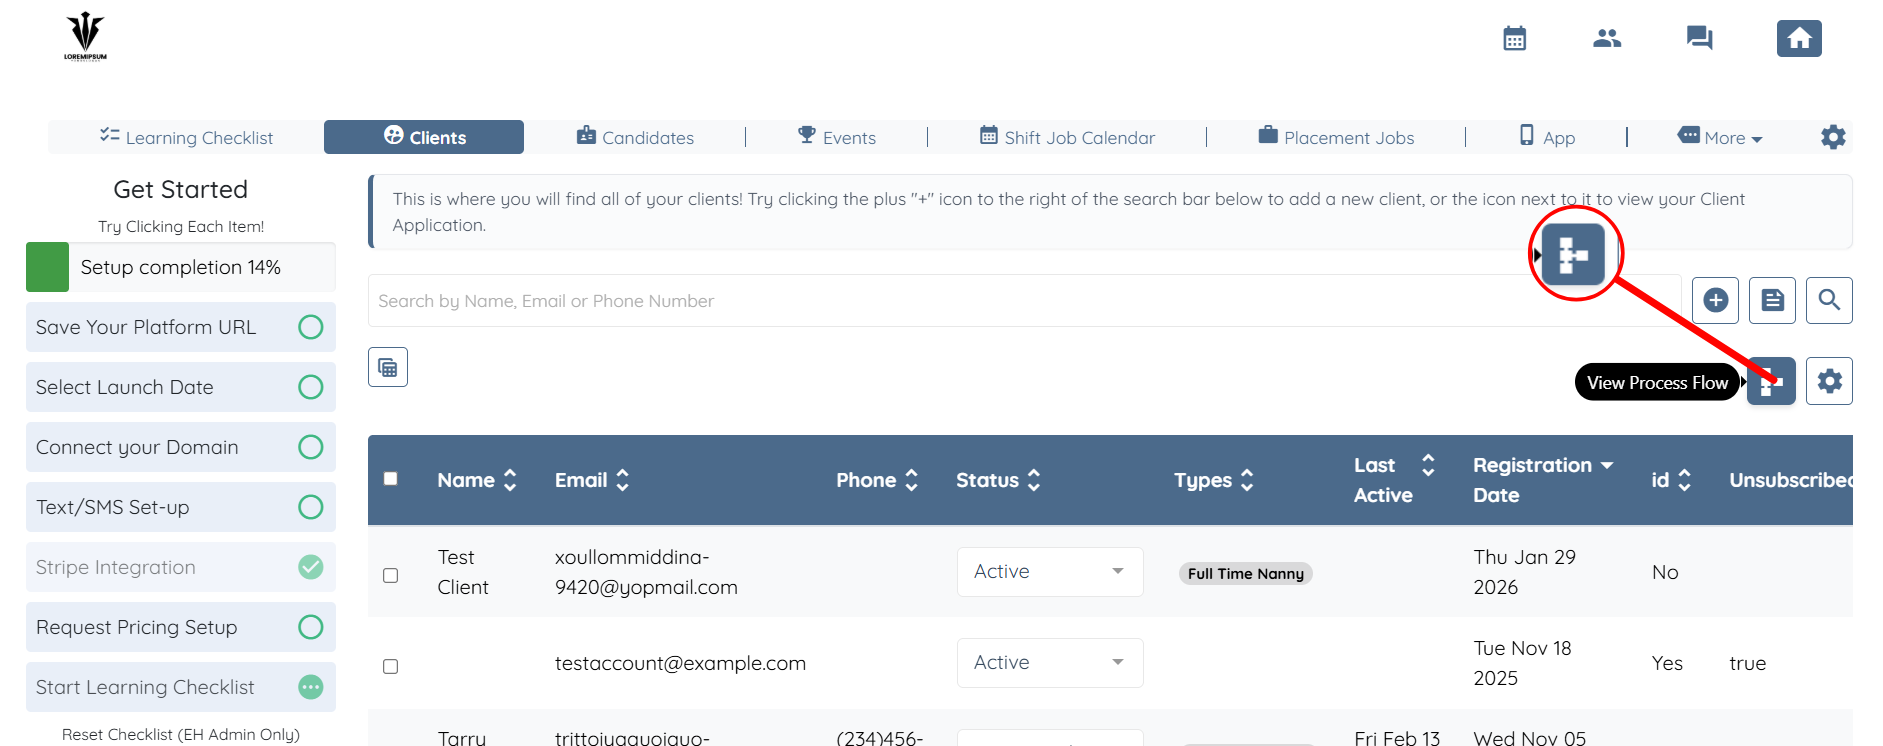
Step 1: Log in to your agent dashboard and click the View Process Flow button, as shown in the screenshot below.
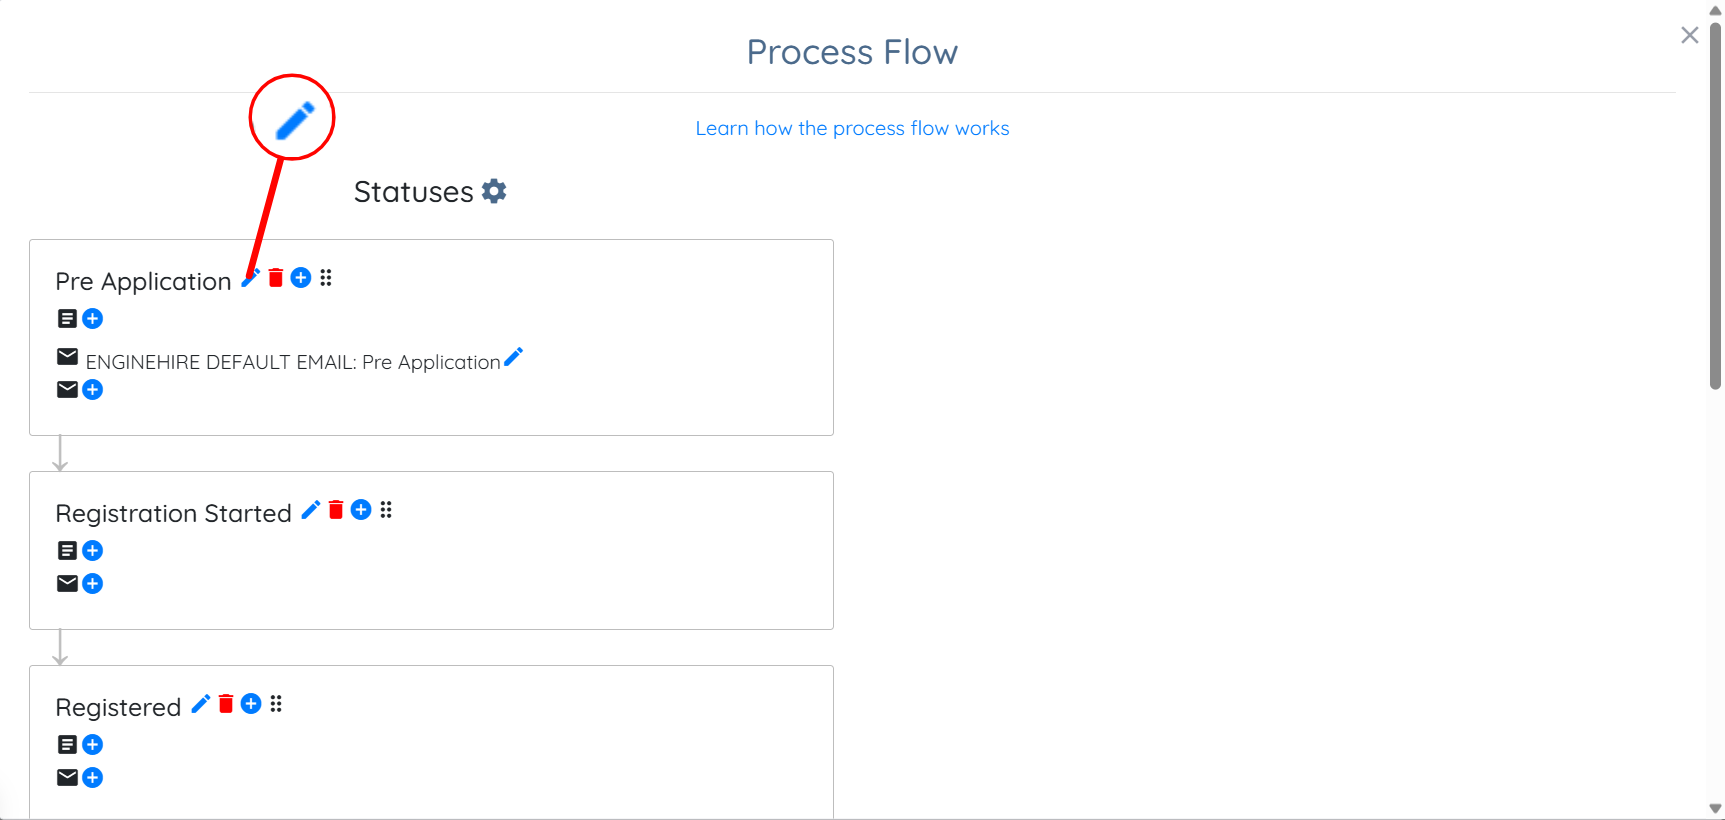
Step 2: You can edit any status name as required by clicking the pencil icon next to the status.
Step 3: You can also click the + icon to add an existing document template or create a new one to trigger it whenever a status change occurs, as needed.
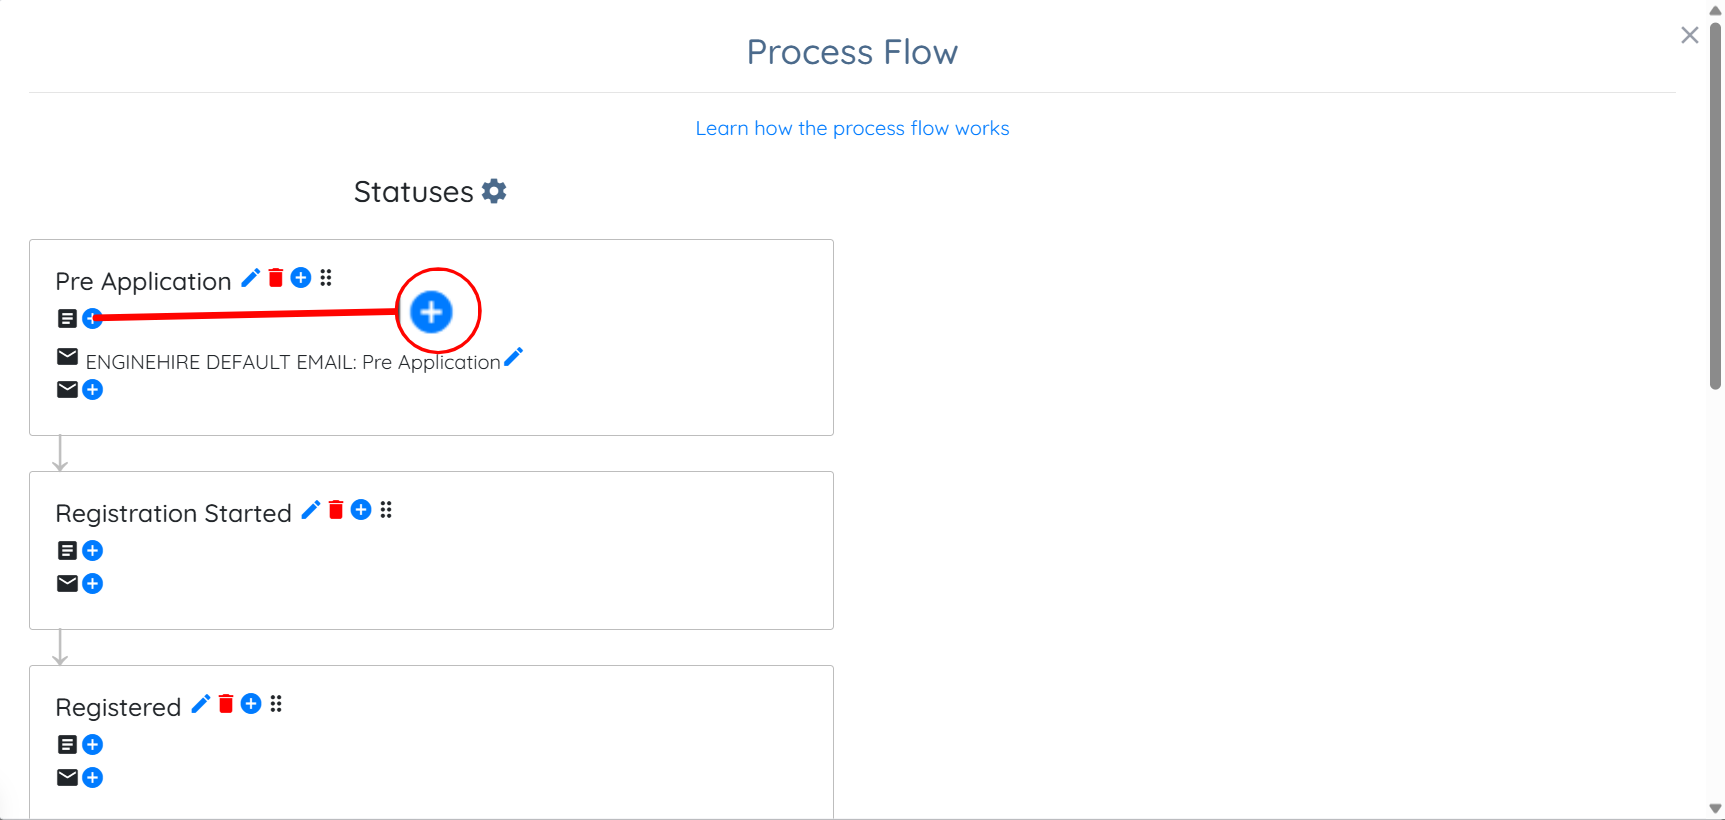
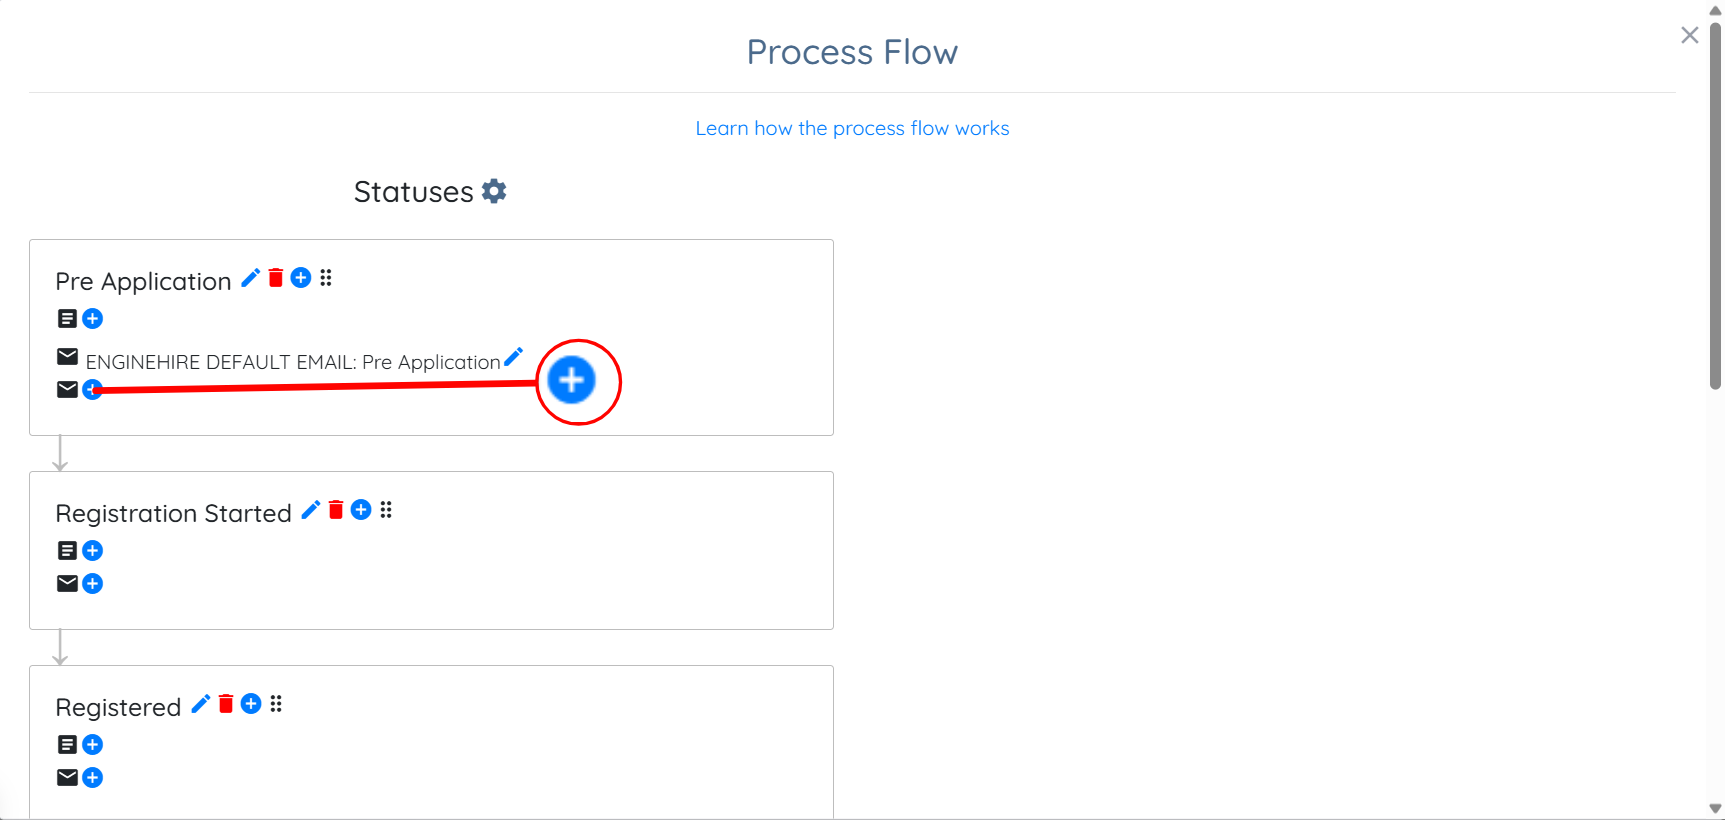
Similarly, you can add an existing email template or create a new one to trigger at any status change, as required, by clicking the + icon, as shown in the screenshot below.
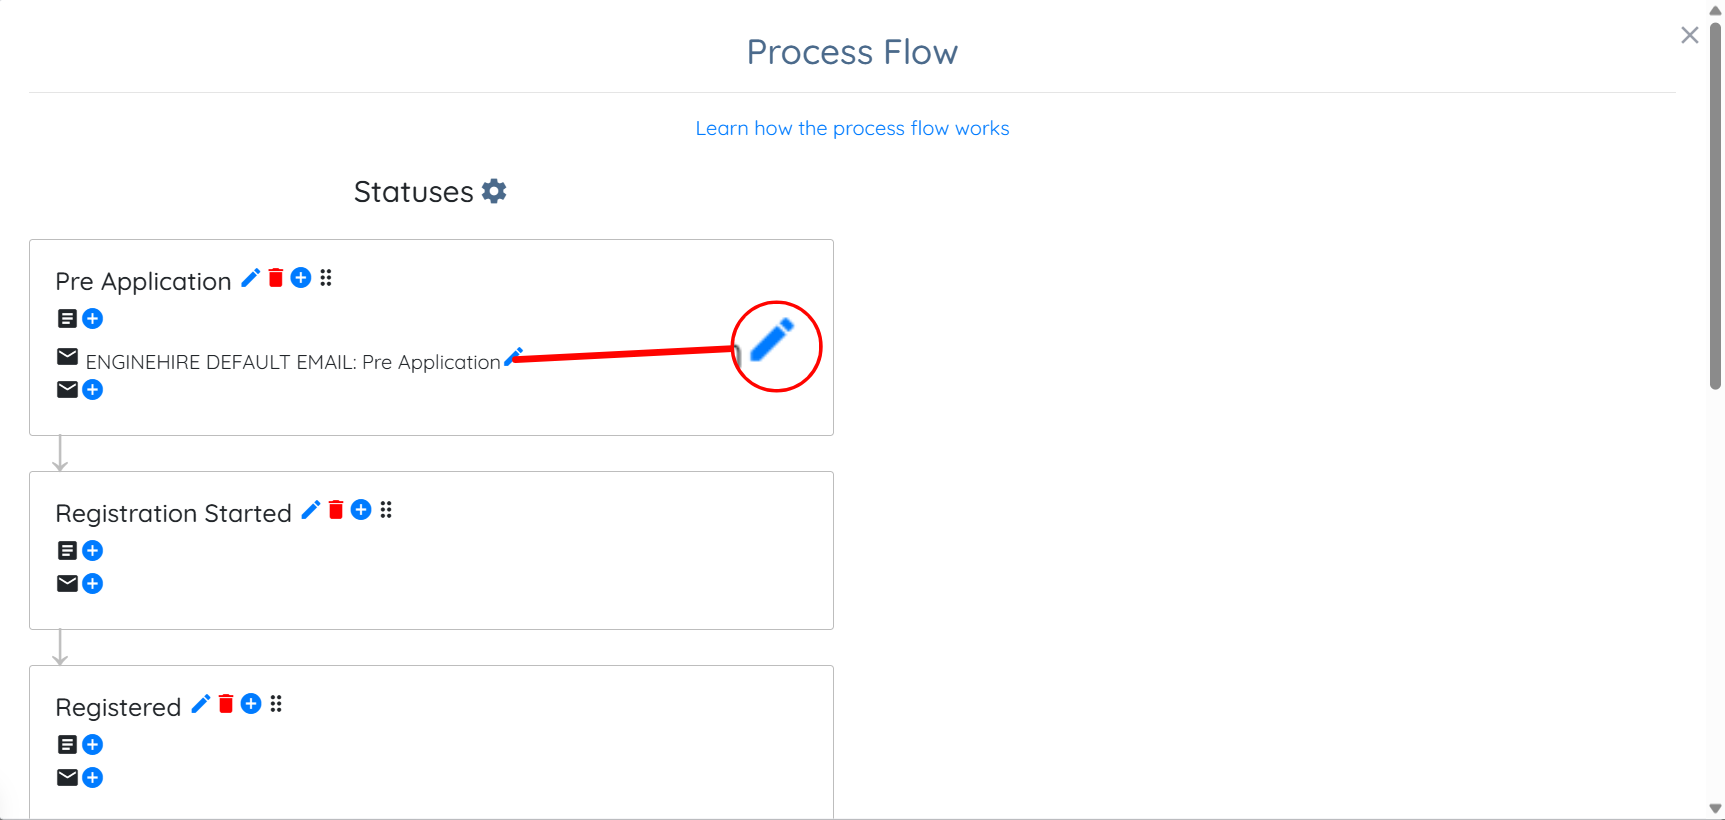
Step 4: You can edit the existing document or email template, if required, by clicking the pencil icon next to it.
Step 5: You can also use the drag-and-drop feature to reorder the statuses as needed.