Let’s get started 🚀
General type sections contain a single set of fields and do not allow adding multiple entries, so the requirement is defined by the fields within the section.
To ensure the section is required, mark the necessary fields as required based on the information you want users to provide.
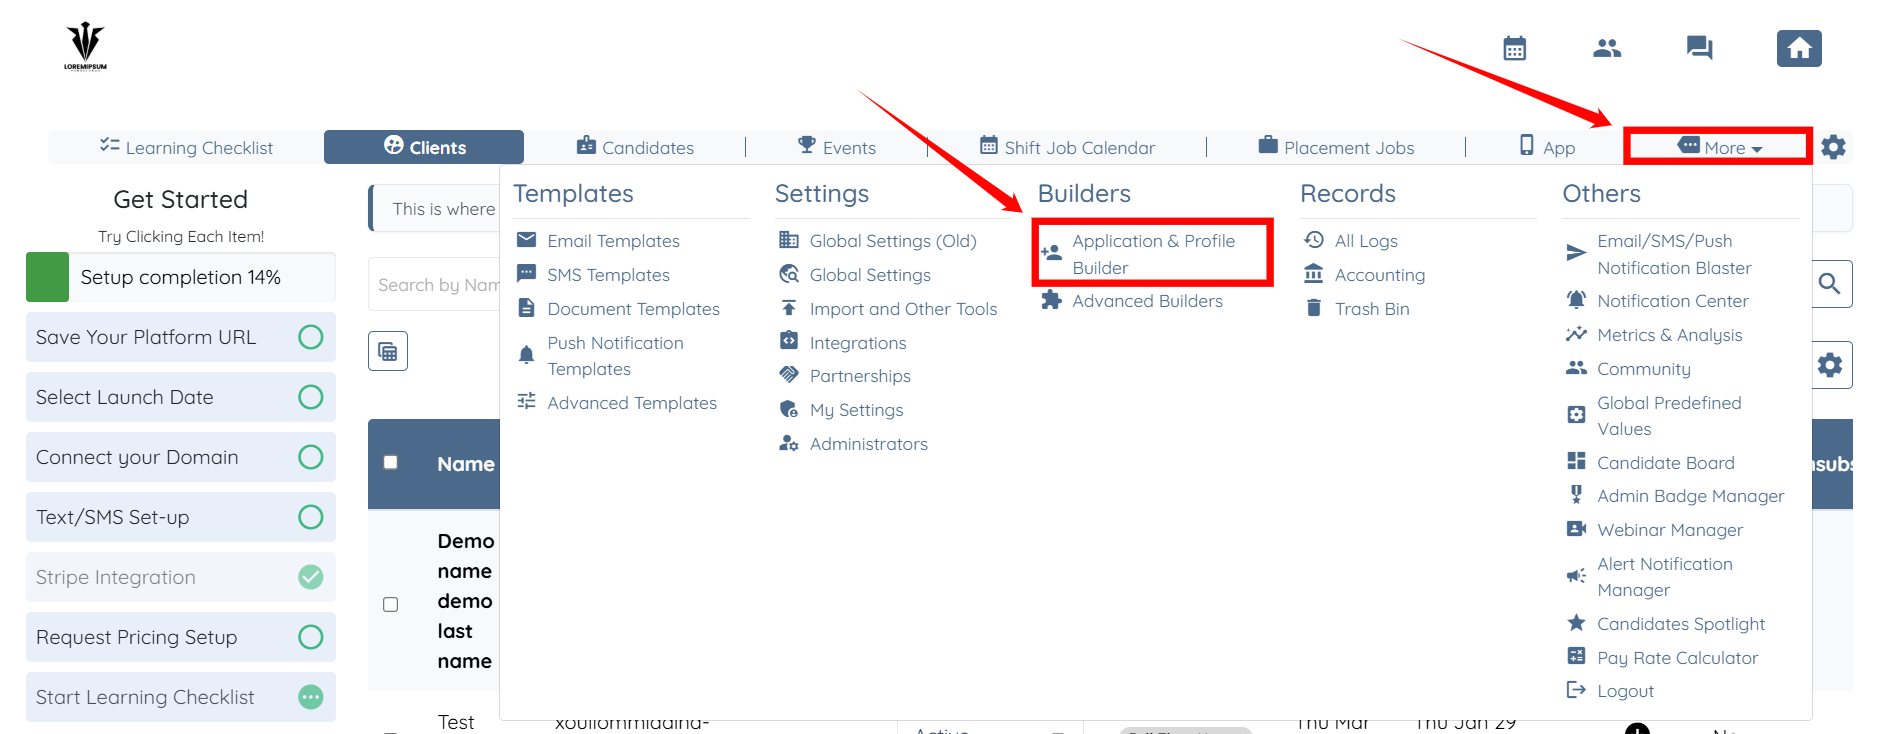
Step 1: Log in to your agent dashboard and click More > Application & Profile Builder as shown in the screenshot below.
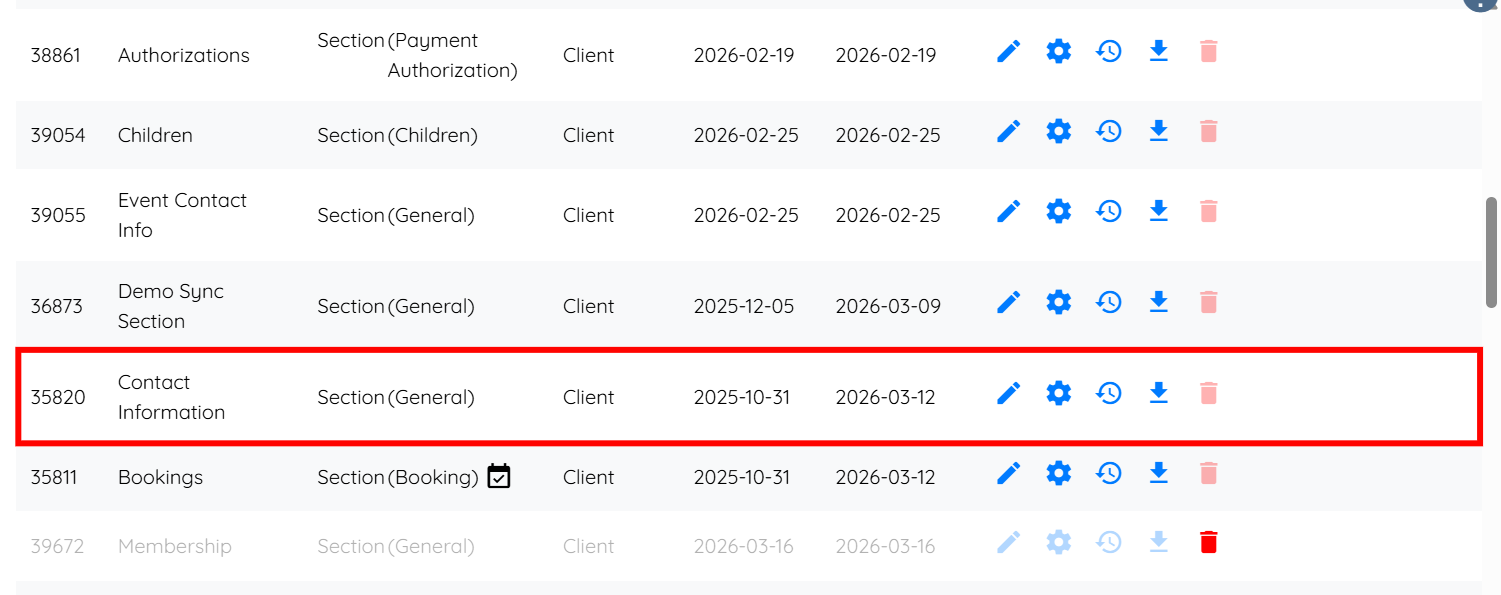
Step 2: Locate the section used in the profile and application form, then click it to open.

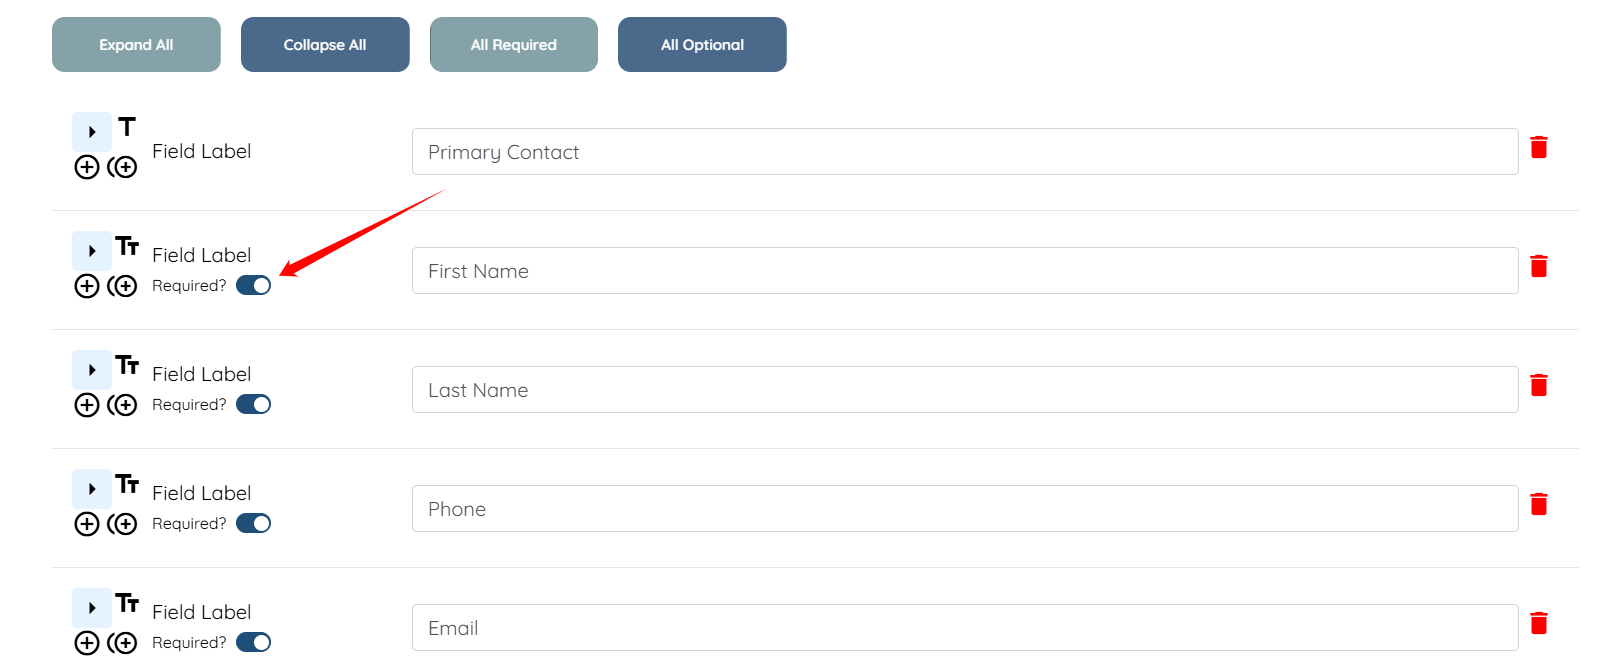
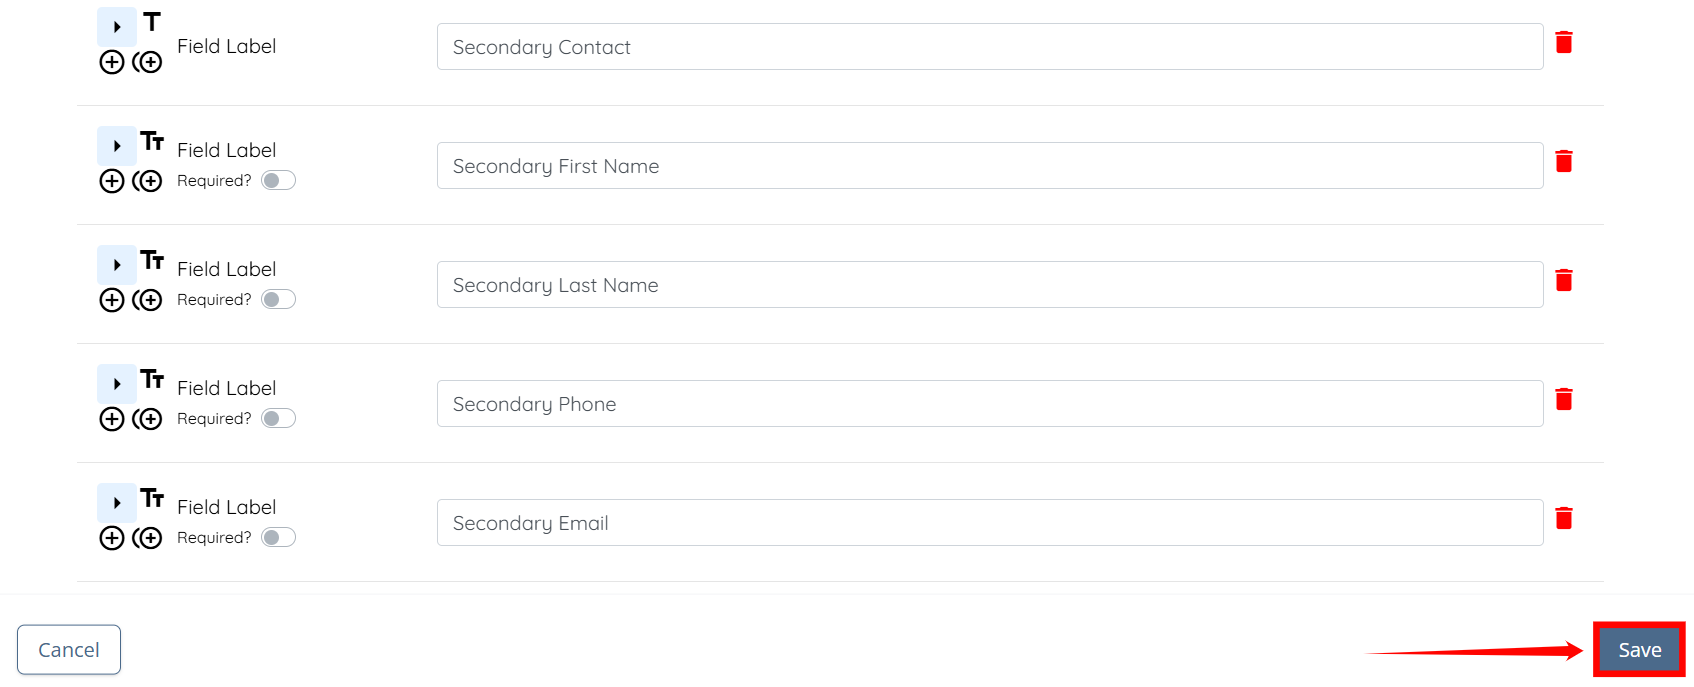
Step 3: Now, set the toggle to ON for the field(s)/question(s) that you want to make required in the section.
Step 4: And, set the required toggle to OFF for the field(s)/question(s) that you want to make optional or not required in the section.
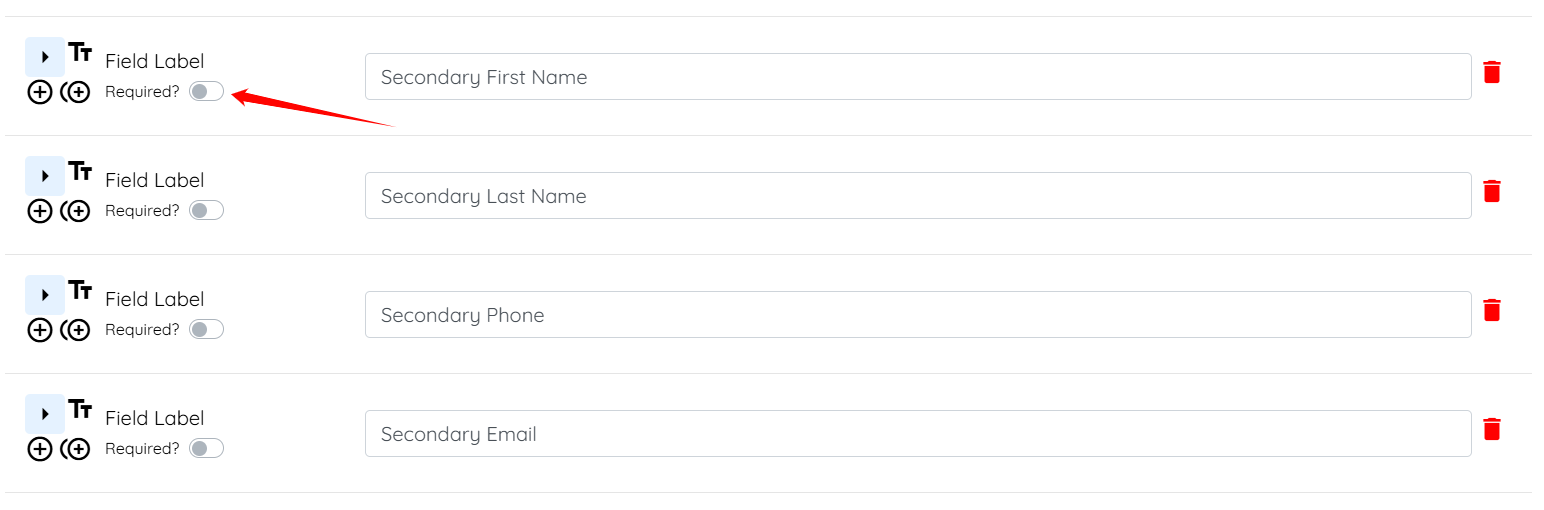
Step 5: Click on the Save button to proceed.
Now, the user must fill in the fields that you have marked as required in the section of their profile. If they do not, the system will display a prompt stating, “Please review the form for error messages,” and the required fields will show the validation message, “This field is required.”
Similarly, while filling out the application form, the user must complete all fields that you have set as required.
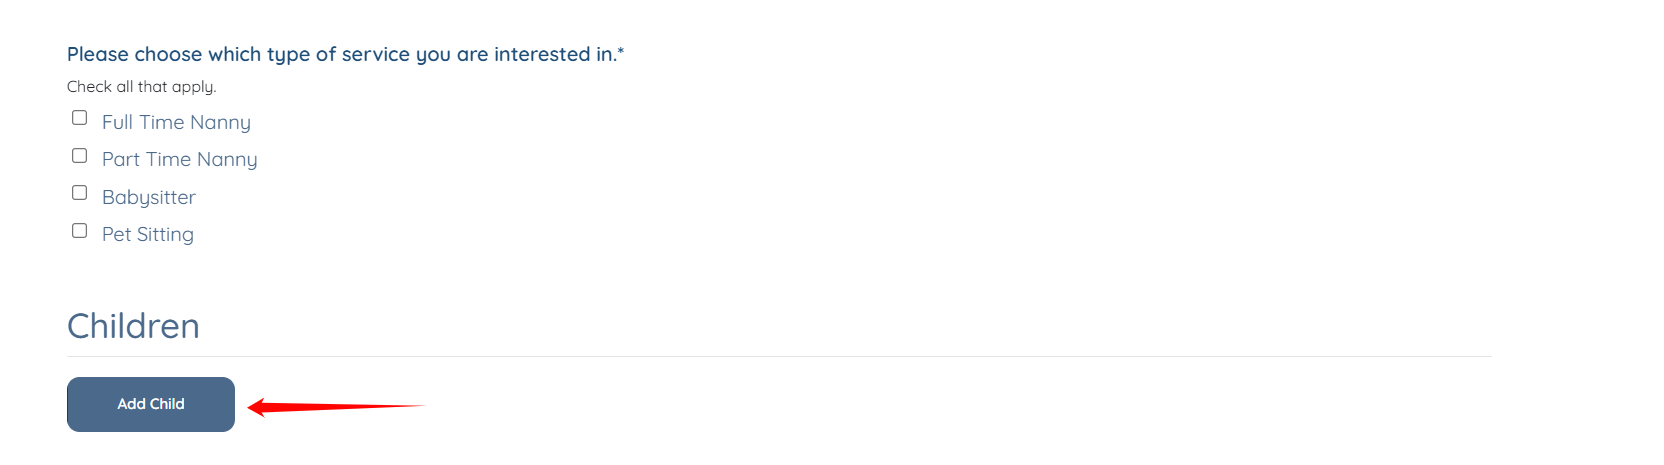
Sections like Children, Experience, and References allow users to add multiple entries using the “+” or Add button, so the requirement is based on how many entries must be completed.
To make these sections required, set the Minimum Required Items for the section.
The user will also see a “+” button next to the section heading to add more entries in the profile if needed.
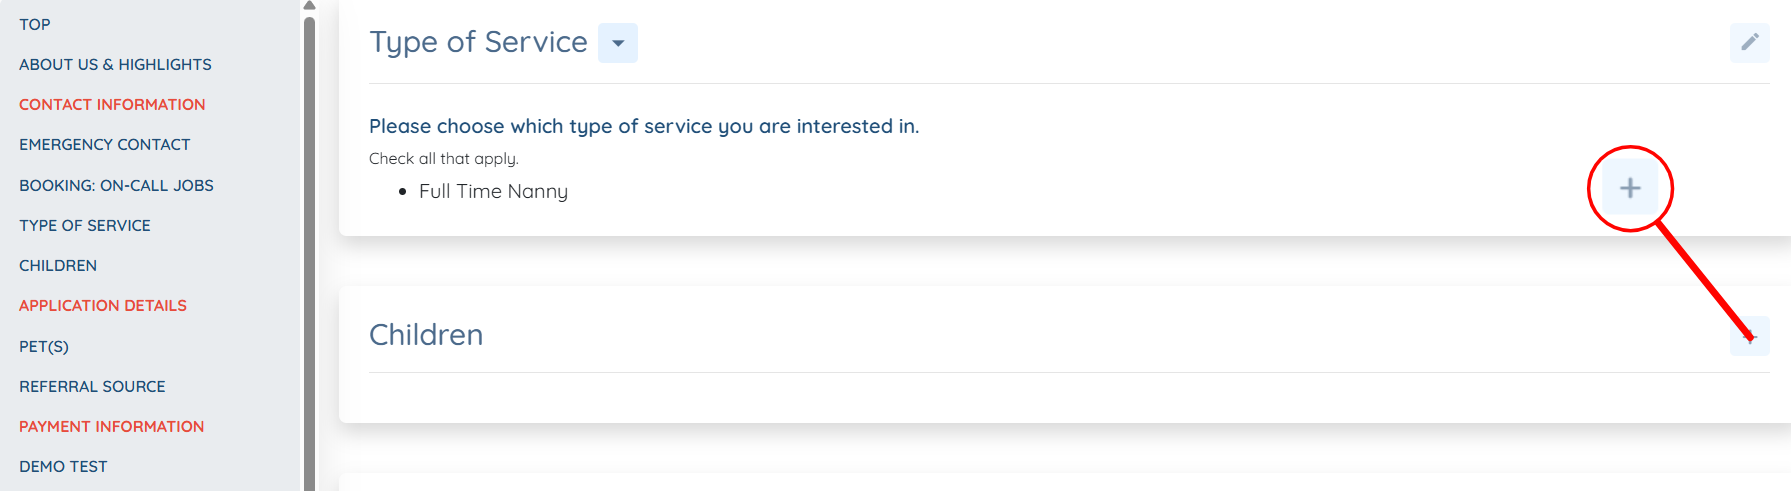
And an Add button specific to the section name to add more entries in the application form if needed.
While filling out the application form, the user must complete the minimum required items configured for the section. If they do not, the system displays a validation message indicating the minimum number of items required, as configured.
If this article doesn't answer your questions you can always contact us by clicking here
